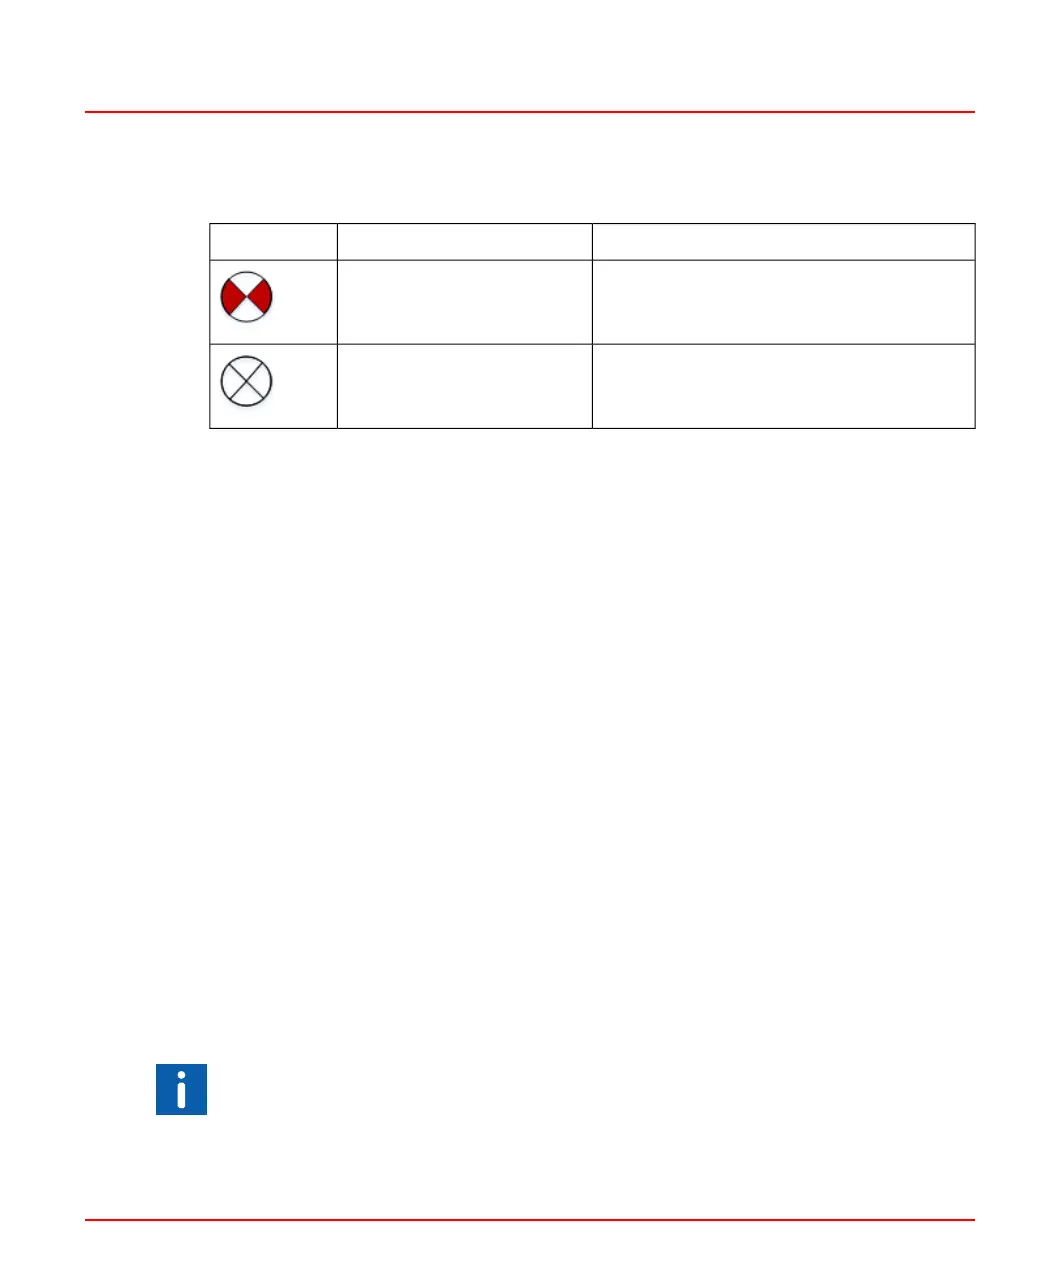
Table 2.19: LED Indicators of the 4 H1 Channels
(Continued)
MeaningColor/lightingSymbol
No token receivedFlashing red
H1 link unusedOff
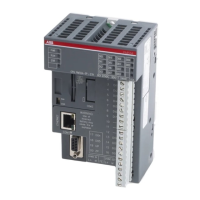
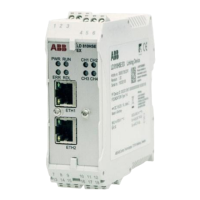
2.6 Commissioning the Hardware
For commissioning the hardware, perform the following steps:
1. Connect the H1 links to the terminal blocks of the H1 interfaces. Since the Linking
Device does not provide power to the H1 links, a power supply, a power conditioner,
and a bus termination is required for each H1 link.
When using a redundant set of two Linking Devices, make sure to connect each H1
link to the same channel (FF 1 ... FF 4) on both Linking Devices.
2. Connect the Linking Device to an Ethernet switch or hub.
3. When using a redundant set of two Linking Devices, connect both redundancy link
connections (pins 4, 5, 6), refer to Redundancy Link Interface on page 34.
4. Connect the Linking Device to a 24 V DC power supply. Use different or redundant
power supplies for redundant Linking Devices.
5. Turn on the power supply. The boot process takes approx. 50 seconds. For indication
of proper operation of a Linking Device acting in non-redundant mode or as primary
device in redundant mode, refer to Status Indicators - LEDs on page 37.
When using a redundant set of two Linking Devices, the device that is powered first will
operate as primary device. If both devices are powered at the same time, the one with
the lower IP address will operate as primary device.
If the two Linking Devices forming a redundant set are powered while the redundancy
link wiring is missing, both devices will behave like independent, non-redundant
primary devices. If they operated in redundant mode before and therefore have
identical configuration information, both will use the same H1 node addresses, which
will cause problems on the H1 links. In this case, disconnect the power, install the
redundancy link, then reconnect the power again.
2PAA114135-610 45
2 Hardware Installation
2.6 Commissioning the Hardware
 Loading...