31
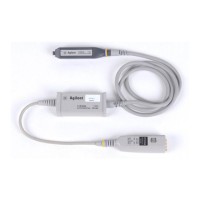
1159A 1GHz Active Differential Probe
Calibration Testing Procedures
Test CMRR at 1 GHz Use setup files 1159CAL5a and 1159CAL5b in this test.
1
Set the signal generator as shown in the following table.
2 Disconnect the 1159A probe from the CH1 and connect it to CH2 to
maintain a constant temperature.
3 Load setup file 1159CAL5a.
4 Connect the signal generator to CH1 on the oscilloscope.
5 Measure the amplitude of the signal generator output.
Record V1:_____________
6
Remove the signal generator from CH1.
7 Remove the 1159A probe from CH2 and connect it to CH1.
8 Select Auto Zero under the probe menu.
Do not connect the probe tip to the calibration fixture during Auto
Zeroing.
9
Connect the signal generator to BNC C of the calibration fixture.
10 Load setup file 1159CAL5b.
11 Measure the maximum value of CH1.
Record V2:_____________
12
Calculate CMRR.
13 Record CMRR in the “CMRR at 1 GHz” section of the Calibration Test
Record on page 36.
Note CMRR must 13dB or greater.
Setting Value
Output Level 5 dBm
Frequency 1 GHz
CMRR in dB 20
V2 amplitude
V1 amplitude
--------------------------------
log=
Artisan Technology Group - Quality Instrumentation ... Guaranteed | (888) 88-SOURCE | www.artisantg.com
 Loading...