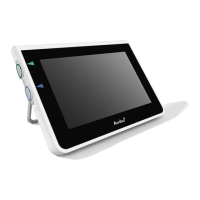
3. User Interface
Time/Date
Live View
Archive
Login
Settings
Wi-Fi Symbol
Battery Life Indicator
Current
Procedure Folder
Image Adjustment
Record Video
Take Picture
Ambu
®
aView
™
2 Advance Gen 2
Quick Start Guide
1. INTENDED USE
2. SYSTEM PREPARATION
3. USER INTERFACE
NOTE: When you are using two visualisation devices
simultaneously, please note the following:
1. Connect the two visualisation devices to the monitor
as described previously.
2. Turn on the monitor as described previously.
3. The live images of both visualisation devices are
displayed, and
i.
The roman numeral in the upper corner of the live
images correspond with the visualisation device it is
coming from, with I being the visualisation device
plugged into the top connection port, II being the
connection port underneath and III being the
connection port at the bottom.
ii.
To swap the positions of the live images, tap
.
The Ambu
®
aView
™
2 Advance is a non-sterile, reusable monitor for
displaying live imaging data from compatible Ambu visualisation
devices.
Press the power button to turn on the
monitor. It takes approximately 20 seconds
for the system to fully load, however a live
image can be displayed aer just a few
seconds.
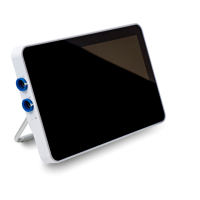
Connect the Ambu visualisation device to the
aView 2 Advance monitor, making sure that
the arrow on the cable connector lines up
with the white triangle on the connection port.
Ensure that a live image is displayed on the
monitor by pointing the distal end of the
visualisation device at an object.
Refer to IFU for
full information