Copyright
©
2019 Arm. All rights reserved.
Non-Confidential
1
Arm
®
MPS3 FPGA Prototyping Board
Getting Started Guide
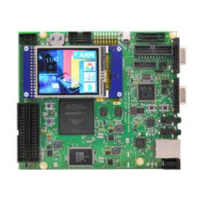
Figure 1
Installing the memory module
The Arm MPS3 FPGA Prototyping Board is supplied with a SO-DIMM memory module. This module is not
installed at the factory to reduce the possibility of it being damaged during transport. To install the memory
module, begin by sliding it into the socket at an angle (as shown in Figure 2), oriented so that the slot in the
edge-connector of the module aligns with the keying bar across the opening in the socket. Be sure to push it
all the way in or else it will not make proper contact with the pins of the socket. Then move the module into
the vertical position. It should engage with the catches at the ends of the socket, making an audible clicking
noise as it does so.
Note that you should use anti-static handling precautions while installing the memory module to avoid
damaging the board or the module due to electrostatic discharge.
Power
The Arm MPS3 FPGA Prototyping Board requires 12-volt DC power. Connect the supplied 12-volt power
adapter to the 12V power connector, shown in the top left corner of the Figure 1