Motherboard Manual
12
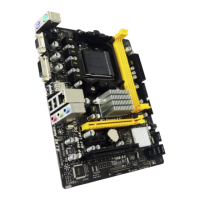
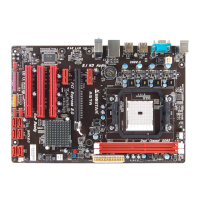
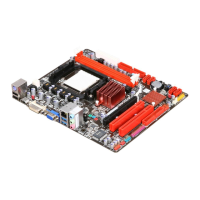
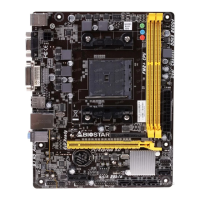
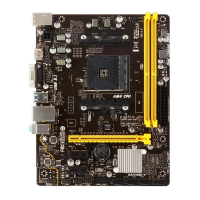
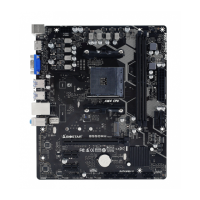
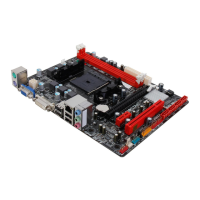
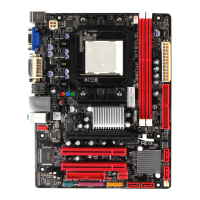
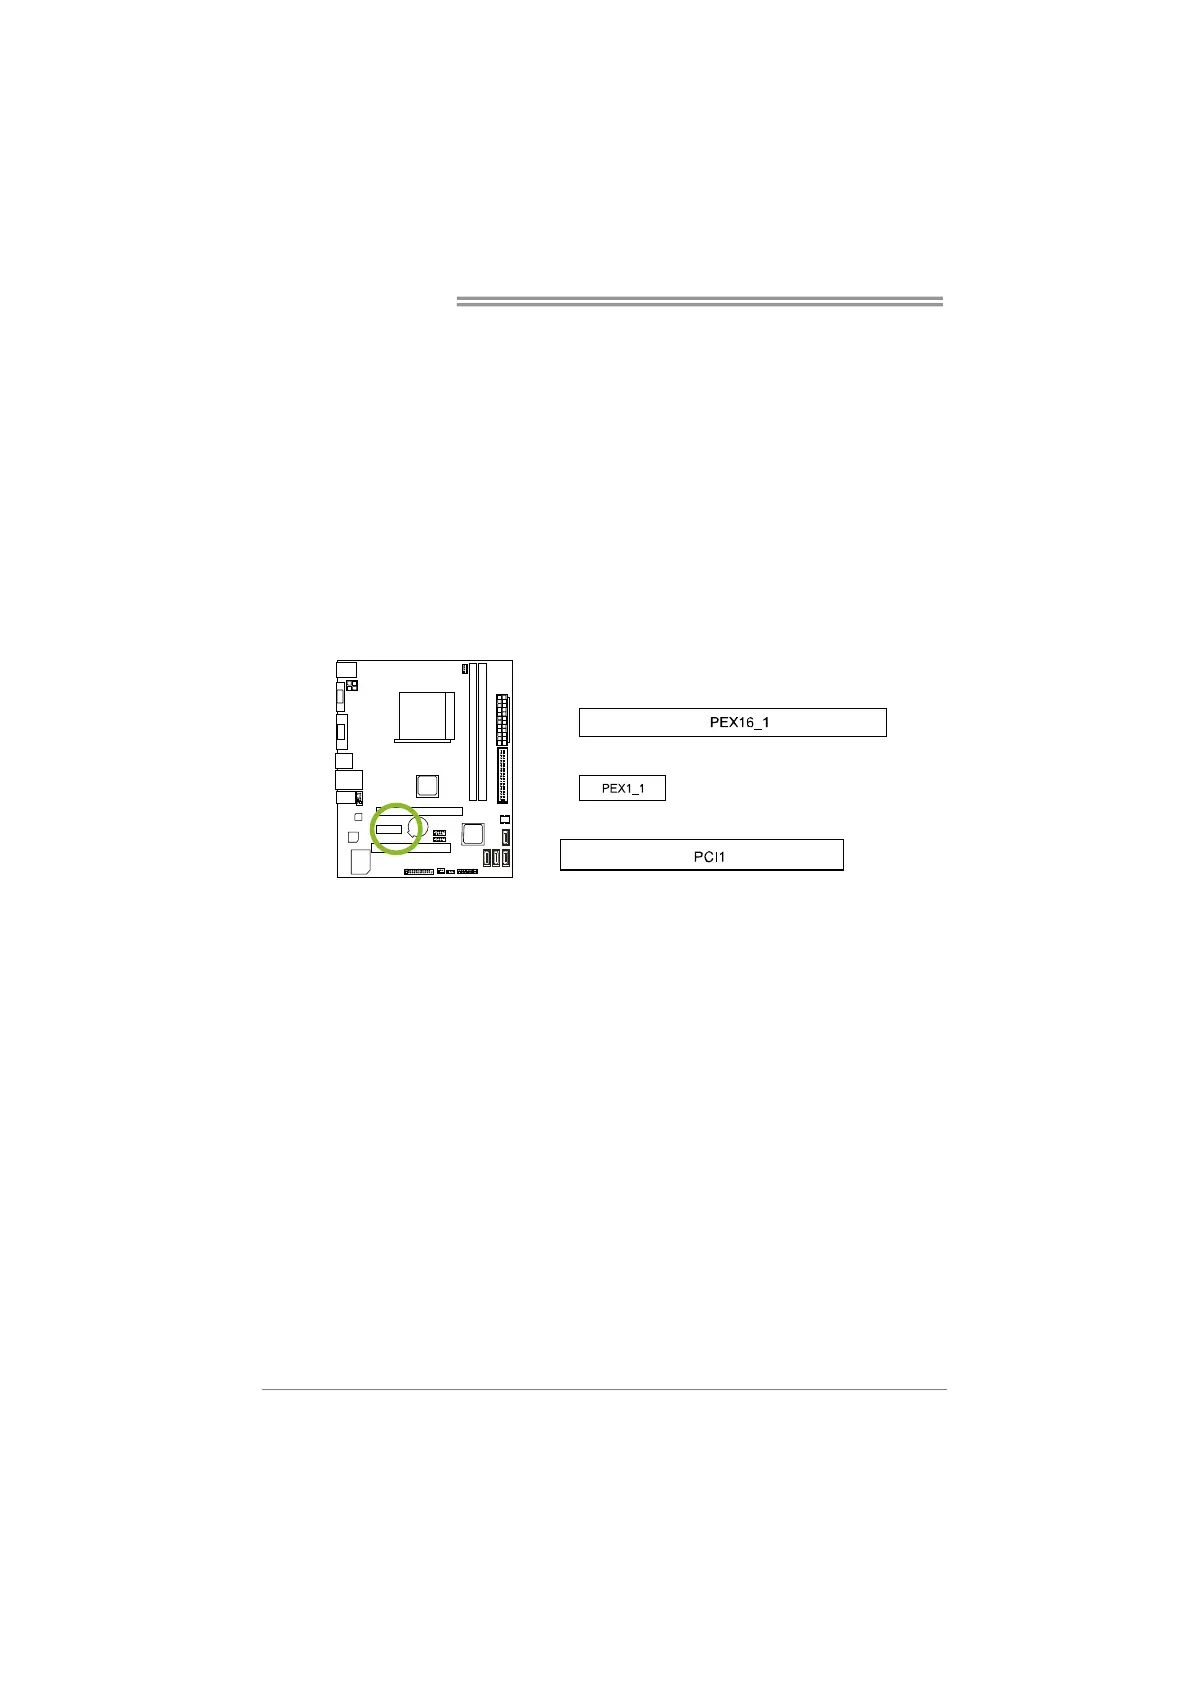
PEX16_1: PCI-Express Gen2 x16 Slot
- PCI-Express 2.0 compliant.
- Maximum theoretical realized bandwidth of 8GB/s simultaneously per
direction, for an aggregate of 16GB/s totally.
- PCI-Express Gen2 supports a raw bit-rate of 5.0Gb/s on the data pins.
PEX1_1: PCI-Express Gen2 x1 Slot
- PCI-Express 2.0 compliant.
- Data transfer bandwidth up to 500MB/s per direction; 1GB/s in total
PCI1: Peripheral Component Interconnect Slot
This motherboard is equipped with 1 standard PCI slot. PCI stands for Peripheral
Component Interconnect, and it is a bus standard for expansion cards.
Install an Expansion Card
You can install your expansion card by following steps:
1. Read the related expansion card's instruction document before install the
expansion card into the computer.
2. Remove your computer's chassis cover, screws and slot bracket from the
computer.
3. Place a card in the expansion slot and press down on the card until it is
completely seated in the slot.
4. Secure the card’s metal bracket to the chassis back panel with a screw.
5. Replace your computer's chassis cover.
6. Power on the computer, if necessary, change BIOS settings for the
expansion card.
7. Install related driver for the expansion card.
 Loading...