7
Description
Irrigator
1 Jet nozzle compartment
2 Irrigator jet nozzle
3 Jet switch
4 Jet release button
5 On/off switch
6 Water pressure control dial
7 Handle switch (water stop and go)
8 Irrigator handle
9 Water container (600 ml)
10 Cord storage
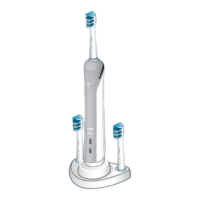
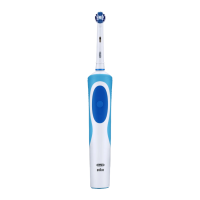
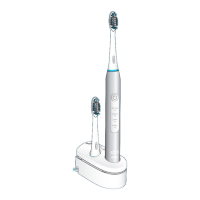
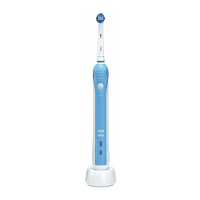
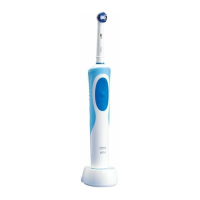
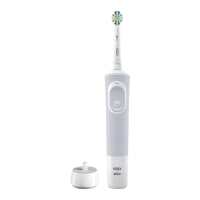
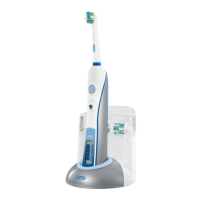
Toothbrush (depending on model)
11 Charger base
12 Charge Indicator light
13 On/off button (mode selection)
14 Toothbrush handle
15 Pressure Sensor light
16 Brush head
17 Brush head compartment
Note: Content may vary based on the model
purchased.
Specifications
For voltage specifications refer to the type plates/
bottom of devices.
Noise level: 68 dB (A)
A - Using your irrigator
Before using the irrigator for the first time, fill the
water container (9) and allow the water to run
through completely by holding the irrigator handle
(8) over a sink.
• Attach one of the irrigator jet nozzles (2) to the
handle until it locks into place (A2). Fill the water
container with lukewarm water. If you want to add
mouthwash into the water, please make sure you
fill the water container with lukewarm water first,
then add the mouthwash (A1).
• Turn on the irrigator by pressing the on/off switch
(5) (A3). The handle switch should be in the lower
position = water stop.
• Select the water pressure with the pressure control
dial (6) (1 = gentle, 5 = strong) (A3). We
recommend that you start with setting 1,
especially if your gums tend to bleed or if children
are using the irrigator.
• Bend over a sink and guide the jet to your teeth and
gums. Slide the handle switch (7) (A5) up to start
the water stream (A6). Keep your mouth slightly
open to allow the water to run into the sink (A4).
You can choose between two different jet functions
by sliding the jet switch (3) down or up (before doing
so, turn off the water stream by sliding the handle
switch down):
Rotating stream for general cleaning and gum
massage (jet switch in lower position): The rotation
of the water stream and its micro-bubbles is
designed for easy penetration and gentle gum
massage (A2).
Mono stream (jet switch in upper position): The
straight water stream is designed for targeted
cleaning (A2).
Maximal operation time: 15 minutes
Cooling off time: 2 hours
In general, we recommend replacing the irrigator jet
nozzle every 3 months.
After use
Always empty the water container entirely. If your
dentist has recommended the use of mouthwash
with your irrigator, allow some clean water to run
through the irrigator before you empty the container
entirely to prevent any deposit build-up. Make sure
you keep the irrigator switched on until the water
stops running through the irrigator jet nozzle, to
prevent microbial growth in the standing water.
Press the on/off switch to turn off the irrigator.
To take off the irrigator jet nozzle, press the jet
release button (4) (A8). Always wipe the handle and
the irrigator jet nozzle dry; place the handle back
onto its base and store the irrigator jet nozzle in the
jet nozzle compartment (1).
Cleaning recommendations
Regularly clean the housing with a damp cloth. The
water container and the jet nozzle compartment are
removable and dishwasher-safe.
B - Using your toothbrush
(depending on model)
Charging and Operating
Your toothbrush has a waterproof handle, is
electrically safe and designed for use in the bathroom.
• You may use your toothbrush right away or charge
it briefly by placing it on the charger base (11).
Note: In case the battery is empty (no charging
light illuminated (12) while charging or no reaction
when pressing the on/off button (13)), charge at
least for 30 minutes.
• The charge indicator light (12) flashes green while
the handle is being charged. Once it is fully
charged, the light turns off. A full charge typically
takes 12 hours and enables at least 2 weeks of
regular brushing (twice a day, 2 minutes).
Note: After deep discharge, the charge indicator
light might not flash immediately; it can take up to
30 minutes.
 Loading...