Unpack the machine and check the components
1
Remove the packing materials and re-install the toner cartridge and drum unit assemblies
2
Load paper in the paper tray
3
Connect the power cord and turn the machine on
Back
Adjust the paper
guides.
Do not exceed this mark.
x4
Remove the orange parts
from each cartridge.
Quick Setup Guide
Read the Product Safety Guide first, then read this Quick Setup Guide for the correct installation procedure.
Not all models are available in all countries.
The latest manuals are available at the Brother support website:
support.brother.com/manuals
Video setup instructions:
support.brother.com/videos
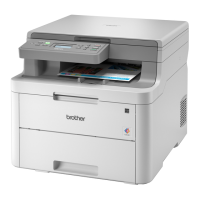
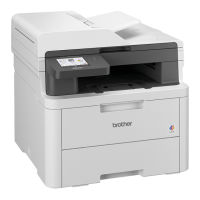
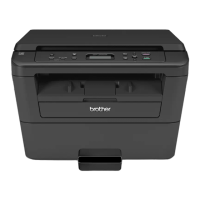
DCP-L3520CDW / DCP-L3560CDW / MFC-L3720CDW / MFC-L3755CDW /
MFC-L3760CDW / MFC-L3780CDW / MFC-L8340CDW / MFC-L8390CDW
D027VU001-00
OCE/ASA/SAF/GLF/TWN
Version 0
NOTE:
• The components included in the box may differ depending on your
country.
• The available connection interfaces vary depending on the model.
You must purchase the correct interface cable if you require one.
• USB cable
We recommend using a USB 2.0 cable (Type A/B) that is no
more than 2 metres long.
• Network cable (DCP-L3560CDW / MFC-L3755CDW /
MFC-L3760CDW / MFC-L3780CDW / MFC-L8390CDW)
Use a straight-through Category 5 (or greater) twisted-pair cable.
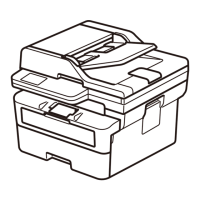
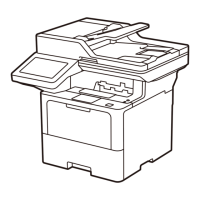
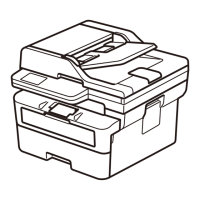
• The illustrations in this Quick Setup Guide show the
MFC-L8390CDW.
Toner Cartridge and Drum
Unit Assemblies*
(Black, Cyan, Magenta, and
Yellow)
Waste Toner Box* Belt Unit*
* Installed in the machine
AC Power Cord Quick Setup Guide
Product Safety Guide
Remove all the blue packing tape.
Push firmly.
BK
C
M
Y
4
Select your country/language
(Initial setup only)
Front
Location of the power button varies depending
on the model.
After turning the machine on, you may be required
to set your country or language (depending on your
machine).
If required, follow the on-screen instructions.