NOTE
NOTE specifi es the operating environment, conditions for installation, or
special conditions of use.
WARNING
WARNING indicates a potentially hazardous situation which, if not
avoided, could result in death or serious injuries.
Unpack the machine and check the components
1. Remove the protective tape and film covering the machine, and also from the Touchscreen.
2. Make sure you have all components.
The components included in the box may differ depending on your country.
WARNING
Plastic bags are used in the packing of your machine. To avoid the danger of
suffocation, keep these plastic bags away from babies and children. Plastic
bags are not toys.
NOTE
• Save all packing materials and the box in case for any reason you must ship
your machine.
• For a network connection you must purchase a network interface cable.
Please use the supplied USB cable for a USB connection.
USB cable
We recommend using a USB 2.0 cable that is no more than 2 metres long.
Network cable
A network interface cable is not included. If you want to use a network
interface cable, please purchase one separately.
Use a straight-through Category5 (or greater) twisted-pair cable for
10BASE-T or 100BASE-TX Fast Ethernet Network.
1
Load plain A4 paper
Pull the paper tray completely
out of the machine.
Connect the telephone line cord.
Use the socket marked LINE and guide
the cord out the back of the machine. Close the scanner cover.
Follow the Touchscreen instructions
to install the ink cartridges.
The machine will prepare the ink
tube system for printing.
When the machine has finished the initial cleaning process,
follow the Touchscreen instructions to configure the machine
settings.
• Check print quality
• Set date and time
• Print the installation sheet
Open the ink cartridge cover a.
Fan the paper well and load it in the tray.
Pull out the paper support a, and
unfold the paper support flap b.
Connect the power cord.
Lift the scanner cover.
Adjust the paper guides.
Do not exceed this
mark (aaa).
NOTE
If you are sharing one telephone line with an external
telephone, connect it as shown below.
You can adjust the angle of the control
panel by lifting it.
a Extension telephone
b External telephone
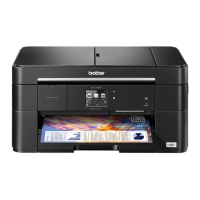
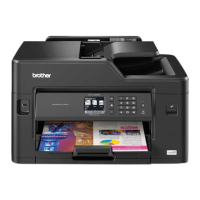
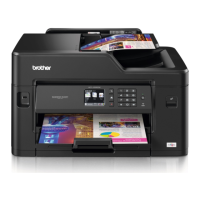
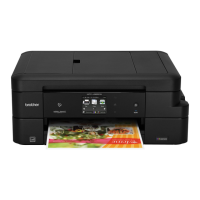
Quick Setup Guide
MFC-J2320
CHN-ENG
Version A
Read the Product Safety Guide first, then read this Quick Setup Guide
for the correct installation procedure.
Introductory Ink Cartridges
[x4]
Black
Yel low
Cyan
Magenta
2
Connect power cord and telephone line cord
If you are not using your machine as a fax, connect the power cord and go to
3
.
3
Install introductory ink cartridges
4
Machine Settings
Quick Setup Guide
Basic User’s Guide
Product Safety Guide
CD-ROM Maintenance Sheet
Power Cord USB Interface Cable Telephone Line Cord
5
Choose your language (if needed)
1. Press (Settings).
2. Press All Settings.
3. Press a or b to display Initial Setup.
Press Initial Setup.
4. Press a or b to display Local Language.
Press Local Language.
5. Press your language.
6. Press .
1
2
1
2
1