Quick Setup Guide
Read the Product Safety Guide first, then read this Quick Setup Guide for the correct installation procedure. D01R2A001-00
USA/CAN
Version 0
1
Unpack the machine and check the components
Remove the protective tape or film covering the machine and the supplies. The components included in the box may differ depending on your country.
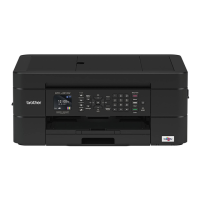
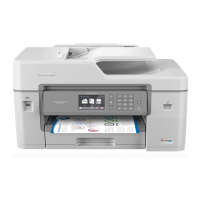
MFC-J4335DW
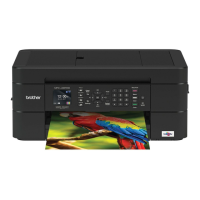
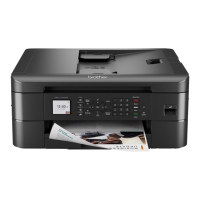
MFC-J4345DW
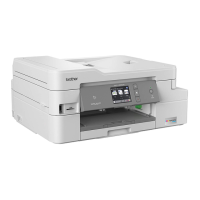
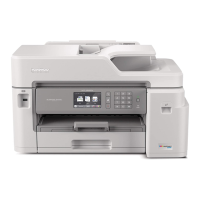
MFC-J4535DW
NOTE
• Save all packing materials and the box in case you must ship your machine.
• You must purchase the correct interface cable for the interface you want to use.
USB cable
Use a USB 2.0 cable (Type A/B) that is no more than 6 feet (2 meters) long.
Ethernet (Network) cable (MFC-J4535DW only)
Use a straight-through Category 5 (or greater) twisted-pair cable for 10BASE-T or 100BASE-TX
Fast Ethernet Network.
NOTE
You can adjust the control panel angle
to read the LCD more easily.
NOTE
The first time you install the
ink cartridges, the machine
will use extra ink to fill the
ink delivery tubes. This is a
one-time process that enables
high-quality printing.
Open the ink cartridge
cover.
The latest manuals are available at the Brother support website:
support.brother.com/manuals
Video setup instructions:
support.brother.com/videos
Manuals in Spanish for this model are available at support.brother.com.
Manuales en Español para este modelo están disponibles en support.brother.com.
Pull the paper tray
completely out of the
machine.
Fan the paper well and load it
in the tray.
Adjust the paper guides. Slowly push the paper tray
completely into the machine.
Pull out the paper support a,
and unfold the paper support
flap b so that the printed
pages do not fall.
Quickly shake just the
black ink cartridge
horizontally 15 times as
shown, before inserting
it into the machine.
Follow the LCD instructions
to install the ink cartridges.
Close the ink cartridge
cover. The machine will
prepare the ink tube
system for printing.
Follow the LCD instructions to set
the date and time.
After setting the date and time,
you can set the Firmware Update
defaults.
Follow the LCD instructions,
and then press the [OK] or c.
The machine prints the Print
Quality Check Sheet.
Follow the LCD instructions to
check the quality of the four color
blocks on the sheet, and then
start the cleaning procedure.
Follow the LCD instructions
to print the Adjustment Sheet.
The black circle mark is
located in the upper left corner
of the sheet.
Place the Adjustment Sheet
face down on the scanner
glass.
Make sure the black circle
mark is in the upper left corner
of the scanner glass.
Follow the LCD
instructions and
complete adjusting the
alignment.
When finished, remove
the Adjustment Sheet
from the scanner glass.
For more information about paper handling and sizes, see the Online
User’s Guide at support.brother.com/manuals.
OK Poor
2
Load plain Letter paper in the paper tray
4
Install the starter ink cartridges
3
Connect the
power cord
6
Check the print quality
7
Adjust the print alignment (recommended)
To adjust the print alignment before using your machine, press [St a r t] or c.
5
Set the date and
time
1
2
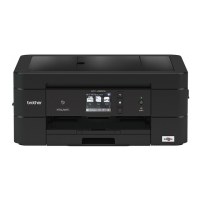
* Most of the illustrations in this Quick Setup Guide show the MFC-J4535DW.




 Loading...