GETTING STARTED
NOTE
When using the optional AC adapter (AD-24ESA)
1. Insert adapter cord into the AC adapter socket at the bottom of the label maker.
2. Insert the plug into the nearest standard electrical socket.
For the memory backup feature, use either AAA alkaline batteries (LR03) or Ni-MH batteries (HR03)
together when using the AC adapter.
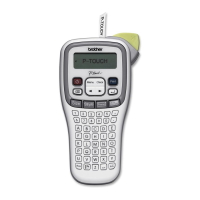
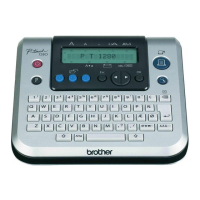
Power Supply and Ribbon Cassette or Tape Cassette
Open the cassette cover by pressing the
highlighted area at the top end of the label maker.
• Make sure you turn the power off when replacing
batteries or ribbon/tape cassettes.
Insert the ribbon or tape cassette, making sure
it locks into place.
•
Make sure the end of the ribbon/tape feeds under the tape guides.
•
Use Genuine Brother P-touch TZe tapes with this label maker.
Print head
Tape cutter leverCassette cover
Tape exit slot
Toothed wheel
Cutter's edge
End of tape
Tape guides
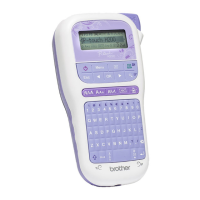
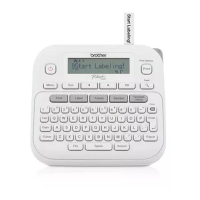
ELECTRONIC LABELING SYSTEM
With your new Brother P-touch label maker, you can create a wide variety of custom, self-adhesive labels and
ribbons. This label maker uses Brother "TZe" tapes from 3.5 mm to 12 mm widths. "TZe" tape cassettes are available
in many colours and sizes. Visit
www.brother.com
for a complete list of tapes that work with your machine.
Read this guide before using this machine. After reading this guide, keep it in a safe place.
English
User’s Guide
D01CHY001