3M Gliderman
2
Before construction starts, it may be necessary to model the film with a heat gun and or
iron. retighten This is used in the film without any problems. Make sure the area of
Aileron hinges to be careful. The hinge used is non-heat-sensitive than the covering can
quickly and curl. Since the underside of the wing has a concave curvature, care must be
taken that the covering remains stuck to the ribs and not replace, and so the profile is
changed.
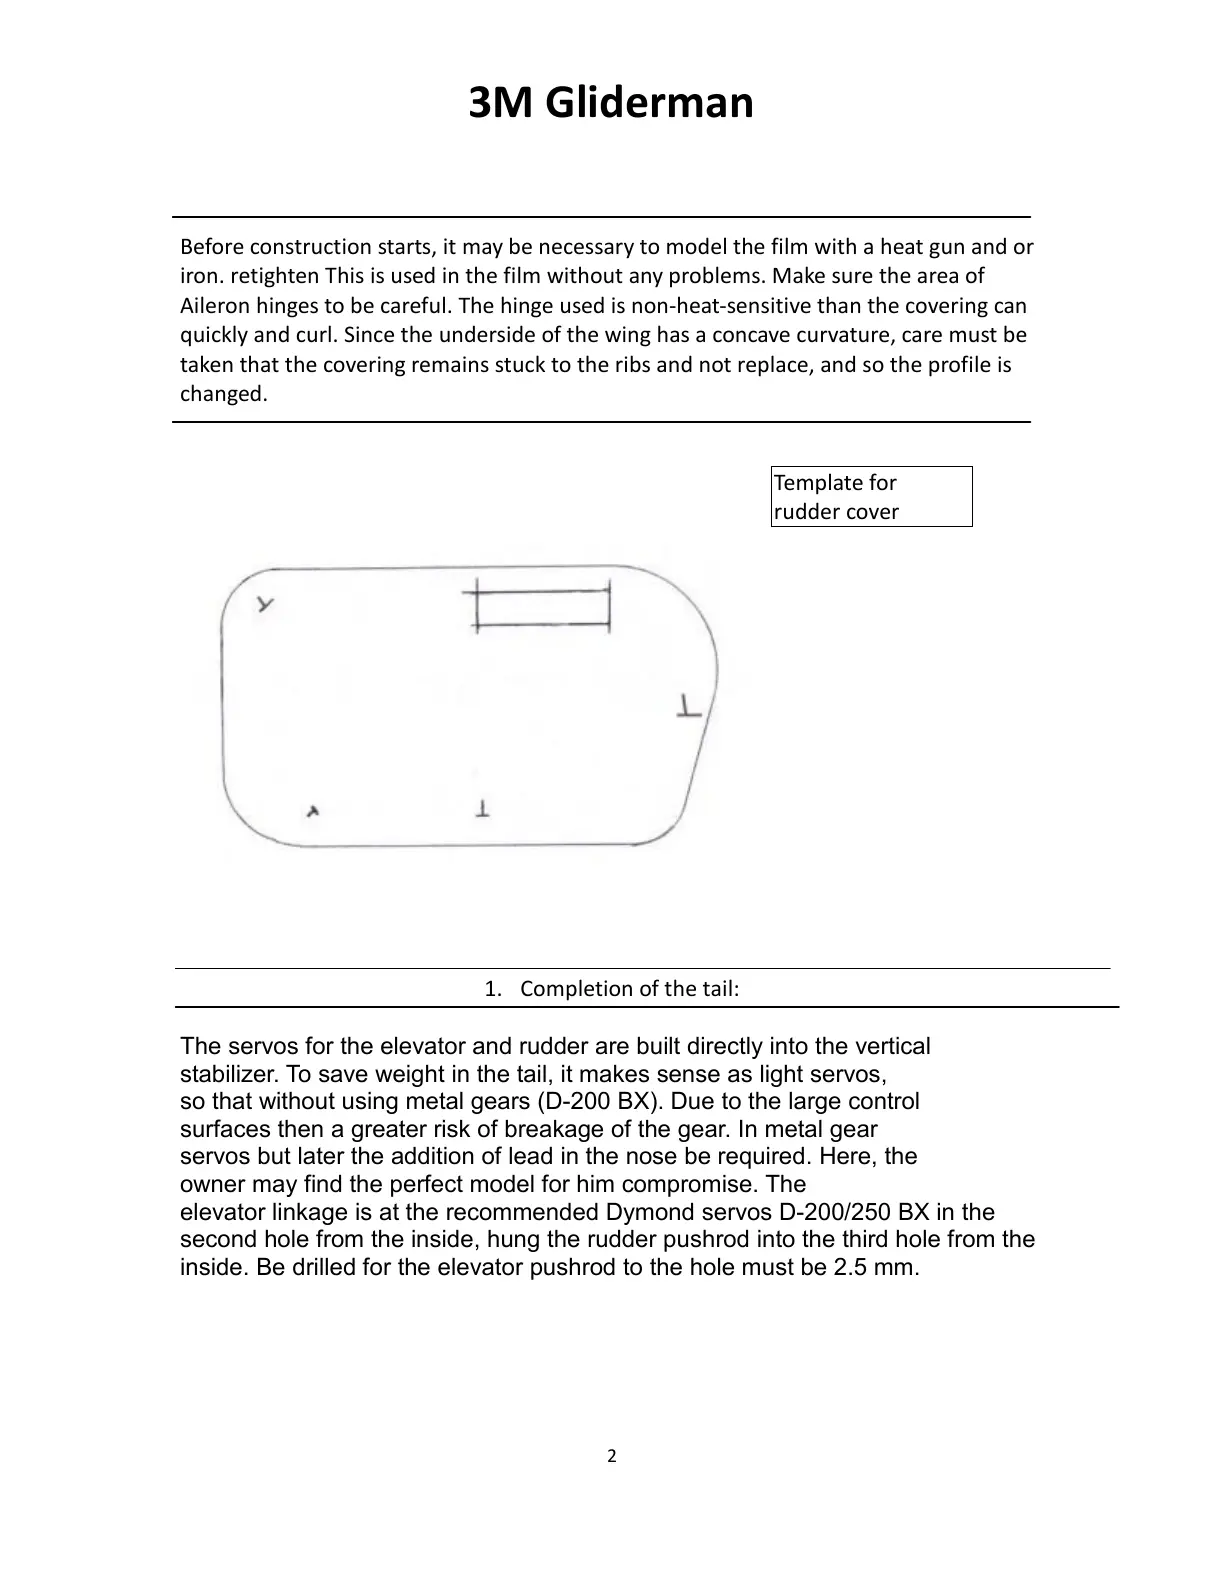
Template for
rudder cover
1. Completion of the tail:
The servos for the elevator and rudder are built directly into the vertical
stabilizer. To save weight in the tail, it makes sense as light servos,
so that without using metal gears (D-200 BX). Due to the large control
surfaces then a greater risk of breakage of the gear. In metal gear
servos but later the addition of lead in the nose be required. Here, the
owner may find the perfect model for him compromise. The
elevator linkage is at the recommended Dymond servos D-200/250 BX in the
second hole from the inside, hung the rudder pushrod into the third hole from the
inside. Be drilled for the elevator pushrod to the hole must be 2.5 mm.
 Loading...