ENGLISH
General Precautions
Read the instructions carefully before beginning the installation and carry
out the actions as specified by the manufacturer.
The installation, programming, commissioning and maintenance of the
product must only be carried out by qualified technicians, properly trained
in compliance with the regulations in force, including health and safety
measures and the disposal of packaging.
Before carrying out any cleaning or maintenance operation, disconnect the
device from the power supply.
The equipment must be destined solely for the use for which it was
expressly designed.
The manufacturer declines all liability for any damage as a result of
improper, incorrect or unreasonable use.
Install in state-of-the-art fashion, so as that the casing remains clean and
watertight.
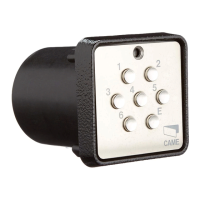
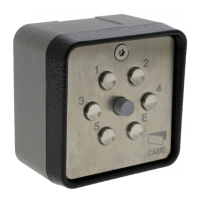
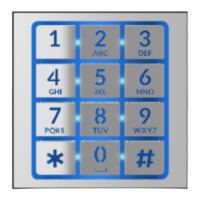
Description
S6000 recess-mounting or S7000 surface-mounting
keypad selector.
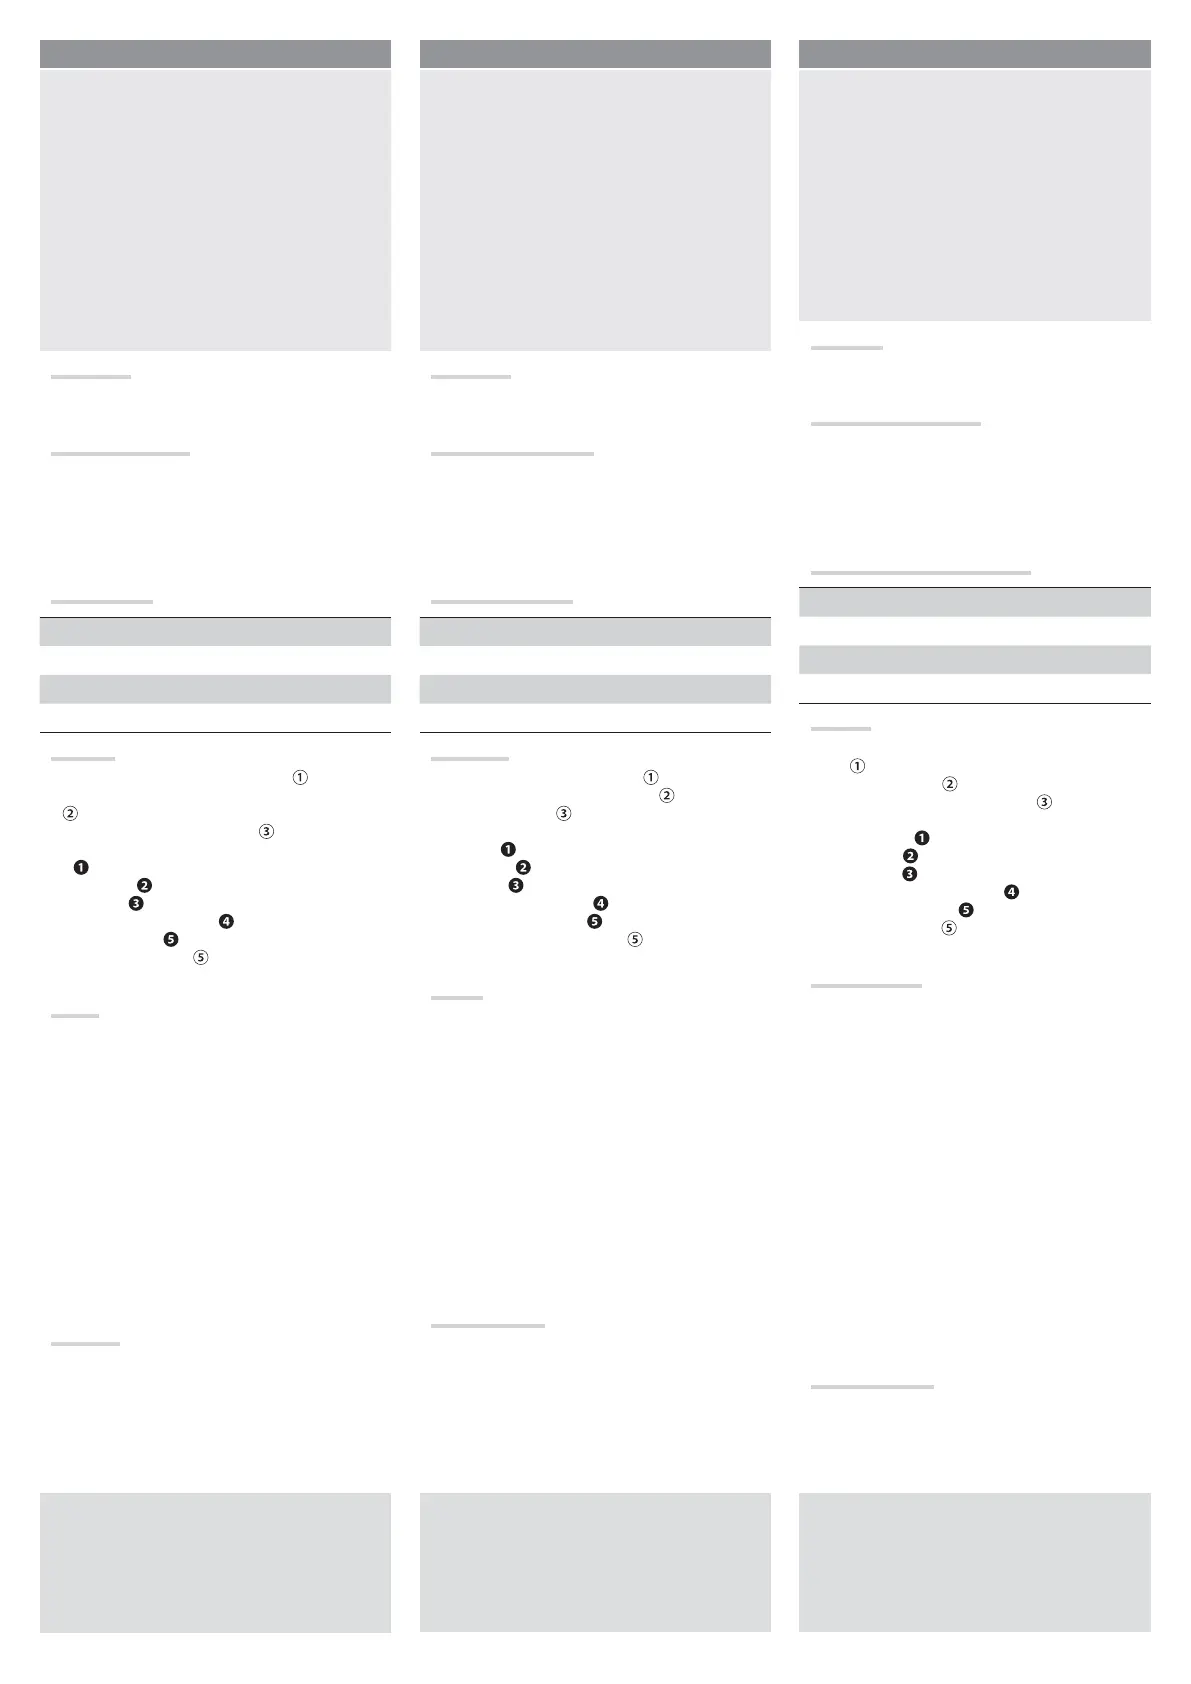
Description of parts
① Surface-mounted casing
②Recess-mounted casing
③Front frame
④Frame fastening screw
⑤Selector's keypad
⑥Keypad fastening screw
Technical data
Power supply 12/24 V AC/DC
Code figures 6 max
Combinations 1,679,616
Insulation class III
Installing
Fasten the keypad's casing to the wall by using
suitable hardware, or fi t the recess-mounting casing into
the wall;
- Fasten the frame to the frontpiece ;
- Make the electrical connections
;
• Keypad .
• White -> A.
• Blue ->B.
• Power supply 12/24 V
• Control board .
- Fit the selector's keypad and tighten the screw to fasten
it to the frame
⑥
.
Coding
⚠Connection to control board that is compatible
with the R800 interface board
Make sure that the R800 board is fitted
Up to 5 selectors can be connect in parallel
fashion.
After fi nishing the cabling, fi t the R800 board.
- Enter the code you want onto the keypad. Do not let more
than 10 seconds elapse between digits;
Press the "E" buttonon the keypad to send the code to
the control unit.
⚠Connection to the control board that is
compatible with the S0001M/2M
Up to 5 selectors can be connect in parallel
fashion.
See the control board's manual.
Operation
Enter the previously memorized code followed by the
"E" button.
DISMANTLING AND DISPOSAL The packaging materials (cardboard, plastic, and
so on) should be disposed of as solid household waste. The product components
(metals; control boards, batteries, etc.) must be separated from other waste for
recycling. Check your local laws to properly dispose of the materials.
DISPOSE OF RESPONSIBLY!
The contents of this manual may be changed at any time without prior notice.
The measurements, unless otherwise stated, are in millimeters.
FRANÇAIS
Instructions générales
Lire attentivement les instructions avant toute opération d'installation et
effectuer les interventions comme indiqué par le fabricant.
L’installation, la programmation, la mise en service et la manutention du
produit ne doivent être effectuées que par des techniciens qualifiés et
dans le strict respect des normes en vigueur, y compris des règles sur la
prévention des accidents et l'élimination des emballages.
Avant toute opération de nettoyage ou d'entretien, mettre le dispositif hors
tension.
L'appareil ne devra être destiné qu'à l'utilisation pour laquelle il a été
expressément conçu.
Le fabricant décline toute responsabilité en cas d'éventuels dommages
provoqués par des utilisations impropres, incorrectes et déraisonnables.
L’installation doit être réalisée selon les règles de l’art de manière à ce que
le boîtier reste propre et bien fermé.
Description
Clavier à code à encastrer (S6000) ou d’extérieur
(S7000).
Description des parties
① Boîtier d’extérieur
②Boîtier à encastrer
③Cadre frontal
④Vis de fi xation du cadre
⑤Clavier du sélecteur
⑥Vis de fi xation du clavier
Données techniques
Alimentation 12/24 VAC/DC
Chiffres code 6 max.
Combinaisons 1 679 616
Classe d'isolation III
Installation
- Fixer le boîtier du sélecteur au mur à l’aide de vis et
de chevilles ou bien encastrer le boîtier dans le mur ;
- Fixer le cadre frontal ;
- E ectuer le branchement électrique
;
• Clavier .
• Blanc -> A.
• Bleu ->B.
• Alimentation 12/24 V .
• Carte de commande .
- Appliquer le clavier du sélecteur et le fi xer au cadre à
l’aide de la vis
⑥
.
Codage
⚠Connexion avec carte électronique compatible
avec la carte interface R800
S’assurer que la carte R800 est bien insérée
Il est possible de connecter en parallèle jusqu’à
5 sélecteurs.
Après avoir e ectué les câblages, insérer la carte R800.
-Saisir le code souhaité sur le clavier sans laisser passer
plus de 10 secondes entre un chi re et l’autre ;
-Appuyer sur la touche « E » du clavier pour envoyer le
code à la centrale.
⚠Connexion avec carte électronique compatible
avec S0001M/2M
Il est possible de connecter en parallèle jusqu’à
5 sélecteurs.
Se référer au manuel de la carte.
Fonctionnement
Saisir le code précédemment mémorisé suivi de la
touche « E ».
MISE AU REBUT ET ÉLIMINATION - Les composants de l’emballage (carton,
plastique, etc.) sont assimilables aux déchets urbains solides. Les composants
du produit (métaux, cartes électroniques, batteries, etc.) doivent être triés et
di érenciés. Pour les modalités d'élimination, vérifi er les normes en vigueur sur
le lieu d'installation.
NE PAS JETER DANS LA NATURE !
LE CONTENU DE CE MANUEL EST SUSCEPTIBLE DE SUBIR DES MODIFICATIONS
À TOUT MOMENT ET SANS AUCUN PRÉAVIS.
LES DIMENSIONS SONT EXPRIMÉES EN MILLIMÈTRES, SAUF INDICATION
CONTRAIRE.
РУССКИЙ
Общие правила безопасности
Внимательно прочитайте инструкции, прежде чем приступить к установке и
выполнению работ, согласно указаниям фирмы-изготовителя.
Монтаж, программирование, включение и техобслуживание изделия
должны выполняться только квалифицированным и обученным персоналом
в полном соответствии с действующими нормативами, правилами техники
безопасности и утилизации упаковки.
Обесточьте устройство перед выполнением работ по чистке и
техобслуживанию.
Устройство должно использоваться исключительно по назначению.
Фирма-изготовитель снимает с себя всякую ответственность за ущерб,
нанесенный некорректным, ошибочным или неразумным использованием
изделия.
Монтаж должен выполняться по всем правилам для обеспечения чистоты и
герметичности корпуса.
Описание
Встраиваемая (S6000) или накладная (S7000)
кодонаборная клавиатура.
Основные компоненты
① Корпус для накладного монтажа
②Корпус для встроенного монтажа
③Фронтальная рамка
④Винты крепления фронтальной рамки
⑤Клавиатура
⑥Винт крепления клавиатуры
Технические характеристики
Электропитание ~/=12/24 В
Цифры кода макс. 6
Кодовые комбинации 1679616
Класс изоляции III
Монтаж
- Прикрепите корпус кодонаборной клавиатуры
к стене винтами и дюбелями или вставьте
встраиваемый корпус в стену.
- Зафиксируйте фронтальную рамку .
- Выполните электрические подключения
;
• Клавиатура .
• Белый -> A.
• Синий ->B.
• Электропитание 12/24 В .
• Плата управления .
- Вставьте клавиатуру и зафиксируйте рамку винтом
⑥
.
Создание кода
⚠Подключение к плате управления,
совместимой с интерфейсной платой R800
Убедитесь в том, что плата R800
вставлена корректно
Всего параллельно можно подключить до 5
кодонаборных клавиатур.
После выполнения подключений установите плату
R800.
- Наберите желаемый код на клавиатуре, обращая
внимание на то, чтобы интервал между нажатиями
двух кнопок не превышал 10 секунд.
- Нажмите кнопку “E” на клавиатуре для отправки
кода на контрольную панель.
⚠Подключение к плате управления,
совместимой с S0001M/2M
Всего параллельно можно подключить до 5
кодонаборных клавиатур.
Следуйте инструкциям, содержащимся в
руководстве платы.
Принцип работы
Введите ранее запомненный код и нажмите
кнопку “E”.
УТИЛИЗАЦИЯ - Упаковочные материалы (картон, пластмасса и т. д.)
могут быть утилизированы как бытовые отходы. Материалы и компоненты
изделия (металл, электронные платы, элементы питания и т.д.) необходимо
разделить перед утилизацией. Утилизацию изделия необходимо проводить
в соответствии с действующим законодательством местности, в которой
производилась его эксплуатация.
НЕ ЗАГРЯЗНЯЙТЕ ОКРУЖАЮЩУЮ СРЕДУ!
СОДЕРЖАНИЕ ДАННОГО РУКОВОДСТВА МОЖЕТ БЫТЬ ИЗМЕНЕНО В ЛЮБОЕ
ВРЕМЯ БЕЗ ПРЕДВАРИТЕЛЬНОГО УВЕДОМЛЕНИЯ.
ВСЕ РАЗМЕРЫ ПРИВЕДЕНЫ В МИЛЛИМЕТРАХ, ЕСЛИ НЕ УКАЗАНО ИНОЕ.
 Loading...