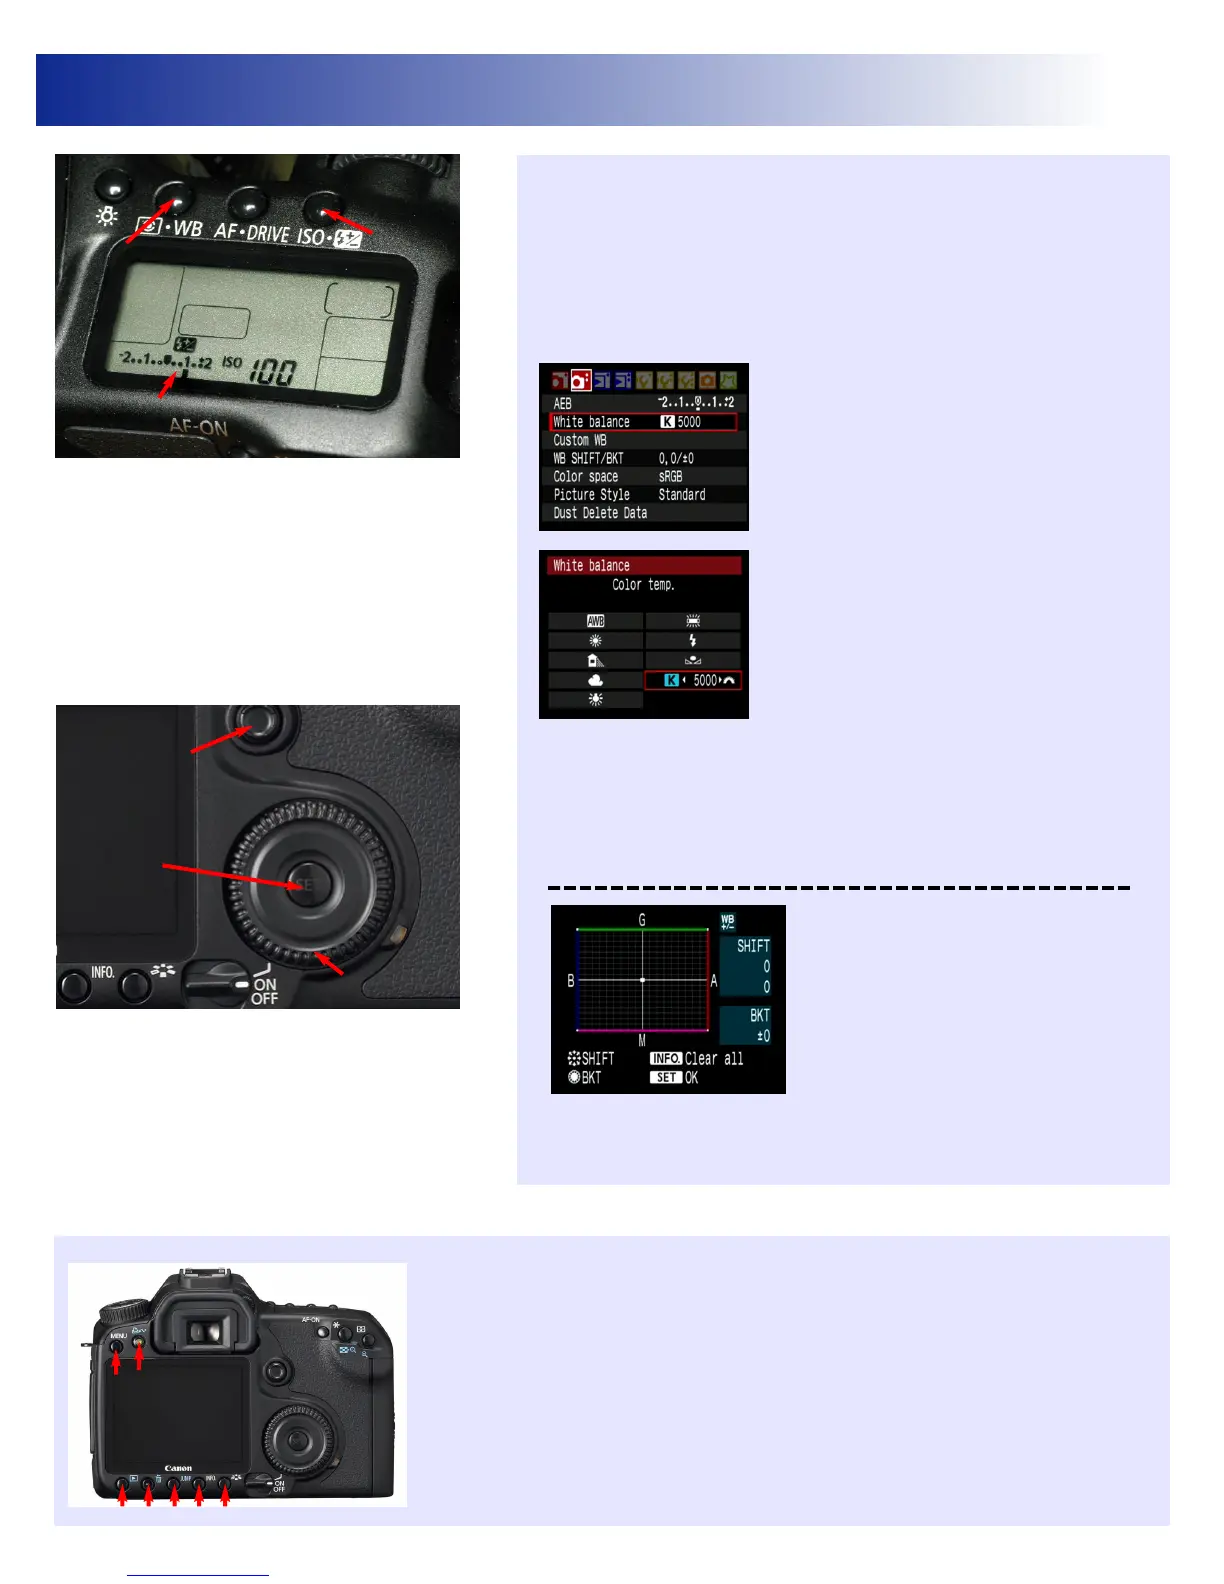
For properly exposed clinical photos, the 40D must
be set to increase the exposure by 1 f-stop.This is
set through the EXPOSURE COMPENSATION BUTTON
(shown above). Press the button and then turn the
QUICK CONTROL DIAL (shown below) to set the
exposure compensation at +1 (as shown). Be sure
to reset this setting to 0 if you are using the camera
recreationally.
The QUICK CONTROL DIAL (QC) is used to adjust
settings on the camera. When you are in PLAY
mode, the QC Dial allows you to view all of the
images on the memory card. When you access the
camera settings through the MENU button (see
below), the QC DIAL allows you to scroll through
the menu choices. Press the SET button to choose
menu options.
Additional Camera Buttons
•A - MENU - used to turn on the menu to choose the camera settings
•B - PRINT - used to print when connected to a printer
•C - PLAYBACK - used to turn PLAY mode on and off
•D - ERASE BUTTON - deletes images in PLAY mode
•E - JUMP - in PLAY mode, use this button to jump from the first to the last image
•F - INFO - shows the state of the camera or press while viewing an image in PLAY mode
to view the settings that were used to take the photo and a histogram of the image
•G - PICTURE STYLE SELECTION BUTTON - allows you to set different Sharpness,
Contrast, Saturation, Color Tone, Filter Effects and Toning Effects for different types of
subjects (see pages 61-66).
PhotoMed Quick Start Guide
page 2
Exposure
Compensation
Button
White Balance
Button
Exposure
Compensation Scale
(set to +1)
B
A
CDEFG
Quick
Control Dial
Multi
Controller
Quick
Command
“SET” Button
For proper color, the White Balance (WB) must be set to the proper setting.
Press the WB button (shown at left) and turn the QUICK CONTROL DIAL
and you will see the choices change on the left side of the LCD display on
the top of the camera. Choose the "K" symbol.
This is called the KELVIN (or color balance) white balance setting. This
setting allows you to adjust the image color in very fine degrees (100°K
increments - from 2500°K to 10,000°K).This feature offers you the ability
to fine tune the color for your lighting
environment.
To set the KELVIN setting, press the MENU
button navigate to the 2nd menu tab. Scroll
down to the WHITE BALANCE option (as
shown). Press the SET button to choose the
WHITE BALANCE option. Using the MAIN
DIAL (see page 1), you can change the color
temperature in 100°K increments. We have set
your camera to 5000°K. Under the standard
fluorescent lights in our office, this setting gave
us images with very realistic color. Your office
lighting may be different or you may prefer a
slightly warmer or cooler color balance.
For a Warmer color balance: set the color temp to a higher number
For a Cooler color balance: set the color temp to a lower number
If you use the camera outside the office or for non-dental photos, set the
white balance to the AWB (auto white balance) setting. In this setting, the
camera will adjust for whatever type of lighting you are shooting in.
Canon has added a useful mode to the
40D called WHITE BALANCE SHIFT. In the
2nd MENU, choose WB SHIFT/BKT and
the grid shown appears on the LCD
screen. Using the MULTI CONTROLLER
(shown left), you can influence the image
color towards any of the four colors
shown: green, blue, magenta or amber.
The MULTI CONTROLLER allows you 8 directions of movement. Position
the white square within the grid to change your image color. Position the
white square back in the center of the grid to reset the WB SHIFT.
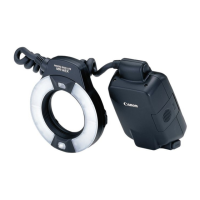
40D - Canon MR-14EX
© 2008, PhotoMed International. All rights reserved
 Loading...