ECCIII RIU Install Instructions
SUPERSEDES:
none
FORM NO:
RPW02-PGD1RIU-20140711
2 of 2
WIRING
Proper polarity and connection is essential for correct operation of the RIU. Improper wiring can
cause permanent damage. See below for the correct cable to connect the RIU (plug in back)
with each model controller. At minimum, cable must be 6-conductor (three twisted pairs), 16-20
AWG.
Controller Type of Cable Control Connection
ECCPCP RJ-12 Black Crossover Plug J10 at ECCPCP Ctrl
ICC RJ-12 Black Crossover Plug J10 CMI
For hard-wiring the RIU to the controller, refer to the field wiring diagram in the Installation and
Operation Manual specific to your unit.
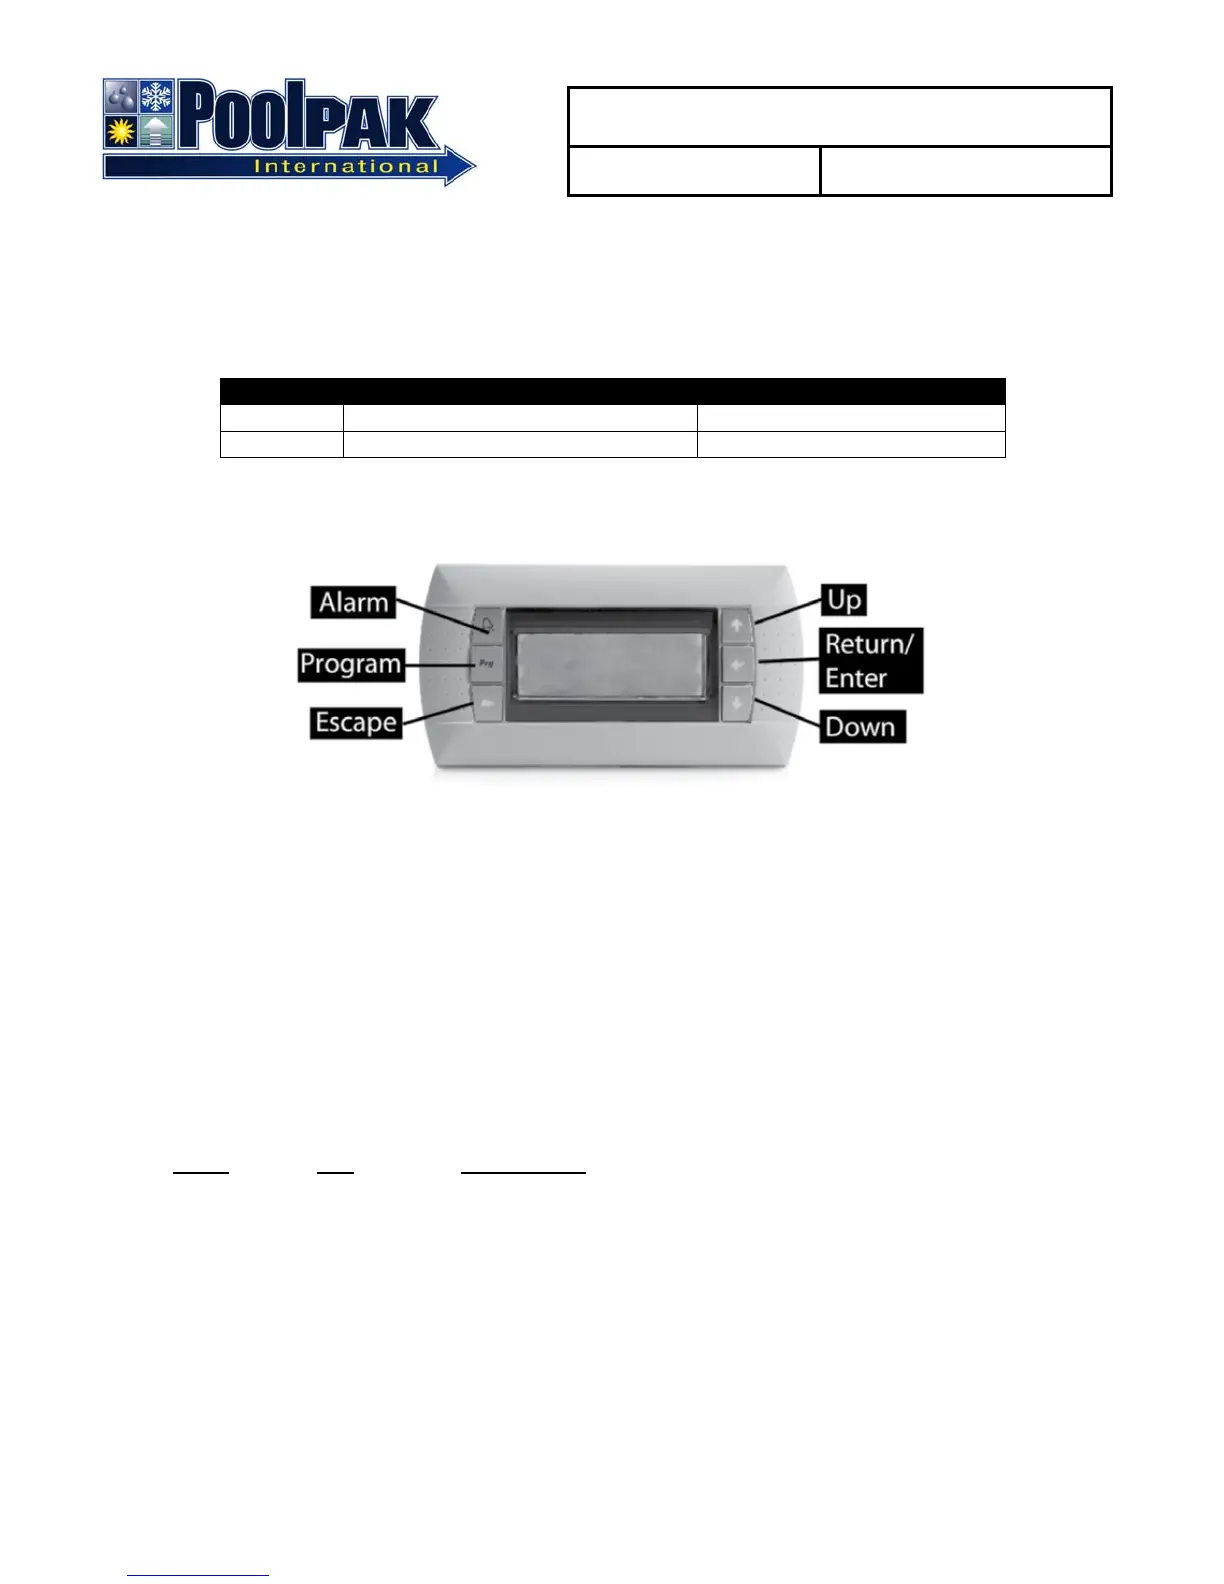
CONFIGURATION
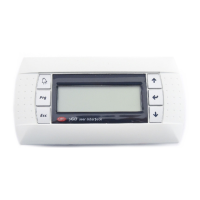
The RIU network address is set by pressing the UP, DOWN, and ENTER buttons
simultaneously and holding them down for approximately 5 seconds. The display will show
“Display address setting”. Press ENTER to move the cursor to the current address field. Use the
UP and DOWN buttons to change the address to either 10, 11, or 12 and press ENTER.
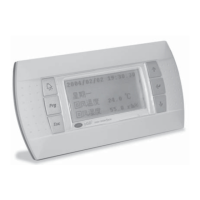
To configure the PGD1 RIU addresses, press the UP, DOWN, and ENTER buttons
simultaneously and hold them down for approximately 5 seconds. The display will show “Display
address setting”. Press the ENTER four times to move the cursor past the screens showing
“Display address setting”, “I/O Board address” and “Terminal config” Press ENTER to continue.
Use the keypad to enter the RIU configuration as follows:
P: 0x
Adr Priv/Shared (x = CM1 I/O address)
Trm1 10 Sh
Trm2 11 Sh
Trm3 12 Sh Ok? Y
When prompted “OK?”, select “Y” to save the configuration and to exit. The RIU will go blank
and then beep several times before bringing up the normal status display.
If you have any questions, please call the PoolPak Service department. (800) 959-7725
 Loading...