CAL
REG
OFF
PGM
X
Z
RF
MODE LOCK
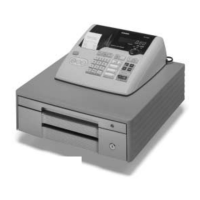
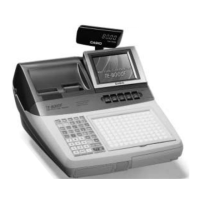
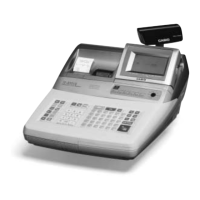
TE-M80
Quick Setup Guide
Making a Sale
2
Helpline Monday to Friday
8.30am to 4.30pm on
01924 438238 (Option 2)
Initial Setup
1
CAL
REG
OFF
PGM
X
Z
RF
MODE LOCK
FEED
C
X
DATE
TIME
ERR.
CORR
DEPT
SHIFT
RC
PD
CH CHK
MR
AC
%
#
NS
SUBTOT AL
CA AMT
TEND
789
456
12
0
00
3
14
9
15
10
13
8
45
3
13
8
2
11
6
1
Insert the Memory Protection Batteries
The batteries ensure the settings of the register are
stored even when the machine is powered off.
By entering the price of the goods and pressing the
appropriate department button you are preparing
and organising sales data for the end of day report.
• Insert the OP key
(operator’s key) and
turn the key to the
REG position.
• Enter the price of the
goods without the
decimal point and press
one of the department
buttons.
i.e. £1 equals 1 0 0 .
• To enter another sale repeat as above by
entering a price then a department button.
• Press the SUBTOTAL key
to show the amount due.
• If you would like to calculate change:
• Enter the value of money given by the customer.
i.e. £5.00 is entered as 5 0 0 .
(It is optional to enter the money given)
• Press the CA/AMT TEND key, or for non cash
sales press CHK or CH .
If a cash value was entered, the amount of change
due will be displayed on the screen.
• Turn the key to the REG position for normal use.
The cash register has two reporting modes, one for
printing out the information without clearing any
figures, this is referred to as the X Mode.
The second is for printing and clearing the figures
back to zero ready for the next day, this is referred
to as the Z Mode.
01 1.25
Example - End of Day Report
Departments can be
named as shown
overleaf
Monetary Amounts
Reporting
3
• CA/AMT TEND Daily End of Day Report
• 1 0 CA/AMT TEND Periodic End of Day Report
CORRECT
PRINTER
✓
PRINTER
INCORRECT
✗
Install the Paper
• Place the roll in the space
under the printer arm.
• Feed the paper underneath,
ensuring the excess is
brought forward over the
printer arm which will then close.
• Close the printer arm until it
locks steadily.
• The printer can be used as
either a customer receipt or
manager audit. The setting for
which is shown overleaf.
• If the roll is to be used
as an audit wind on to the
spool as shown opposite.
• Press the printer ‘OPEN’
button, located on the left
hand side of the register
below the printer section.
• Lift the printer arm where it
says ‘PUSH HERE’.
• Press the clip and lift the
cover off to remove the
battery cover.
• Insert 3 x AA batteries.
• Replace the cover.
Department
• Insert the PGM key
(program key) and turn
to either the:
The X position to print without
clearing or
Z position to print and clear sales.
Press one of the keys from the table below to print out
the required report: