If you ordered the optional accessories set, see Installing Optional Chassis Accessories on the Cisco ASR
9910 Router, on page 92 to install both the base and optional accessories.
Note
If you did not order the optional accessory set, follow these steps to install the supplied base chassis accessories
on the Cisco ASR 9010 Router:
Procedure
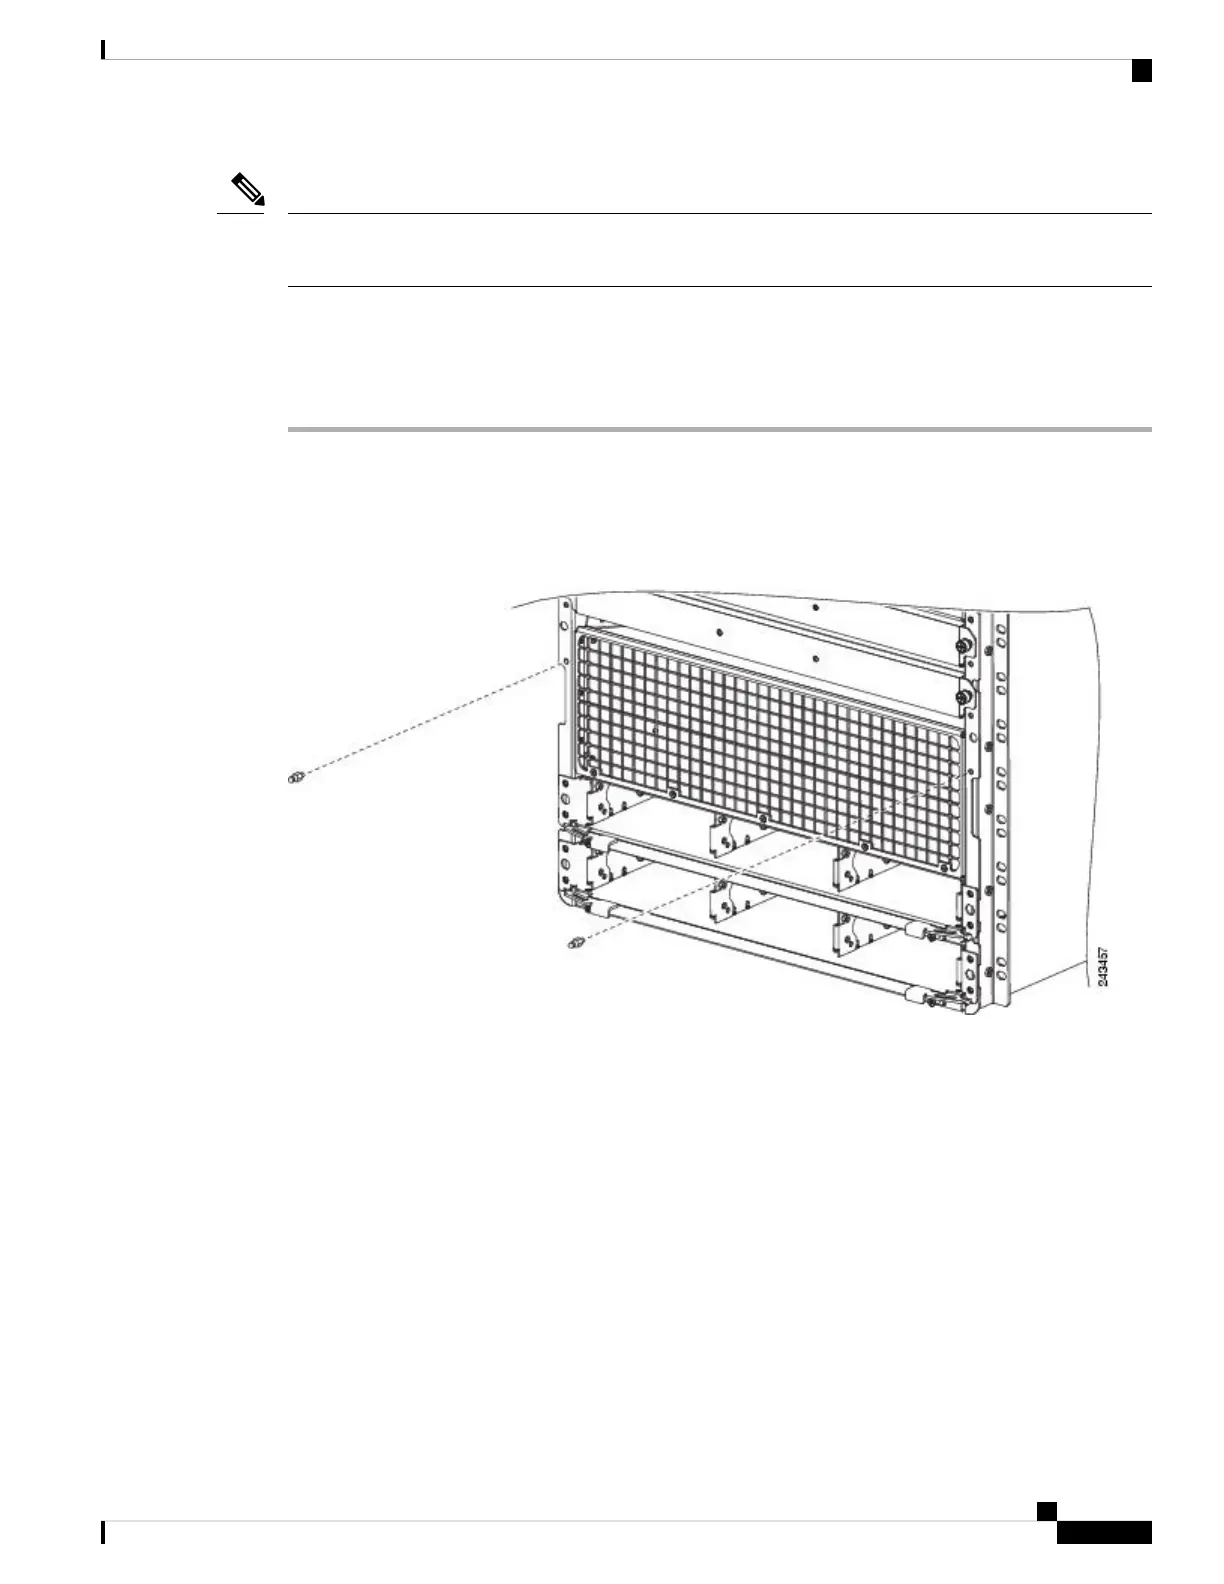
Step 1 Install two ball studs (one per side) into the chassis front edge (see the figure below) near the top of the chassis
grill. Tighten the ball studs to a torque of 8 in-lb (0.90 N-m).
Figure 68: Installing Ball Studs: Version 1 Power Cisco ASR 9010 Router (Base Accessories Installation)
Step 2 Attach two plastic strips (one per side) along the chassis front edge. The bottom tab of each strip attaches to
the hole about 2 inches above the ball stud locations (Figure 69: Installing Base Chassis Accessories on the
Cisco ASR 9010 Router, on page 70).
Step 3 Attach the accessory grill to the chassis in front of the chassis grill. The top of the accessory grill attaches to
the ball studs.
You must install the lower fan tray before attaching the accessory grill. The lower fan tray slot is
located behind the accessory grill. See Installing Cards and Modules in the Chassis.
Note
Unpacking and Installing the Chassis
69
Unpacking and Installing the Chassis
Installing Base Chassis Accessories on the Cisco ASR 9010 Router
 Loading...


