5
Connecting a PC
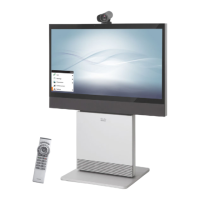
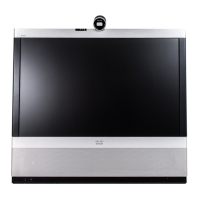
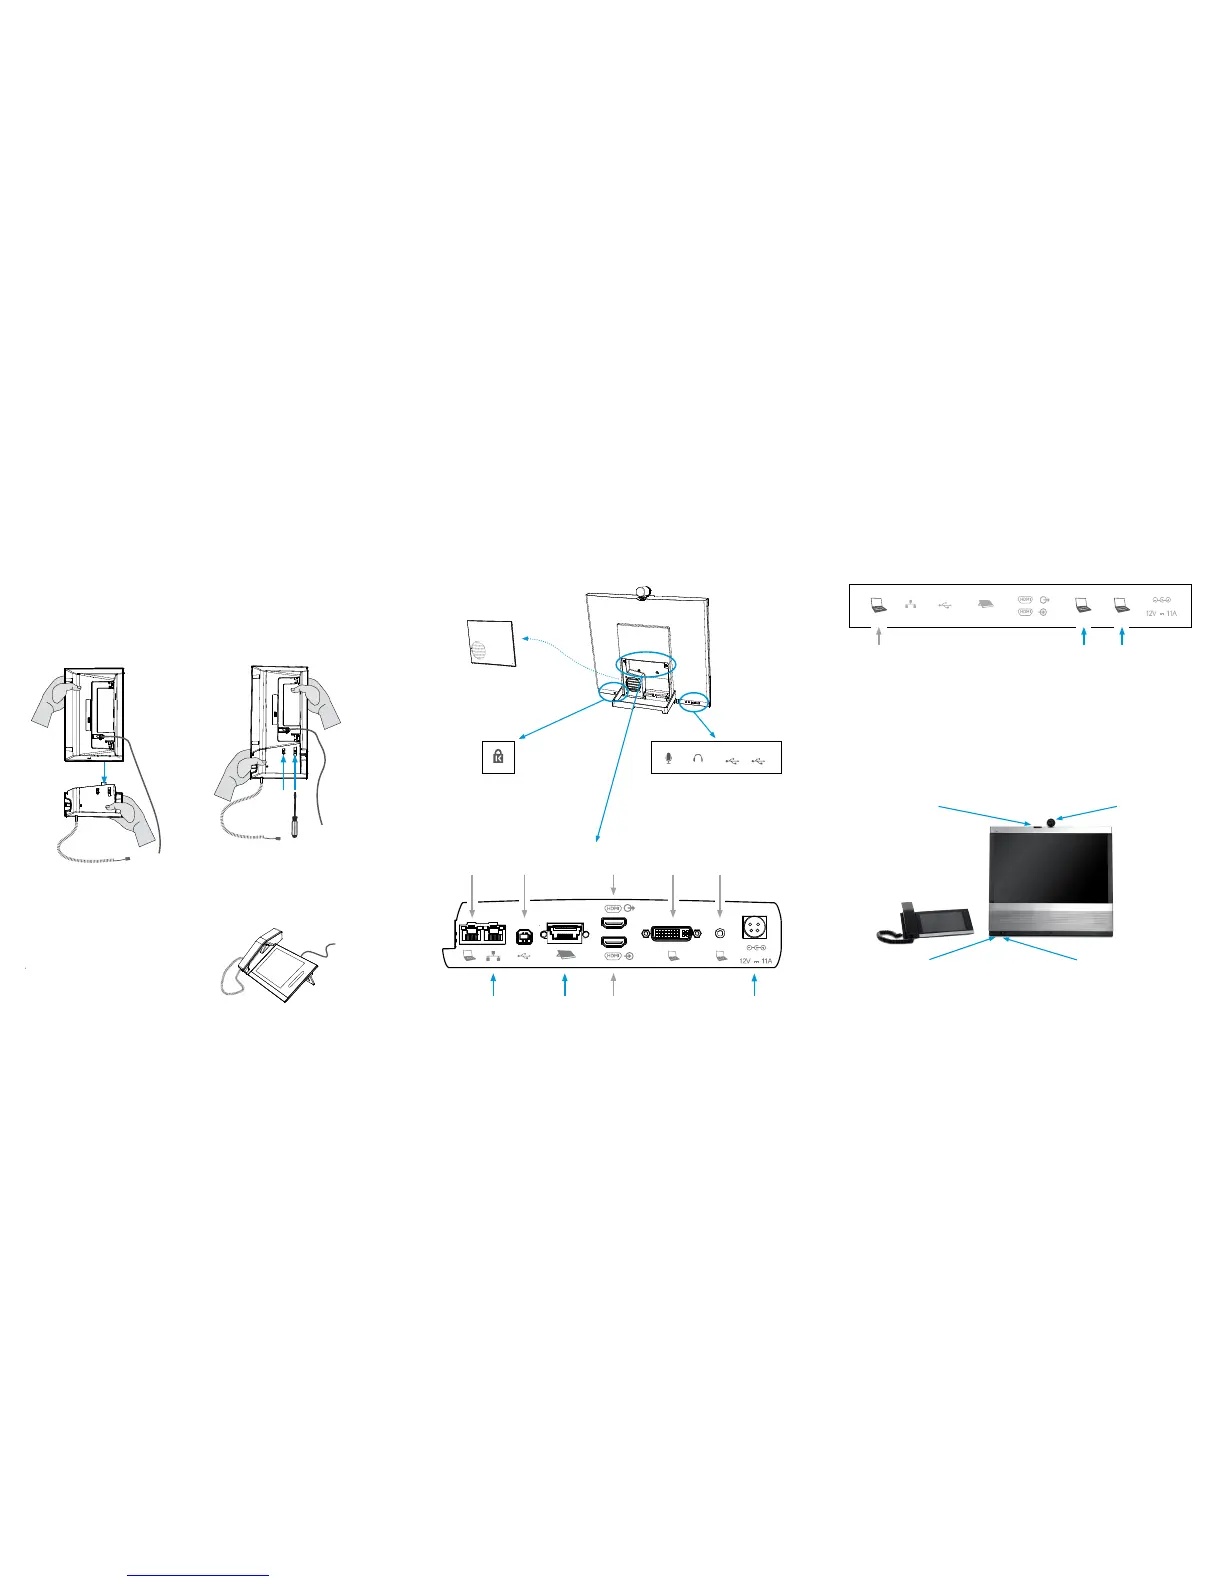
On/Off touch button
• Tap the touch button once to
turn on/off the monitor.
• Press gently and hold the touch
button to shut down the system.
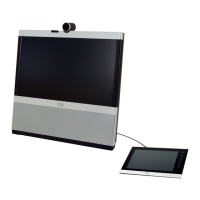
Camera
• Turn to open/close
the privacy cover.
• Tilt downwards to
use as document
camera.
LED
• Steady amber color when
the system is in a call.
• Blinking when incoming/
outgoing call and when
booting.
LED
• Steady green color when the
system is in use.
• Blinking when in standby.
• Blinks once when the touch button
is pressed, to indicate registered
activity.
6
Starting the system
The optional PC connection
If you have a single LAN wall outlet only, you may
connect your PC to the PC-socket of EX90. Your PC
and the EX90 will then share the LAN connection.
Cables
The cables are found in the long rectangular box,
see the previous page.
Optional
PC connection,
RJ45
Remove the cover
to get access to the
connectors at the
rear side.
Local area
network (LAN)
Touch screen Power supply
(use the supplied
AC adapter)
Optional PC
connection
For future
use
Optional
HDMI output
Optional
HDMI input
Optional PC
video input
Optional PC
audio input
Micro-
phone
Headset 2 x USB
B
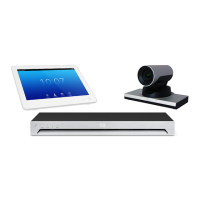
Fasten the two units together. The screws
are pre–mounted in the handset base.
Use the screwdriver and fasten the screws at the
handset base from the underneath.
A
Take the touch screen and the handset
base and hold the two units in an upright
position.
Move the two units together. Make sure the
protruding contact on the handset base slides into
the corresponding hole on the touch screen.
C
Connect the handset to the handset
base, and connect the handset cable.
Touch
screen
Handset
base
3
Optional: Mounting the handset
Tool: Screwdriver
 Loading...