Do you have a question about the Craftsman 247.886640 and is the answer not in the manual?
| Brand | Craftsman |
|---|---|
| Model | 247.886640 |
| Category | Snow Blower |
| Language | English |
Model Number, Serial Number, and Date of Purchase for future reference.
Read and follow all instructions before assembly and operation. Keep manual for reference.
Inspect area, wear safety glasses, proper clothing, use extension cords, adjust housing height.
Do not put hands/feet near rotating parts. Use safety devices. Never run engine indoors.
Check safety devices, bolts, labels. Observe disposal laws. Prepare for storage.
Remove staples, loose parts, cut carton corners, remove packing material, roll out unit.
Requires two 7/16" wrenches or adjustable wrenches for assembly.
Attach handles to panel using bolts, washers, and nuts. Do not fully tighten yet.
Attach speed selector plate to handles using self-tapping screws.
Insert shift lever through plate and secure with hex bolts and nuts.
Route and attach control cables to grips and panel. Adjust for minimal slack.
Place chute, attach keepers with bolts and nuts. Tighten securely.
Attach chute directional control to bracket and handle using washers, clip, and nuts.
Check auger control adjustment. Adjust cable slack by loosening lock nut.
Adjust traction control and shift lever for smooth movement and proper stopping.
Adjust skid shoes for clearance and wear. Refer to assembly section.
Check tire pressure. Maintain 15-20 psi. Avoid overinflation.
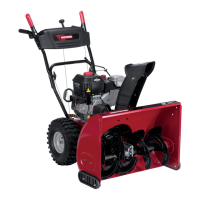
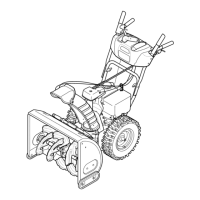
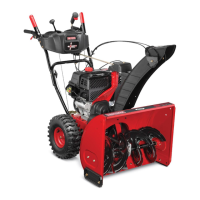
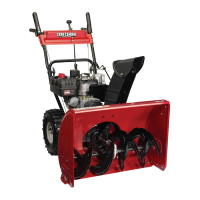
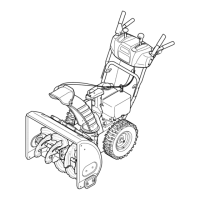
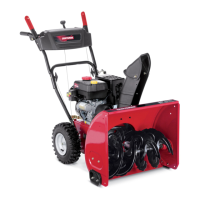
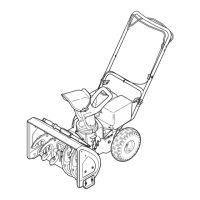
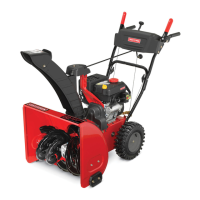
Familiarize with Shift Lever, Auger Control, Traction Control, Throttle, Chute Control, Ignition Key.
Move throttle to 'stop'. Remove ignition key. Disconnect spark plug wire.
Read instructions, check oil, attach spark plug wire before starting.
Fill fuel tank outdoors with clean, unleaded gasoline. Do not overfill. Avoid spills.
Ensure controls disengaged, throttle FAST, ignition key inserted.
Use grounded cord/receptacle. Connect, plug in, push starter, move choke.
Set choke, push primer, pull starter handle rapidly. Adjust choke as engine warms.
Run engine to dry moisture. Disconnect power cord or unplug spark plug wire.
Move shift lever. Squeeze auger and traction control grips to engage.
Observe safety rules. Warranty excludes abuse. Maintain unit as instructed.
Make periodic adjustments. Check fasteners. Follow maintenance schedule.
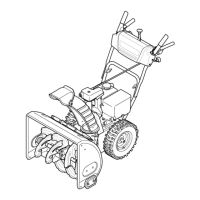
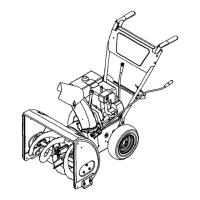
Lubricate wheels, chute control, auger shaft, gear shaft, drive mechanism, gear case, friction wheel.
Use high quality detergent oil. Select SAE viscosity by operating temperature.
Check oil level on level ground. Ensure it's at FULL mark on dipstick.
Change oil after first 2 hours and every 25 hours. Drain warm oil, refill with fresh oil.
Clean area, remove, inspect spark plug. Clean/reset gap or replace.
Adjust chute angle to control snow throw distance.
Adjust skid shoes for clearance and wear. Refer to assembly section.
Drain fuel/oil, tip unit, remove cover, adjust traction control cable.
Refer to page 9 for auger clutch adjustment.
Minor carburetor adjustments for fuel, temperature, altitude, and load.
Adjust drive wheels for one or both wheel drive using klick pin.
Check shear bolts. Replace if sheared from hitting foreign objects.
Check/replace shave plate and skid shoes as they wear. Remove/reassemble with bolts.
Disconnect spark plug wire. Drain fuel. Remove belt cover, unhook spring, slip belt off.
Remove plastic cover, then remove auger belt from engine and auger pulleys.
Pull idler pulley, lift belt off pulleys. Loosen stop bolt, rest bracket on pulley.
Replace friction wheel rubber if worn/cracked. Disconnect wire, drain fuel, tip unit.
Never store with fuel indoors. Prevent gum deposits. Empty fuel system.
Rustproof equipment with oil. Remove dirt. Follow lubrication. Store clean and dry.
Map showing location and part numbers for safety/decorative labels.