2
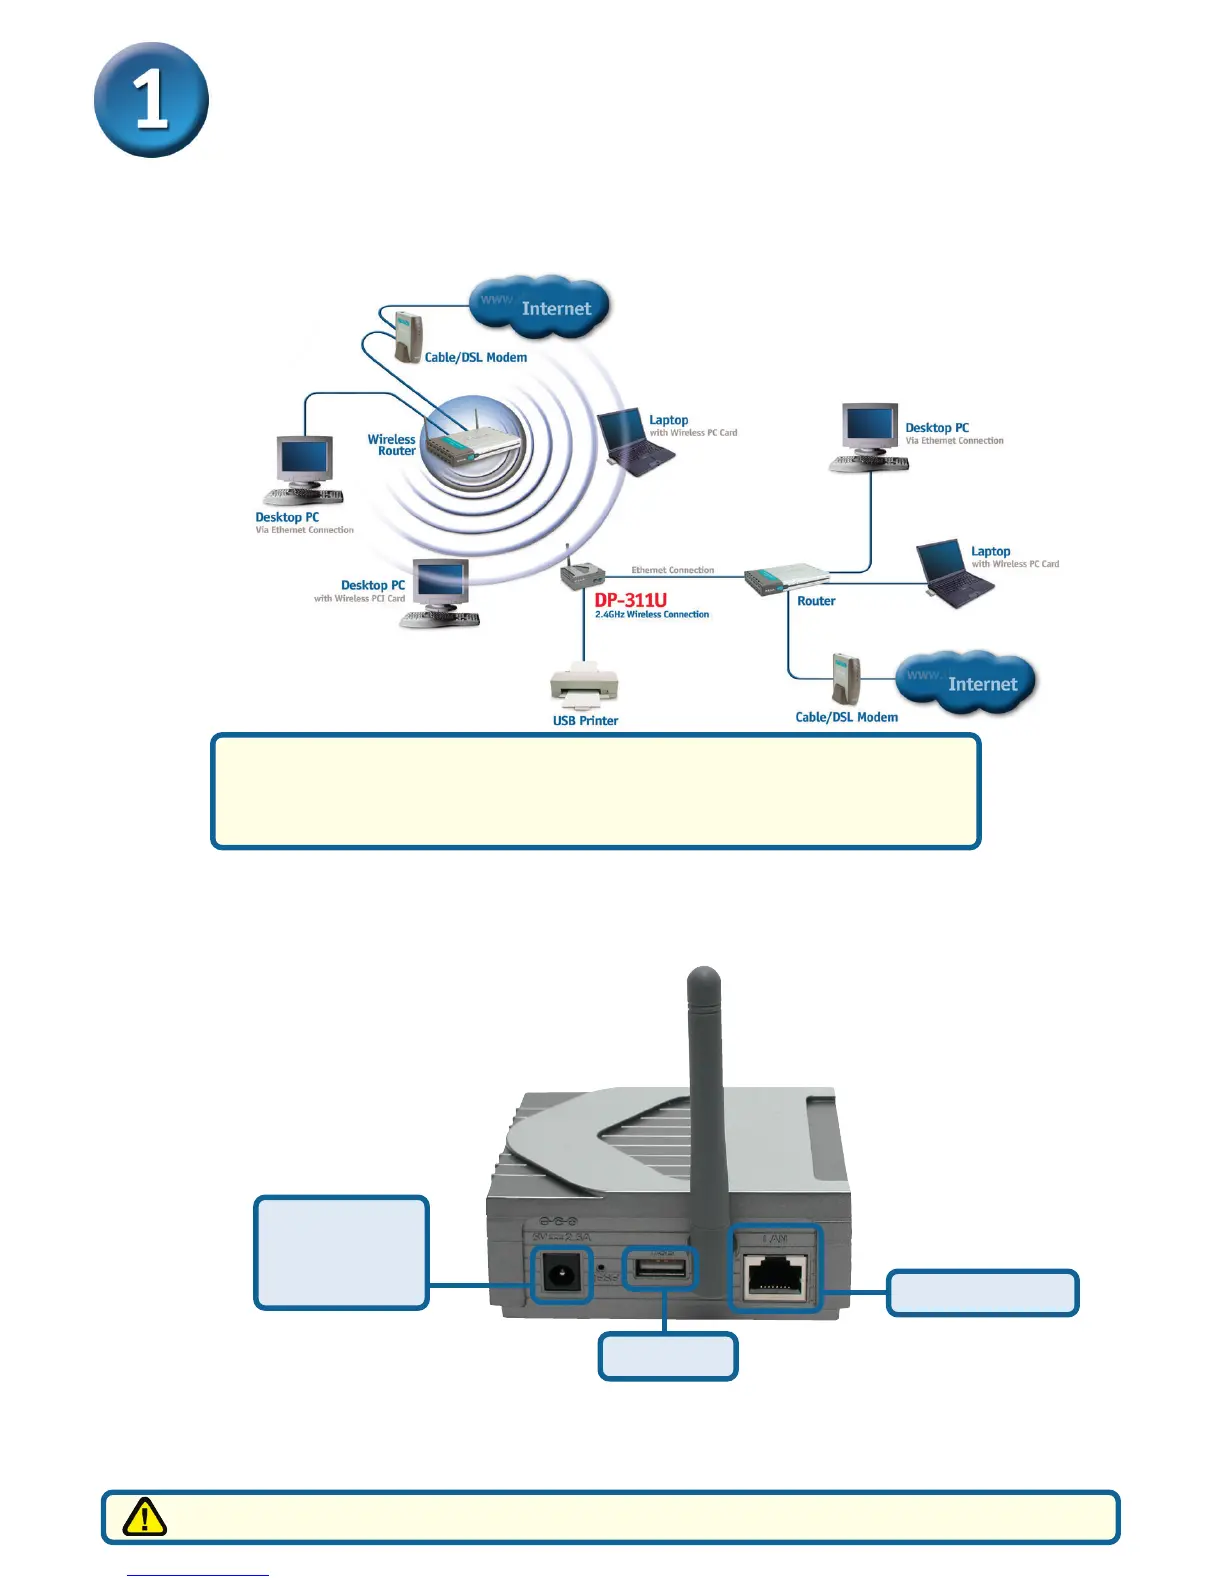
Next, make sure that the Printer is turned OFF.
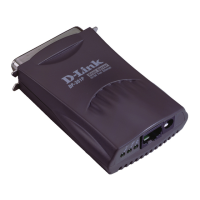
Using the USB cable, connect one end of the cable to the USB port
of the DP-311U (shown below) and the other end to the USB port of
the printer. Turn ON the printer.
Then, plug one end of the power adapter into the DP-311U and the
other end into your electric outlet. The DP-311U will turn on and begin
a self-test.
Connecting The DP-311U To Your Network
For Mac OS printing, please refer to manual (.pdf) located on the CD-ROM.
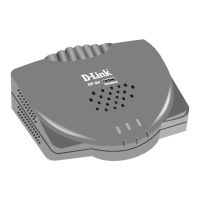
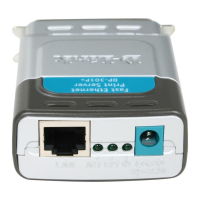
USB Port
Receptor for
AC Power
Adapter
Network Port
First, insert one end of a straight-through CAT5 Ethernet RJ-45 cable
into the “Network Port” (shown below.) Connect the other end of the
cable to the LAN port of the gateway or switch. Note: Do not con-
nect the power cord to the DP-311U until you are advised to do
so.
Warning!
Only a USB printer may be connected to the USB port of the DP-311U. Do
not connect any other USB device to the USB port; doing so may damage
the unit, voiding the warranty for this product.
 Loading...