9 | Finishing the indoor unit installation
Installer reference guide
43
CTXM15+FTXM20~42+ATXM20~35R2/5V1B + FTXM50~71R2V1B +
ATXM50R2V1B
Daikin room air conditioner
4P518023-8G – 2020.06
2 Pass the drain hose and refrigerant pipes through the wall hole.
9.3 To fix the unit on the mounting plate
1 Set the indoor unit on the mounting plate hooks. Use the " " marks as a
guide.
2 Press the bottom frame of the unit with both hands to set it on the bottom
hooks of the mounting plate. Make sure that the wires do NOT get squeezed
anywhere.
Note: Take care that the interconnection cable does NOT get caught in the indoor
unit.
3 Press the bottom edge of the indoor unit with both hands until it is firmly
caught by the mounting plate hooks.
4 Secure the indoor unit to the mounting plate using 2 indoor unit fixing screws
M4×12L (accessory).
9.4 To close the indoor unit
9.4.1 To re-install the front grille
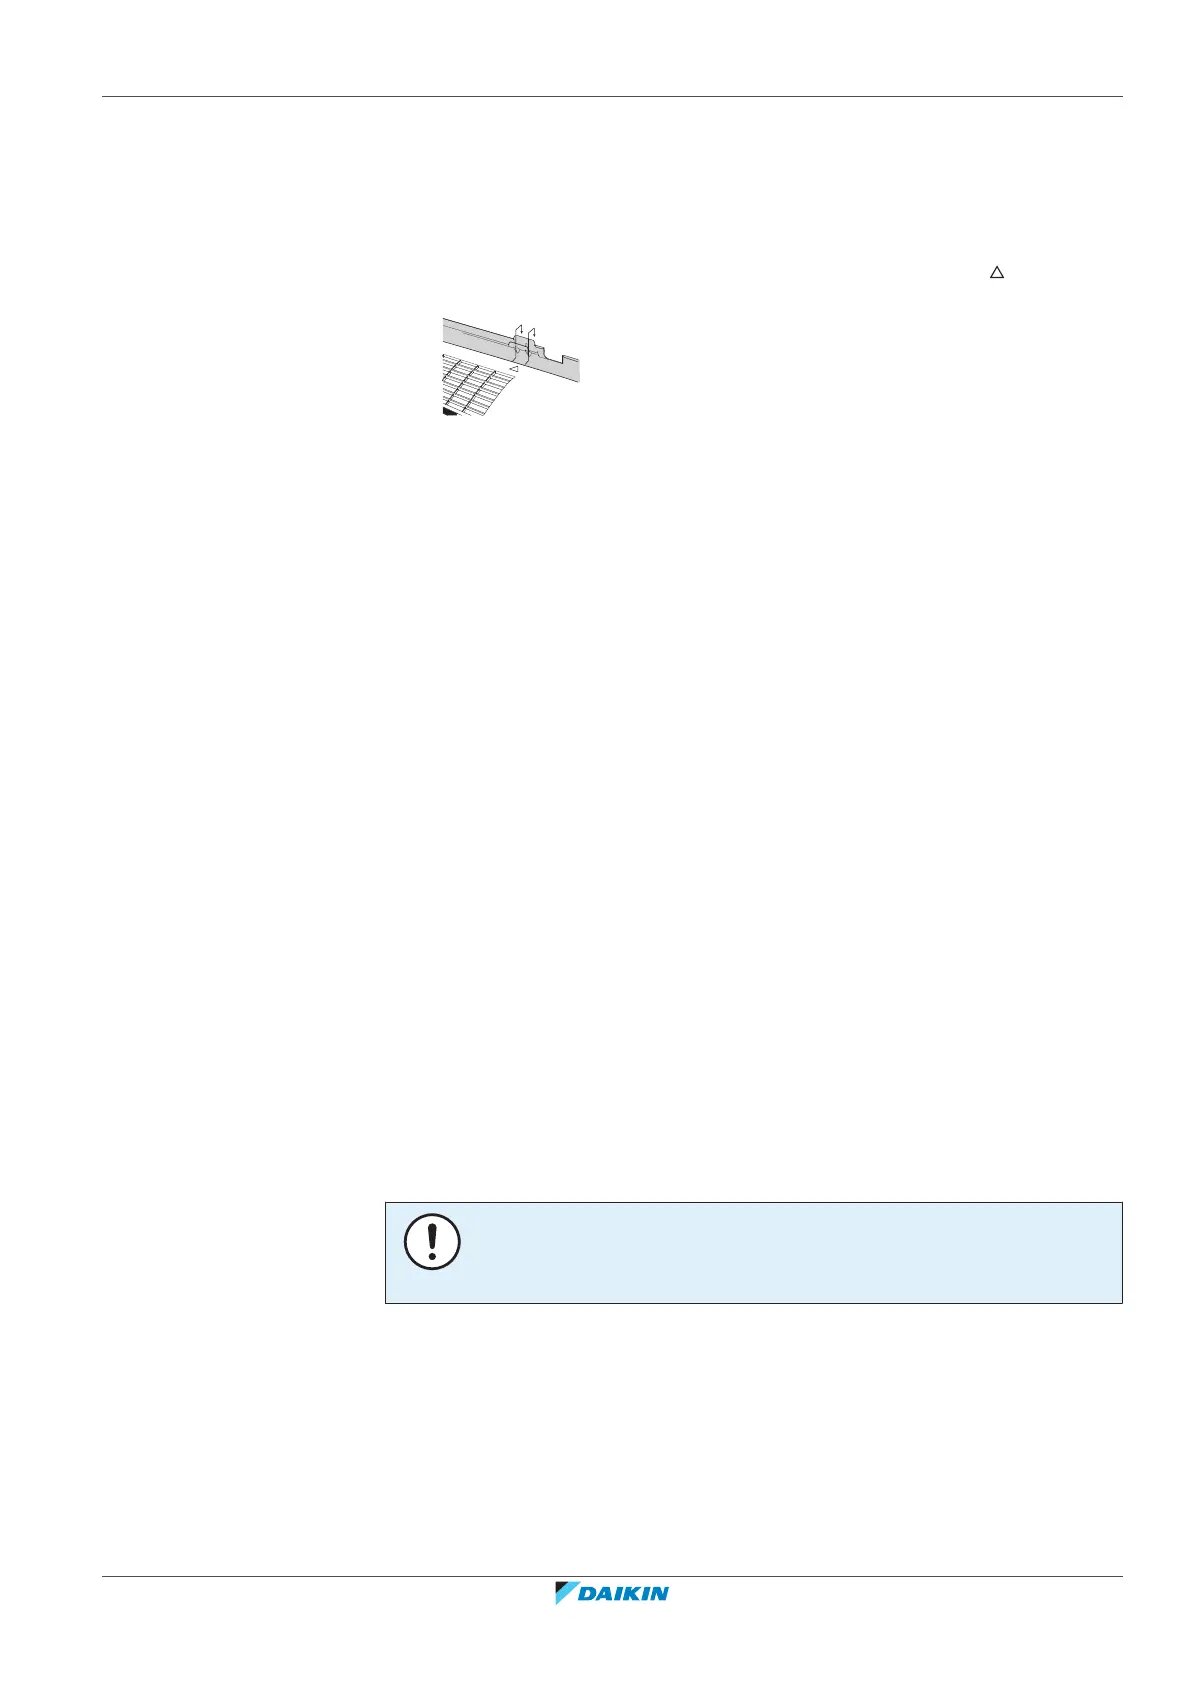
1 Install the front grille and firmly engage the 3 upper hooks.
2 Install 2 screws (class 15~42) or 3 screws (class 50~71) back on the front grille.
3 For class 50~71 re-install the lower flap (horizontal blade). Connect the 2
centre connection points. Hook the right side of the blade to the shaft. Hook
the blade on its left side.
4 Install the air filter, mount the front panel and close it.
9.4.2 To close the service cover
1 Place the service cover to its original place on the unit.
2 Install 1 screw back on the service cover.
NOTICE
When closing the service cover, make sure that the tightening torque does NOT
exceed 1.4(±0.2)N•m.
9.4.3 To re-install the front panel
1 Attach the front panel. Align the shafts with the slots and push them all the
way in.
2 Close the front panel slowly; press at both sides and at the centre.
 Loading...