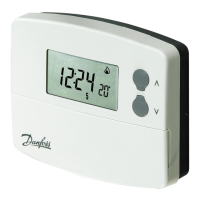
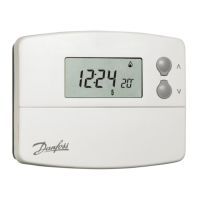
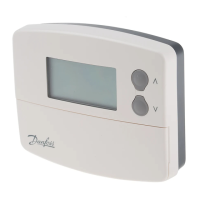
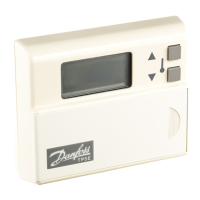
Fig.1
Space for additional
logo if required
TP5000
User Instructions
Mon-Fri
Sat-Sun
Event Time Temp°C Event Time Temp°C
1 06.30 20 1 07.00 20
2 08.30 15 2 16.00 21
3 11.30 20 3 23.00 15
4 13.30 15 4 00.00 15
5 16.30 21 5 01.00 15
6 22.30 15 6 01.59 15
Fig.2
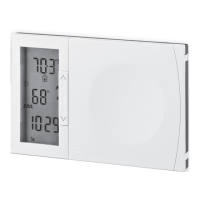
i2 00
1
Before programming the thermostat press the + & – AND
∧∧
∧∧
∧ and
∨∨
∨∨
∨ buttons
simultaneously to reset the unit (Fig.1)
Setting the Clock and Day
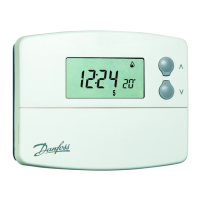
Press PROG (Fig.2) to begin programming
Use + or – buttons (Fig.3) to adjust the TIME (Fig.4)
Press PROG again (Fig.2)
Use + or – buttons (Fig.3) until correct DAY is shown (Fig.5)
(1 = Monday, 2 = Tuesday, etc)
Accepting the Factory Pre-settings
The TP5000 has pre-set times already programmed in, which often suit most
people (see Table below).
To accept these settings close the front cover and after 2 minutes the pre-
settings will automatically be accepted.
To adjust the factory pre-settings & set your own time and
temperature programmes
For Days 1-5 (weekdays)
a) Press PROG (Fig.2) 3 times to show the 1
st
pre-set time and temperature
(Event 1 Days 1,2,3,4,5) (Fig.6)
b) Use + or – buttons (Fig.3) to adjust the TIME (press and hold to change in
10 min increments)
c) Use
∧∧
∧∧
∧ or
∨∨
∨∨
∨
buttons (Fig.7) to adjust the TEMPERATURE
d) Press PROG (Fig.2) to move to next preset time & temp (Event 2) (Fig.8)
e) Repeat steps b, c & d for programming Events 3, 4 5 & 6
For Days 6-7 (weekends)
● Press PROG (Fig.2) to show 1
st
pre-set time and temperature (Event 1
Days 6-7) (Fig.9)
● Repeat steps b, c and d above to programme time and temperature events
for the weekend
Returning to RUN mode
Press PROG (Fig.2) – the colon in the LCD display will start to flash (Fig.10)
Fig.6
Fig.7
Fig.5
Fig.3
Fig.4
Fig.8
20
1
i2 24
20
12345
1
6 30
20
67
1
7 00
15
12345
2
8 30
Fig.9
Fig.10