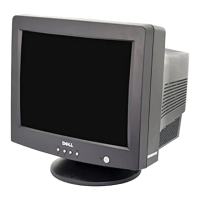
Dell E771mm Color Monitor Quick Setup Guide
2
6. Plug the power cables of your computer and your monitor into a nearby electrical outlet.
7. Turn on your computer and monitor. If the monitor does not display an image, refer to the troubleshooting
section of this guide.
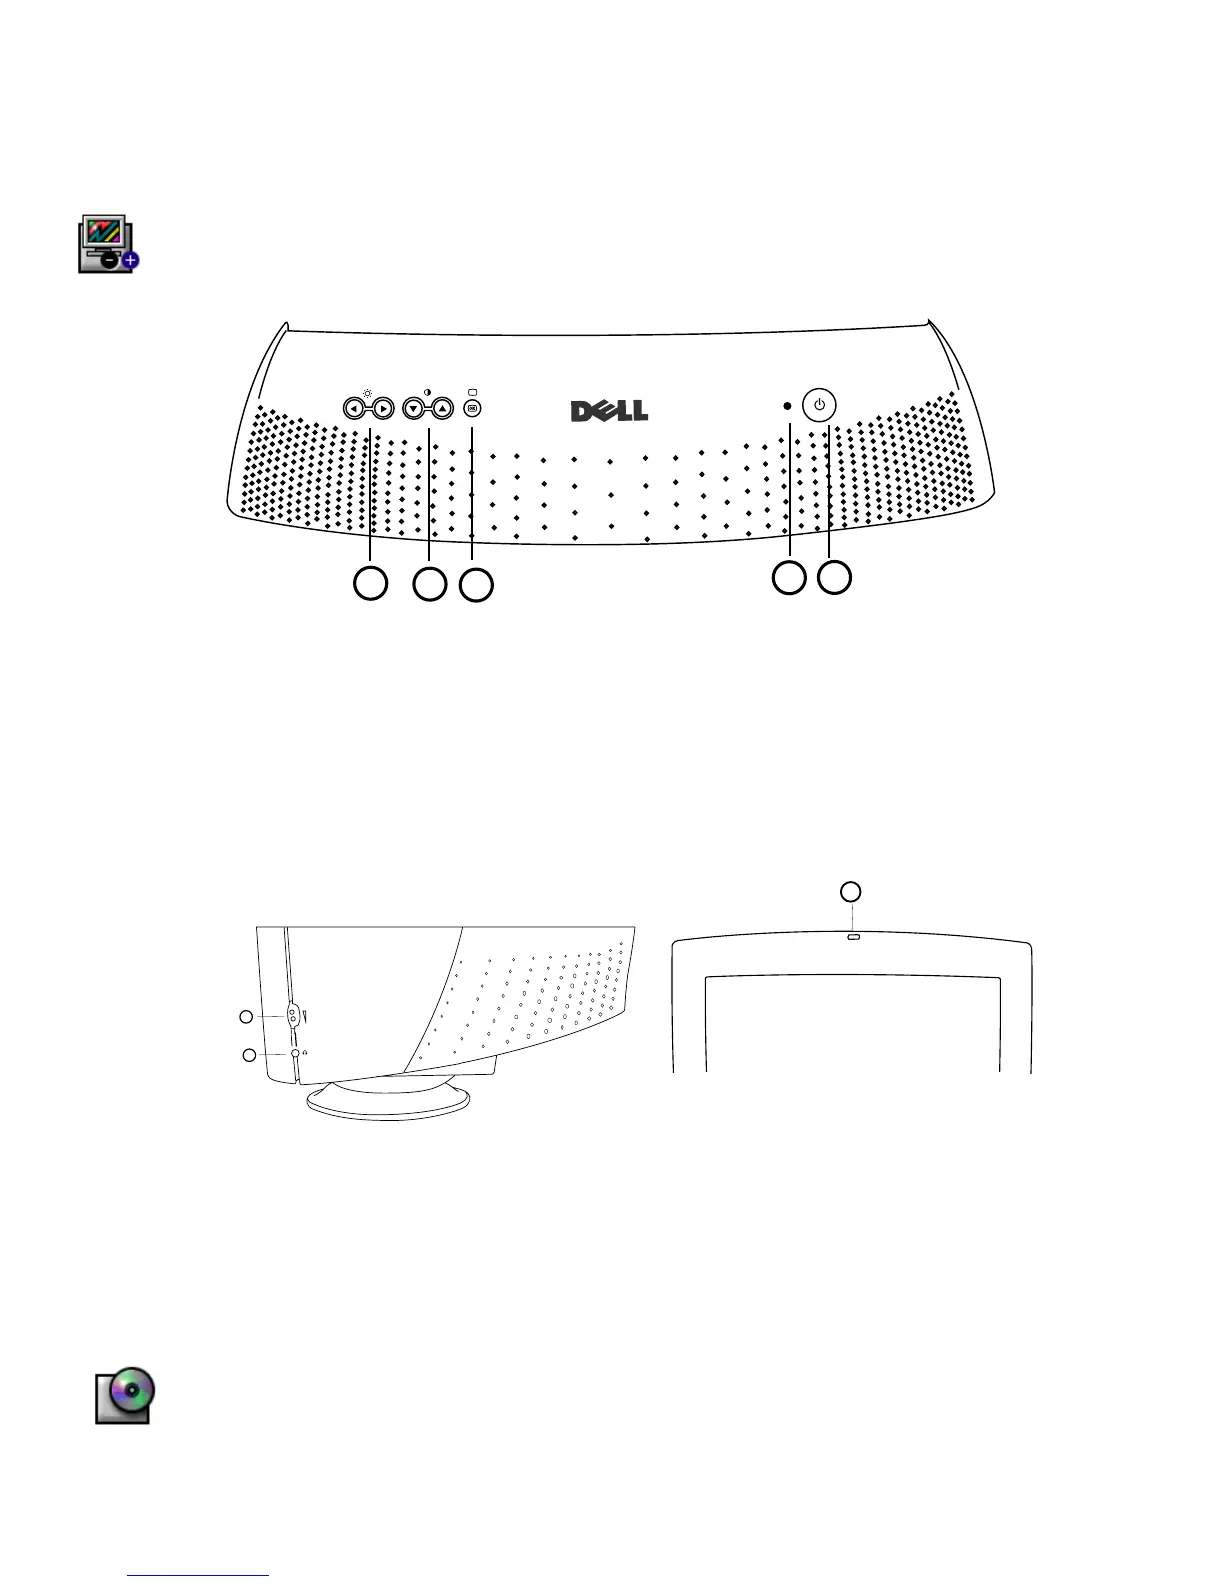
Monitor Controls and Indicators
1
2
4
3
5
1. Power button - Switches your monitor on.
2. Power Indicator - This light glows green during normal operation
3. "OK" button - When pressed it will take you to the Main OSD Menu controls.
4. Contrast hotkeys - Pressing either Up or Down arrow directly will adjust screen contrast (CONTRAST
control bar will appear on screen).
UP and DOWN buttons - These are also used for selecting other functions in the Main OSD Menu of your
monitor.
5. Brightness hotkeys - Pressing either Left or Right arrow directly will adjust screen brightness
(BRIGHTNESS control bar will appear on screen).
LEFT and RIGHT buttons - These are also used for adjusting other functions in the Main OSD Menu of
your monitor.
Audio Controls
1. Volume Control: Turn the rotary knob upwards (clockwise) to increase the sound volume.
2. Earphone connection – connect your earphone plug to the earphone connector (the speakers will be
switched off when earphone is plugged in).
3. Microphone located at top of front bezel : When recording sound, speak towards this location.
Driver Installation
Use the monitor CD to install the appropriate monitor driver for your operating system.
2
1
3
 Loading...