30
q
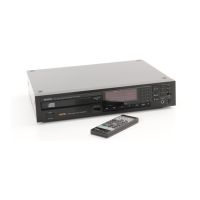
Number of heat run is display
(1) Press the
9
button while the error is displayed.
(2) No. heat runs is displayed for 5 seconds, the error display reappears.
(XXXX : No. of heat run repetitions)
w
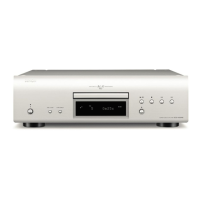
The track no. and time when the error occurred is displayed.
(1) Press the
8
button while the error is displayed.
(2) The track no. and time when the error occurred is displayed for 5 seconds, then error display reappears.
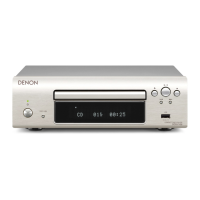
4. COLD START (INITIALIZE)
(1) AC is turned on while pressing the
5
and
9
button same time on this unit..
(2) The system is reset, and once this is completed the unit is set to the normal mode.
DIMMER : 100%
DISC/USB : DISC
REMOTE/BROWSE : REMOTE
(3) The laser current initial value and laser accumulated on time is not cleared
5. EEPROM TEST MODE
(1) AC is turned on while simultaneously pressing POWER and DISC/USB button.
(2) TEST start (turn off the POWER LED).
(3) After EEPROM TEST, in the case of OK, LED lights to the green.
(4) After EEPROM TEST, in the case of NG, LED lights to the red.
(5) Mode is cancelled with POWER OFF.
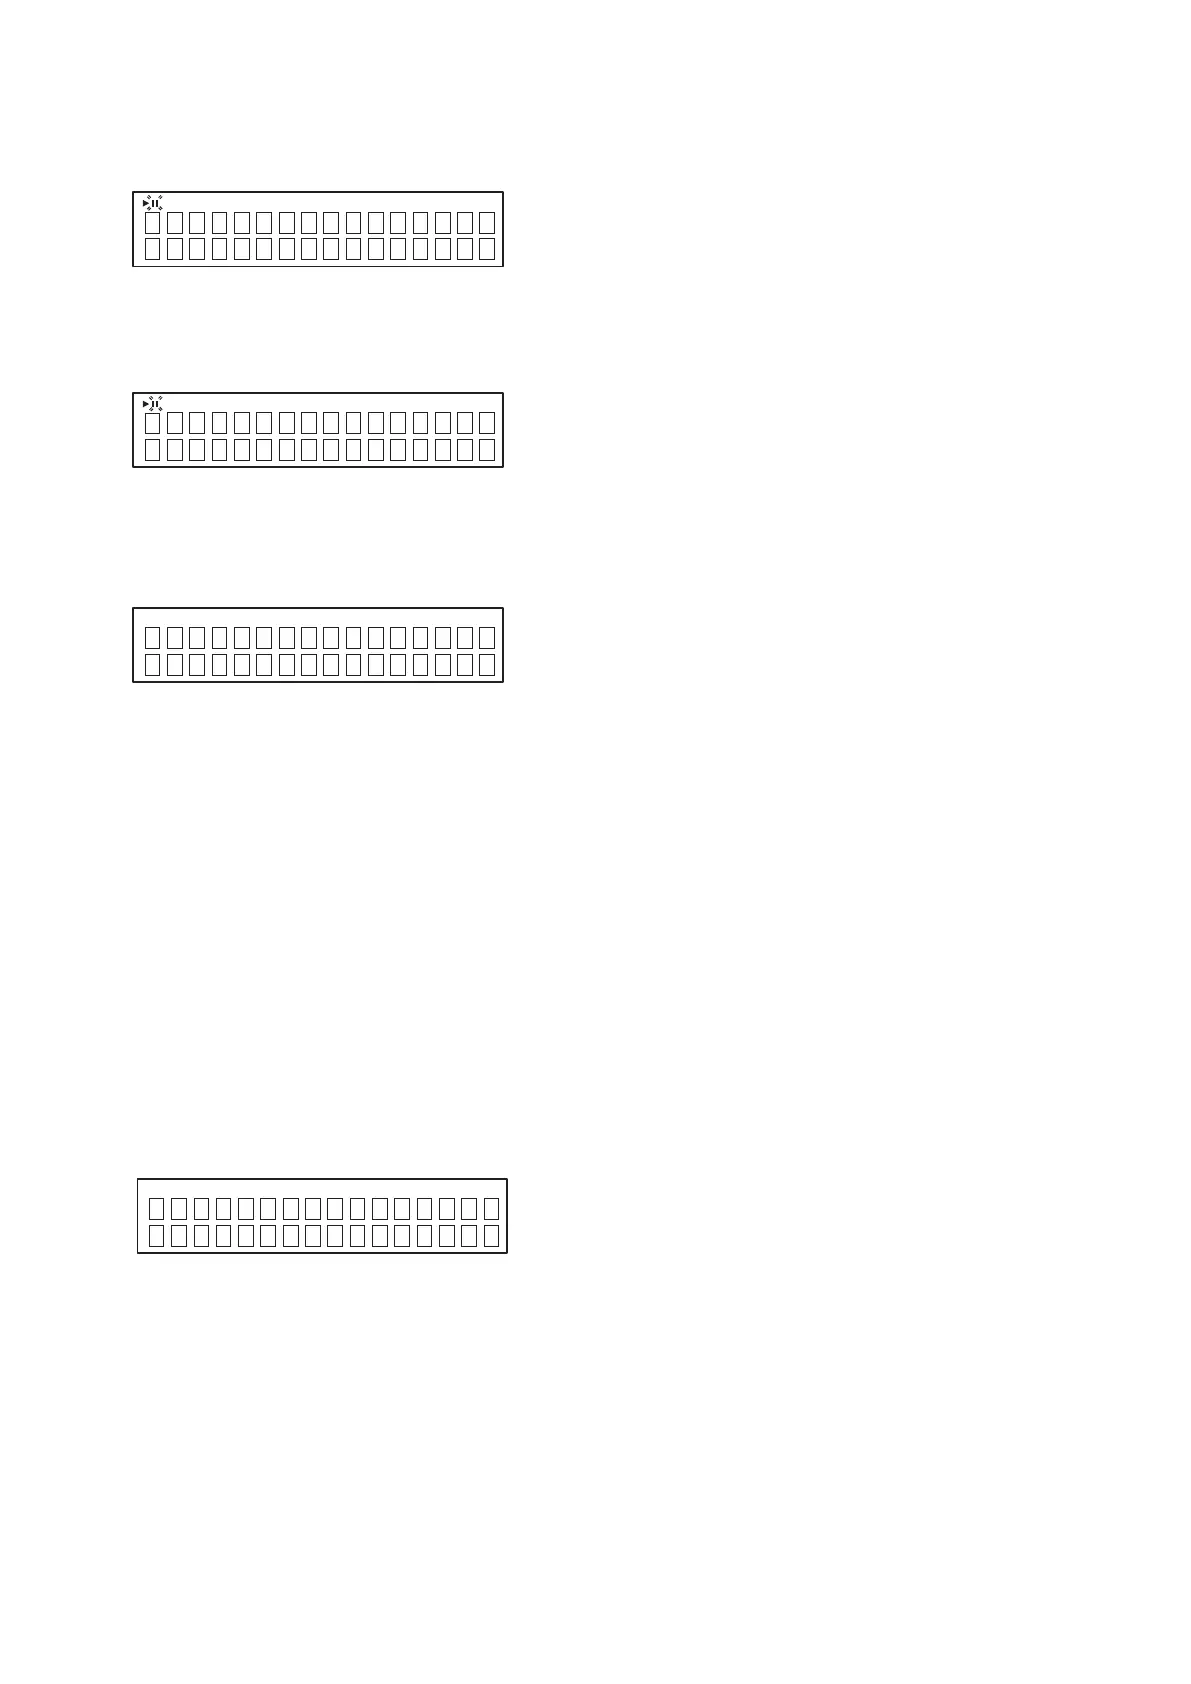
6. AUTO STANDBY TEST MODE
(1) AC is turned on while pressing the
5
and
8
button same time on this unit.(Entering the Service mode)
(2)
TheAUTOSTANDBYtimerissetto4minutes.
CD XXXX
CD 01
Tr
01:47
INITIALIZE
AUTO STANDBY
TEST MODE
 Loading...