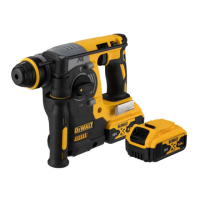
11
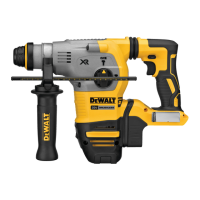
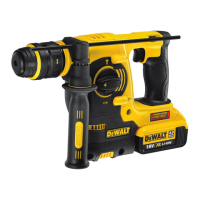
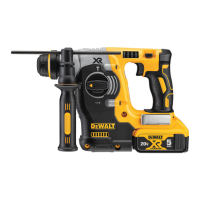
Mode Selector (Fig. 4)
CAUTION: Do not change to drill or hammerdrill mode with a chisel
bit in the chuck. Personal injury and damage to tool mayresult.
CAUTION: Never change the mode while the unit isrunning.
For straight drilling, rotate the mode
selector (D) until the arrow points to the drill
bit symbol (J). For rotary hammer mode,
align the arrow with the rotary hammer
symbol (K). For chipping mode, align arrow
with the chipping symbol (L).
NOTE: The mode selector (D) must be
in drill, hammer or chipping mode at all
times. There are no operable positions
inbetween.
Forward/Reverse Control Button (Fig. 2, 5)
A forward/reverse control button (C) determines the direction of bit
rotation and also serves as a lock-offbutton.
To select forward rotation, release the trigger switch (B) and depress
the forward/reverse control button on the right side of thetool.
To select reverse, depress the forward/reverse control button on the
left side of thetool.
The center position of the control button locks the tool in the
off position. When changing the position of the control button, be
sure the trigger isreleased.
NOTE: The first time the tool is run after changing the direction of
rotation, you may hear a click on start up. This is normal and does not
indicate aproblem.
FIG. 4
D
J
K
L
1. Position the utility hook into the extended position and remove the
hex headscrew.
2. Pull out the utility hook (J) until it is free fromunit.
3. Reinsert the utility hook into the desired side and push it into theslot.
NOTE: On some models the slot may be covered with a sticker.
Either remove the sticker or pierce the sticker to expose the
slotunderneath.
4. Re-insert the hex screw and tightensecurely.
If use of the hook is not desired at all, it can be removedcompletely.
J
FIG. 3
 Loading...