Office of the Chief Technology Officer Document Camera Quick Tips
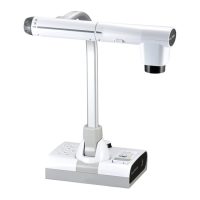
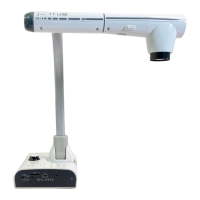
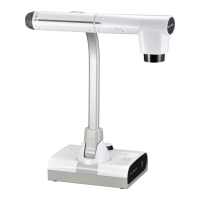
Montgomery County Public Schools Elmo TT-12
August 2012
Elmo Document Camera Quick Tips
How to Use the Elmo (document camera)
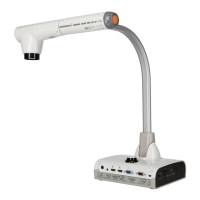
1. Turn on Elmo – The power switch is located on the left rear side of
the base. Light will be blue when the unit is on.
2. Turn on Projector or Promethean.
3. Put something on the Elmo stage.
4. Press the button marked with an Elmo icon located on the front of
the Elmo base under Input.
5. If there is still no image being projected, see troubleshooting tips
below.
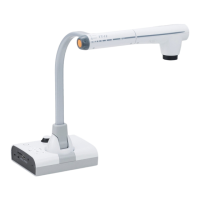
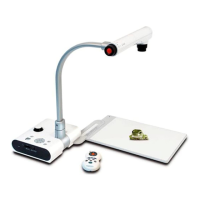
Using Books, Notes, or 3-D Objects with Elmo
1. Place item on Elmo stage.
2. Turn on the lamp – On the camera head, slide the lamp switch left, to the “On” position.
3. Adjust Zoom – Zoom in or out using the black zoom knob on the left of the camera head.
4. Adjust Focus – Press the orange button labeled “AF” (auto focus) located in the center of the zoom
knob.
Making annotations with the ELMO
Make sure Elmo is on and that PC is chosen on the ELMO.
When you are in ActivStudio, click on the "Annotate Over Windows" Icon from you toolbar
From the School Menu, navigate to "5. Windows Accessories" and double click on the "Image
Mate for Presentation - ELMO" shortcut to launch the ELMO software (it looks like a P)
When the software launches click on the Play button to view what is on the ELMO, and hit the Full
Screen button and the Promethean tool bar over the image.