CONTINUOUS
FEED
DISPOSERS
1
. Remove
stopper from
sink opening
and run strong flow
of
cold water.
2. Turn on wall
switch
to start disposer.
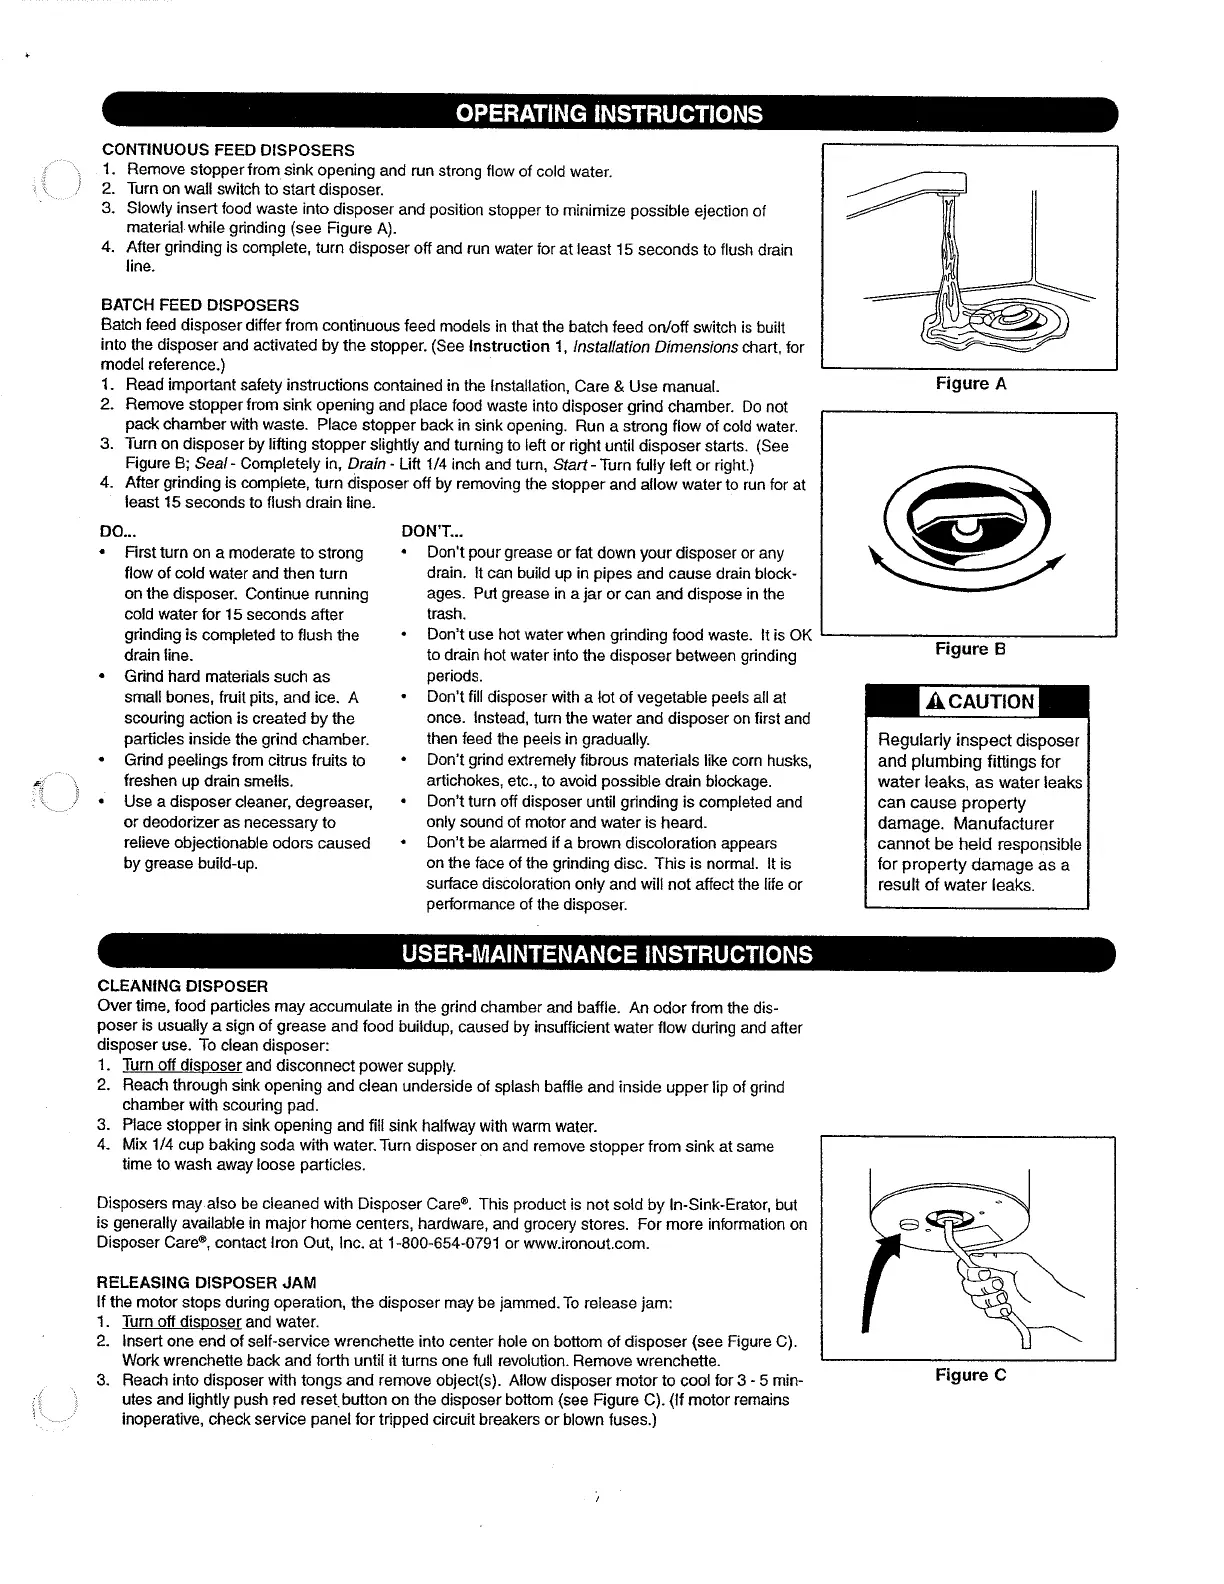
3.
Slowly ¡nsert food
waste into
disposer
and
position
stopper
to
minimize
possible
ejection of
material
while
grinding (see
Figure
A).
4.
After
grinding
is
complete, turn
d¡sposer
off and run water
for
at
least
15
seconds to
flush
drain
line.
BATCH
FEED DISPOSERS
Batch feed
disposer
differ from continuous
feed models
in that
the
batch
feed on/off
switch
is
built
into
the
disposer
and
activated
by
the stopper.
(See
lnstruction
1, lnstallation
Dimensions
d'tart,lor
model reference.)
l.
Read
important safety instructions
contained in the Installation,
Care & Use manual.
2. Remove
stopper from
sink opening
and
place
food
waste
into
disposer
grind
chamber- Do not
pack
chamber
w¡th
waste.
Place
stopper back in
sink opening.
Run
a
strong flow
of
cold water.
3. Turn on
disposer by lift¡ng
stopper
slightly and turning
to
left
or right
until d¡sposer starts.
(See
Figure B;
Sea/- Completely in, Drain
-
L¡tt 1/4 inch
and turn, Sfart-Turn
fully lett or right.)
4.
After
grinding
is complete,
turn disposer
off by removing
the stopper
and allow water to run for at
least 15
seconds to flush drain line-
DO...
Figure
A
Figure
:i
i t
First turn on
a moderate to strong
flow of cold water
and then turn
on lhe disposer.
Cont¡nue running
cold water
for 1 5 seconds after
grinding
is
completed to flush
the
drain
line.
Grind hard
mater¡als such as
small bones,
fruit
pits,
and ¡ce. A
scour¡ng action
is created by the
particles
inside
the
grind
chamber.
Grind
peelings
from citrus fruits
to
freshen
up drain smells.
Use a disposer
cleaner, degreaser,
or deodorizer
as necessary
to
rel¡eve object¡onable
odors caused
by
grease
build-up.
DON'T...
.
Don't
pour grease
or
fat down
your
disposer or any
drain. l1
can
bu¡ld
up in
pipes
and cause drain block-
ages. Put
grease
in a
jar
or can and dispose ¡n the
trash.
.
Don't
use hot water when
grinding
food waste. lt is OK
to drain hot water into
the disposer between
grinding
periods.
.
Don't
fill disposer with
a lo1 of vegetable
peels
all
at
once. lnstead,
turn
the
water
and disposer on first and
then feed
the
peels
in
gradually.
.
Don't
grind
extremely
fibrous materials like corn husks,
artichokes,
etc., to avoid
possible
drain blockage.
.
Don't
turn off disposer
until
grinding
is completed and
only
sound of
motor and water
is heard.
.
Don't
be alarmed if
a brown discoloration
appears
on
the face of the
grinding
disc. This is normal. lt is
surhce discoloration
only
and
will
not affect the life or
performance
of
the disposer.
ACAUTION
Regularly
inspect
disposer
and
plumbing
fittings
for
water
leaks,
as
water leaks
can
cause
propeny
damage.
Manufacturer
cannot
be
held responsible
for
property
damage as
a
result of
water leaks.
CLEANING
DISPOSER
Over
t¡me, food
particles
may
accumulate in
the
grind
chamber
and baffle. An
odor
from
the dis-
poser
is
usually
a
sign of
grease
and food buildup,
caused by insufficient
water flow
during and after
disposer
use. To
clean disposer:
1.
Turn off disposer
and
disconnect
power
supply.
2.
Reach through
sink opening
and clean underside
of splash bafile
and inside upper
lip
of
grind
chamber
with scouring
pad.
3. Place
slopper
in sink opening
and
fill
sink halfway
with warm water.
4-
Mix 114 cup baking
soda w¡th water. Turn
disposer on
and
remove
stopper from s¡nk at same
time
to
wash
away
loose
part¡cles.
Disposers
may
afso be cleaned w¡th
Disposer Care@. This
product
is not sold by ln-Sink-Erator, but
is
generally
available in
major home centers, hardware,
and
grocery
stores.
For
more information on
Disposer
Care@, contact lron Out,
Inc. at 1-800-654-0791
or
www.¡ronout.com.
RELEASING DISPOSER
JAM
If
the motor stops dur¡ng
operat¡on, the disposer
may
be
iammed.
To release
jam:
1. Turn off disposerand
water.
2. Insert one end
of self-service
wrenchette
inlo center hole on bottom
of
disposer
(see
Figure C).
Work
wrenchette back and forth until it turns one full revolution. Remove wrenchette.
3. Reach into
disposer
with
tongs and
remove
object(s). Allow disposer
motor
to
cool
for 3
-
5 min-
utes and lightly
push
red reset button on the
disposer
bottom
(see
Figure C).
(lf
motor
remains
inoperative,
check service
panel
for tr¡pped circuit breakers or blown
fuses.)
cFigure
 Loading...