2 Plug
1 Connect the power
PictureMate.
2 Connect the power
cable to the power
adapter.
3 Plug the other end
of the power cable
into a power outlet.
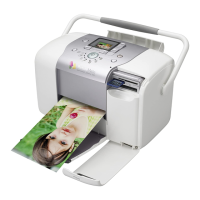
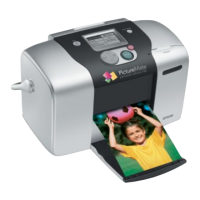
4 Flip the handle to
5 Open the paper
6 Press the On
After a moment, you
this on the photo
viewer screen:
Now you can install your
3 Install
Photo
1 Open the cartridge
Start Here
Follow these steps to set up your PictureMate
®
Snap
or Flash and print–no computer required!
Note: PictureMate Snap is shown throughout, but the steps are the
same for PictureMate Flash. To print from your computer, see the
Basics book and your CD after completing these steps.
1 Unpack
PictureMate comes with all these items in the box.
1 Remove all the tape and packing material from the
outside of PictureMate.
2 Open the cartridge door
on the back of
PictureMate.
3 Remove the packing
material from inside the
cartridge slot.
4 Close the cartridge door.
PictureMate
Initial PictureMate
photo cartridge
PictureMate
photo paper
Basics book Printer Software CD
Power adapter Power cable
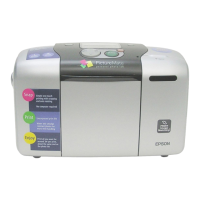
PictureMate Snap
(PM 240)
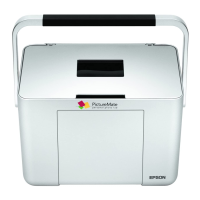
PictureMate Flash
(PM 280)