_NSTALLAT_ON AND SERVICE MUST BE PERFORMED BY
A QUAUFIED _NSTALLER.
iMPORTANT: SAVE FOR LOCAL ELECTRICAL iNSPECTOR'S USE.
READ AND SAVE THESE _NSTRUCT_ONS FOR FUTURE REFERENCE.
if the information in this manual is not followed exactly, a fire or explosion may result
causing property damage, personal iniury or death.
FOR YOUR SAFETY:
-- Do not store or use gasoline or other flammable vapors and liquids in the vicinity of this or any other
J WHAT TO DO iF YOU SMELL GAS:
Do not try to light any appliance,
Do not touch any electrical switch; do not use any phone in your building.
immediately call your gas supplier from a neighbor's phone. Follow the gas suppiier's instructions.
if you cannot reach your gas supplier, call the fire department.
-- installation and service must be performed by a qualified installer, service agency or the gas supplier.
Additional Safeguards
Do not install wall oven beneath the work counter
• The flue charge shall not be located below the 36" level,
42
:_8 7/16"
23
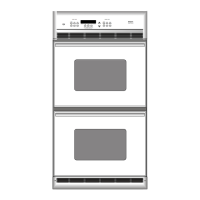
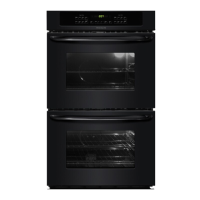
Model with 2 oven cavities Model
Clearance for complete door opening:
For model with 2 cavities allow at least 17 5/8"
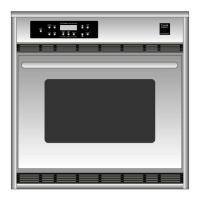
For model with 1Vzcavity allow at least 19 3/8"
11/2oven cavity
Figure 1
Drill a lye" diameter hole
for gas hook up
Electrical Outlet
Location for model
with 1/_ oven
cavity
Electrical Outlet
Location for
model with 2
oven cavities
V
27"
Model with 2 cavities 19 V2" Min. 2 V2" Min. 24" Min. 16 _A" 7 V8" 22 _/2" 24" Min. 42 _/8"
10" Min. 37 Y2" Min.
Model with 1 V2cavity 27 V2" Max. 1 _/_" Min. 24" Min. 20" 7 s/s" 22" 23 _/2" Min. 39" Max.
NOTE: Wiring diagrams for these appliances are enclosed in this booklet.
Printedin United States
P/N 318201554 (0503) Rev A
English - pages 1-8
Espanol - paginas 9-16
Wiring Diagram - pages 17-20