EasyManua.ls Logo

Fujitsu PRIMERGY TX1330 M1 User Manual

Fujitsu PRIMERGY TX1330 M1
86 pages
To Next Page IconTo Next Page
To Previous Page IconTo Previous Page
Page #28 background image
28 Operating Manual
TX1330 M1
Functional overview
Dimensions / Weight
Ventilation clearance
At least 200 mm on the front and rear.
Ambient conditions
Condensation during operation must be avoided!
Status LED at system
rear side:
System status (orange / yellow)
Identification (blue)
LAN connection (green)
LAN speed (green / yellow)
CSS (yellow)
Tower (W x D x H) 177 x 560 x 455 mm
Rack (W x D x H) 483 x 495 x 177 mm (without projecting parts)
Mounting Depth Rack 543 mm
Weight Approx. 12.5 - 23 kg
Weight notes Weight may vary depending on actual configuration
Rack mounting kit Rack mounting kit as option
Environment class 3K2
Environment class 2K2
EN 60721 / IEC 721 Part 3-3
EN 60721 / IEC 721 Part 3-2
Temperature:
Operation (3K2) 10 °C ... 35 °C
Transport (2K2) -25 °C ... 60 °C
Humidity 10% ... 85% (non condensing)

Table of Contents

Question and Answer IconNeed help?

Do you have a question about the Fujitsu PRIMERGY TX1330 M1 and is the answer not in the manual?

Fujitsu PRIMERGY TX1330 M1 Specifications

General IconGeneral
BrandFujitsu
ModelPRIMERGY TX1330 M1
CategoryServer
LanguageEnglish

Summary

2 Functional overview

2.2 Server specification

Lists detailed technical specifications including system board, processor, memory, interfaces, controllers, slots, and dimensions.

3 Installation steps, overview

4 Important information

4.1 Safety instructions

Provides essential safety guidelines for handling and operating the server, including cautions and warnings.

5 Hardware installation

5.1 Unpacking the server

Guides users through the process of safely unpacking the server and checking its contents.

5.2 Setting up the floorstand model

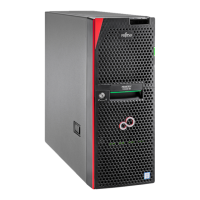
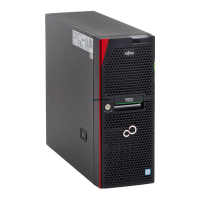
Provides instructions for setting up the server in its floorstand configuration, including placement and connections.

5.3 Installing/removing the rack model

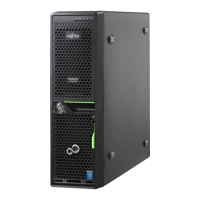
Details the procedures for installing and removing the server in a rack system, emphasizing safety and handling.

5.4 Connecting devices to the server

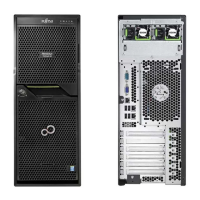
Explains how to connect external devices to the server using various connectors on the front and rear panels.

5.5 Connecting the server to the mains

Instructs on how to connect the server to the power supply, including voltage requirements and proper outlets.

6 Starting up and operation

6.2.1.1 Local diagnostic indicators

Explains the meaning of local diagnostic indicators (HDD, PSU, TEMP, CPU, MEM, Fan) and their status indications.

6.2.1.2 Control elements

Describes the functions of control buttons like On/Off, NMI, Reset, and ID buttons.

6.3 Switching the server on and off

Provides step-by-step instructions for powering the server on and off, including precautions and alternative methods.

6.4 Configuring the server

Guides users through configuring the server and installing the operating system.

6.4.1 Configuring the onboard SATA controller

Explains how to configure the onboard SATA controller, including software utilities and documentation.

6.4.3 Configuring the server and installing the operating system with the ServerView Installation Manager

Describes using the ServerView Installation Manager for server configuration and OS installation.

8 Troubleshooting and tips

8.1 Power-on indicator remains unlit

Addresses issues where the power-on indicator does not light up, suggesting checks for cable connection and power supply.

8.2 Server switches itself off

Provides steps to diagnose why the server might switch itself off unexpectedly.

8.3 Screen remains blank

Offers solutions for a blank monitor screen, including checking monitor power, keyboard input, and connections.

Related product manuals