9. Adjust the volume level and other settings for the zone (Adjusting the Level for a Zone, page 4).
Completing the Connections
Before you connect the amplifier to the power source, you must complete all other connections to the amplifier.
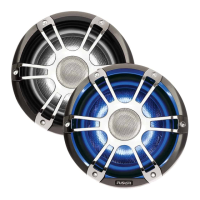
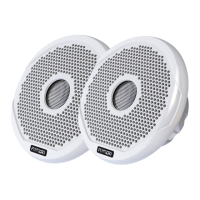
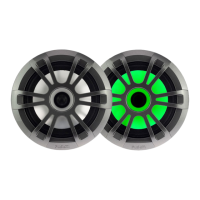
1. Make sure all speaker wires are connected to the speakers and the amplifier.
2. Make sure all RCA cables are connected to the amplifier and the stereo.
3. Make sure the ground cable is connected to the amplifier and the battery ( Connecting to Power, page 2).
4. Make sure the amplifier turn-on wire is connected to the amplifier and to the amplifier turn-on wire from the stereo or a dedicated switch (Connecting to Power, page 2).
5. Using the included 3 mm hex key, connect the power wire to the positive terminal on the amplifier.
NOTICE
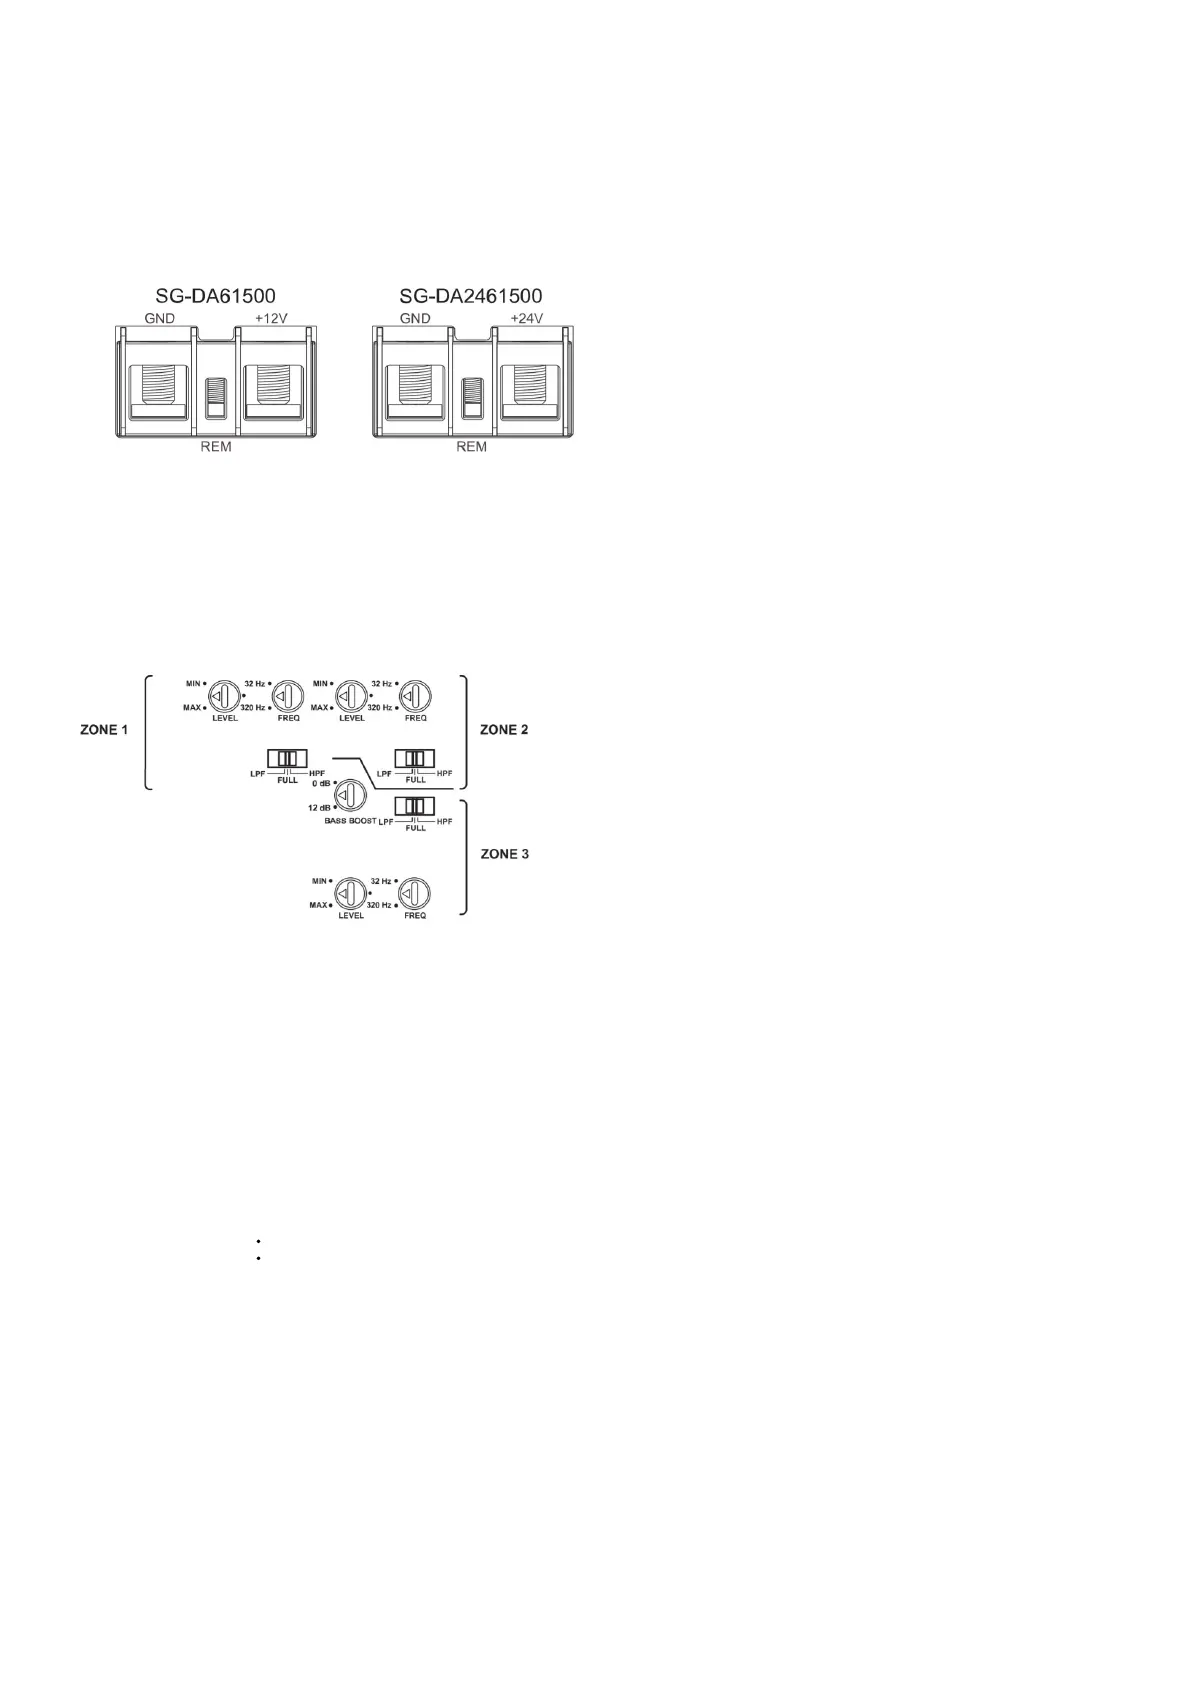
The SG-DA61500 device is designed for a 12 Vdc power source. The SG-24DA61500 device is designed for a 24 Vdc power source. Connecting to the incorrect power source
may damage the device.
6. Select an option:
• Connect the other end of the power wire, through the inline fuse, to the battery.
•Connect the other end of the power wire to the appropriate circuit breaker.
Configuring the Amplifier
Before you use the amplifier, you should configure it for any connected speakers and subwoofers.
You must make all power, speaker, and stereo connections before you can configure the amplifier.
NOTE: If your stereo features digital signal processing (DSP), such as a FUSION Apollo™ RA770, you should use the FUSION-Link™ app when configuring the amplifier
(Configuring the Amplifier for a DSP Compatible Stereo, page 5).
Amplifier Configuration Controls
Each zone has a set of controls you must use to configure the sound for the speakers connected to that zone.
Dial or Switch Function
LEVEL Adjusts the input signal level for the zone (Adjusting the Level for a Zone, page 4).
FULL
Sets a full-range filter on the zone.
Allows all frequencies. This is usually used when full-range speakers are connected to the zone, and no subwoofer is present.
LPF
Sets a low-pass filter on the zone.
Filters out mid to high frequencies that only full-range speakers should produce. This is usually used when a subwoofer is connected to the zone.
HPF
Sets a high-pass filter on the zone.
Filters out low frequencies that only subwoofers should produce. This is usually used when smaller speakers are connected to the zone.
FREQ
Adjusts the crossover frequency for the zone
You should adjust this based on the LPF/HPF setting:
When LPF is selected, all frequencies below the FREQ setting are passed to the subwoofer connected to the zone.
When HPF is selected, all frequencies above the FREQ setting are passed to the speakers connected to the zone.
BASS BOOST
Adjusts the gain on the 45 Hz level.
This control is available on ZONE 3 only.
This setting should be adjusted only when you connect a subwoofer or full-range speakers capable of low frequencies to the zone.
Adjusting the Level for a Zone
NOTE: The level set is music-dependent, and not all levels are appropriate for all types of music. For example, if you adjust the level setting for rock music, then listen to classical
music, it could result in distortion due to clipping.
1. Using a flat screwdriver, adjust the LEVEL dial for the zone to MIN by turning the dial counter-clockwise.
2. Begin playing audio on the stereo and set the zone line out to approximately 3/4 volume.
3. Slowly adjust the LEVEL dial for the zone clockwise toward the MAX setting while listening to the speakers connected to that zone.
4. When the sound from the speakers becomes distorted, stop adjusting the dial, and slowly adjust the dial counterclockwise again until the distortion is gone.
5. Repeat this procedure for the other zones.
Configuring the Amplifier for a DSP Compatible Stereo
If your stereo features digital signal processing (DSP), such as a FUSION Apollo RA770, you should use the FUSION-Link app when configuring the amplifier for the best results.
1. Follow the instructions in your stereo owner’s manual to download the FUSION-Link app and connect it to the stereo.
2. Select the appropriate stereo, amplifier, and speakers in the FUSION-Link app.
3. Follow the instructions in the FUSION-Link app to adjust the configuration controls on the amplifier.
 Loading...