supplied maps – and they're not always right.
So if you don't need navigation, I recommend setting Off Road here. It's how I use mine. Using Off
Road is particularly important if you are participating on any of the online mapping projects such as
OpenStreetMap.
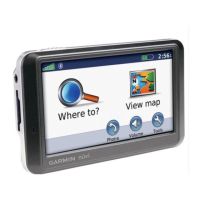
Using the Nuvi
GPX tracks
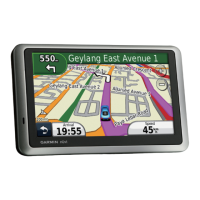
As you drive along, you will see a blue line following your car. This is a graphical represenation of the
track you are traveling on. The GPS will record this track in a GPX file which can be gotten off the
GPS when you get back to your computer. Instructions on how to do this are later in this document.
Waypoints
You can also record waypoints, specific named points of interest. This could be used in many ways, say
in recording the locations of specific POIs. If you press the screen on the car icon, the Location screen
will pop up (if you miss slightly, a different screen with a straight down view of the map appears.) The
location screen has a “Save Location” button at the bottom. If you select it, you get a small keyboard
display and can enter a string of letters & numbers to identify the waypoint later. When you press
Done, the waypoint and its name will be saved in the GPX file.
If you do get the screen with the vertical view of the map, you can still select Save, but you won't get
the keyboard display. The GPS will generate a name, which may be of little mnemonic value later.
Getting data out of the Nuvi
directly into Google Earth
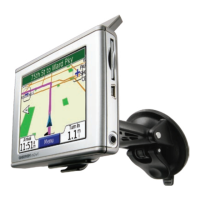
1. On the back, the Nuvi has a mini-USB port. Use any standard USB-mini cable to connect the
Nuvi to your computer
2. The Nuvi will appear in Windows Explorer (PC) or Finder (Mac) as an external disk drive, and
will behave pretty much like a flash (“thumb”) drive.
3. One or two drives may appear. The “Garmin” drive will be the internal flash memory of the
Nuvi, and will be where the GPS coordinate files are to be found. The second drive, if present,
is the SD card that optionally can be inserted into the Nuvi. It will have whatever name has
been assigned (possibly “NONAME”). It is only of interest if you are using alternate maps;
GPS tracks are not normally stored there.
4. Start Google Earth running on your system
5. From the Tools menu, select GPS. The GPS dialog will appear.
6. In the Import tab, select Garmin.
7. Click on Import. Google Earth will grab the tracks and waypoints directly from the GPS
8. Once the import is done, find the Windows Explorer or Finder window and eject all the Garmin
drives (one or two). Then disconnect the Garmin. Depending on the Garmin, it may restart
automatically. Don't worry about this, go on to “Cleaning data from the Nuvi afterwards”
 Loading...