NOTE: The WARM feature will keep hot, cooked foods at serving temperature.
Always start with hot food.
STEP 1 Press WARM/PROOF pad.
STEP 2 Turn the dial to select HOLD FOOD WARM. Press the
dial to enter.
STEP 3 Turn the dial to select the oven temperature. Press the
dial to enter.
LOW 140°–160°F
MEDIUM 160°–195°F
HIGH 195°–230°F
STEP 4 Turn the dial to select the level of moisture you want.
Select CRISP or MOIST. Press the dial to enter.
NOTE: The PROOF feature automatically provides the
optimum temperature for proofing. It does not have a
temperature adjustment.
STEP 1 Place the dough to be proofed in a cooking utensil.
Place in oven and close the door.
STEP 2 Press WARM/PROOF pad.
STEP 3 Turn the dial to select PROOF BREAD. Press the dial
to enter. The oven starts proofing immediately and
displays the elapsed time.
Warming/Proofing Always use non-stick metal tray
Microwave Features
Always use glass tray
3840W5C009B
Pub. No. 49-40456 05-05 JR
© 2005 GE Company
USING PRESET MICROWAVE SELECTIONS
STEP 1 Press Microwave COOK, DEFROST or REHEAT pad.
STEP 2 Turn the dial to the option you want to use (such as
Cook By Food Type). Press the dial to enter.
STEP 3 Turn the dial to find the food you want to cook, defrost
or reheat. Press the dial to enter.
STEP 4
Turn the dial to select your next option such as type,
amount, weight and/or size. (The oven will prompt you for
required selections.) Press the dial after each selection.
STEP 5
Press the dial or the START/PAUSE pad to begin cooking.
MICROWAVE EXPRESS
Use this pad for 30 seconds of cooking time. The oven starts
immediately. Press EXPRESS pad again for additional 30-second
increments of microwave cooking. You can add or subtract
time by turning the dial.
NOTE: Microwave power levels can be adjusted during cooking. Touch the
POWER/TEMP pad. Turn the dial to the desired power level (PL10 is highest
setting). Press the dial to enter.
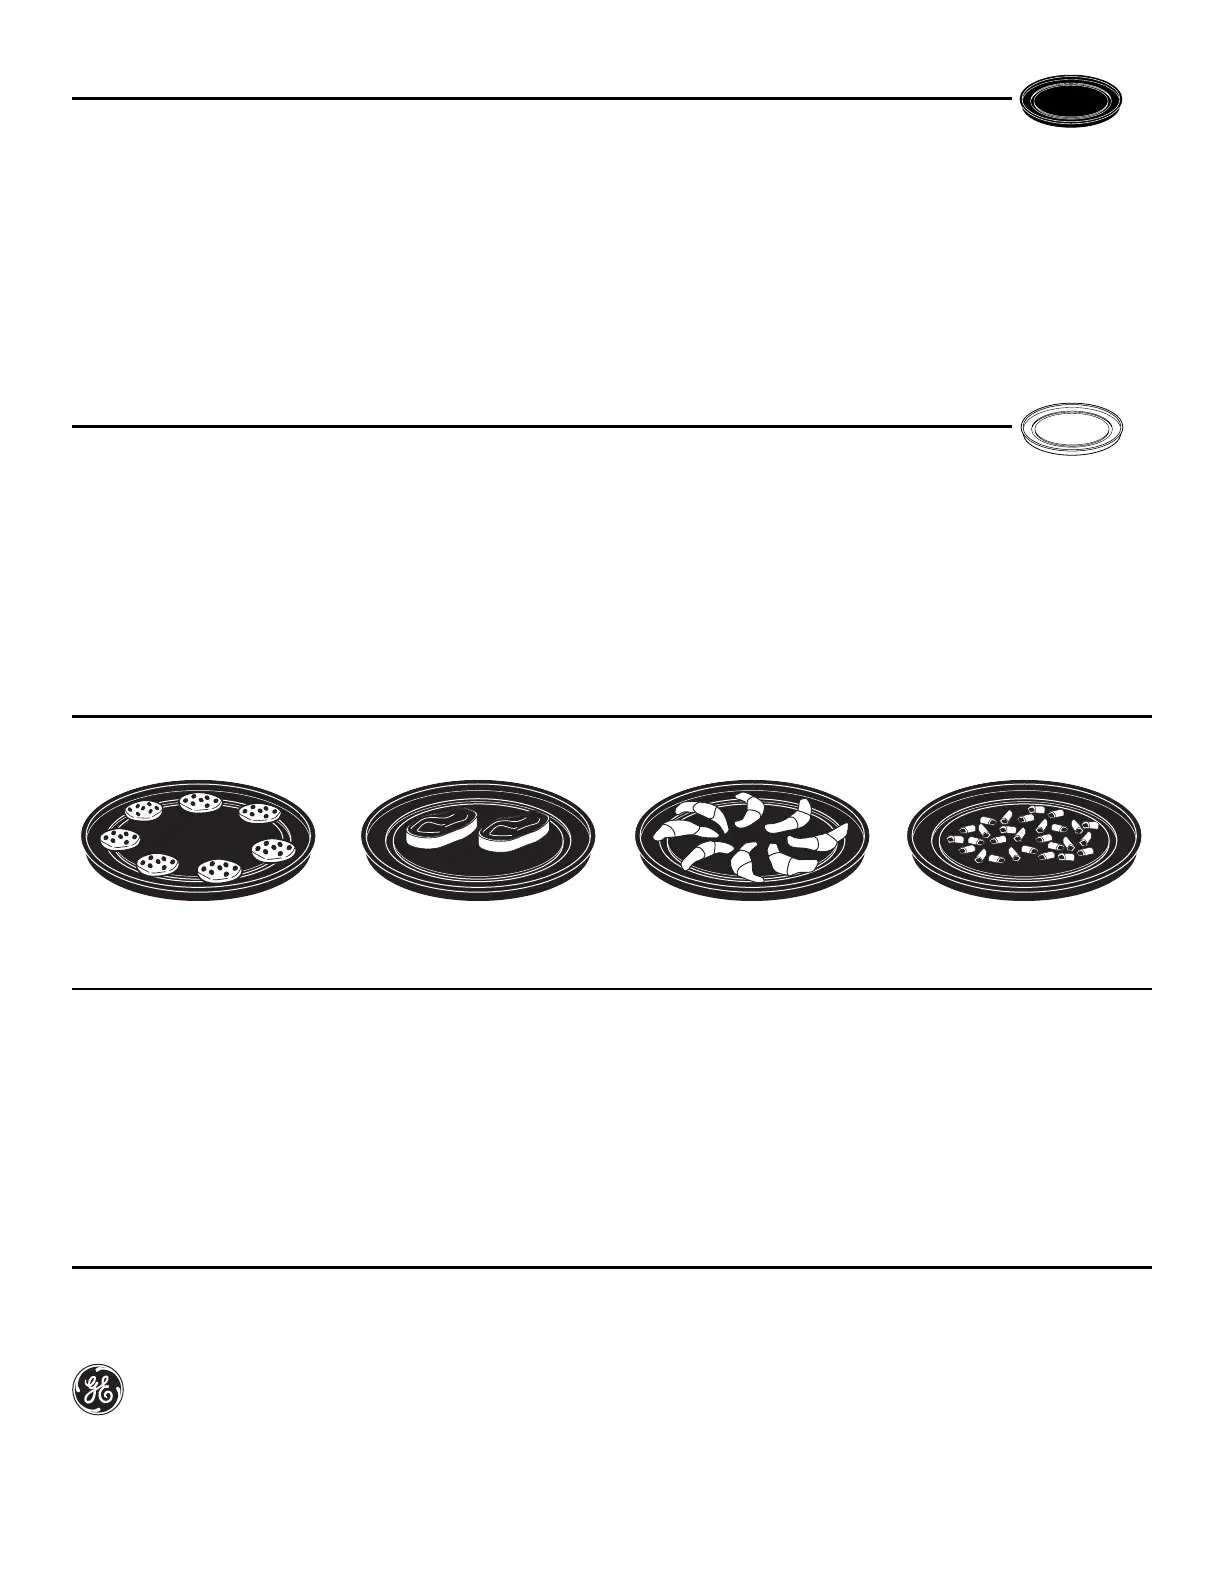
Food Placement
Circular Pattern
(biscuits, cookies)
Side by Side
(meats, poultry)
Spoke Pattern
(crescent rolls, breadsticks)
Single Layer
(appetizers)
To ensure consistent and even browning when cooking foods directly on the non-stick metal tray, arrange food as shown. Food can
touch, but should not overlap.
■ Place food or oven-safe cookware directly on the non-stick
metal tray when using SPEEDCOOK or BAKE/BROIL.
■ SPEEDCOOK cookware – The non-stick metal tray must be in
place. You can use non-metal casserole dishes, pie plates
and other heat-safe cookware. Place other cookware directly
on top of the metal tray. Never use metal cookware.
■ BAKE cookware – The non-stick metal tray must be in place.
You can use metal muffin pans, cake pans and other metal
cookware. Use the metal rack for 2-level baking. Metal
cookware can be used for BAKE cooking mode.
■ BROIL cookware – The non-stick metal tray must be in place.
Use the metal rack with aluminum tray to broil or toast. Metal
cookware can be used for BROIL cooking mode.
■ MICROWAVE cookware – The glass microwave tray should
always be in place for any microwave cooking mode. Be
sure to use cookware suitable for microwave cooking. Never
use metal cookware.
Refer to your Owner’s Manual for additional cookware
information.
Cookware Suggestions
Tips and Shortcuts
■ If you have entered an undesired selection at any time, press
the BACK pad and re-enter the desired selection. To review
settings anytime during cooking, press the dial.
■ To add more cooking time after a cooking cycle is completed,
press START/PAUSE pad when you are prompted to "PUSH
START FOR MORE or REMOVE FOOD".
■ To repeat the last cooking cycle for multiple batches, press
CLEAR/OFF pad at the end of the cooking cycle. Touch and
hold the prior cooking pad for 3 seconds.
 Loading...