GEH-7299A: Installation, Operation and Maintenance Manual
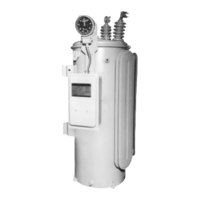
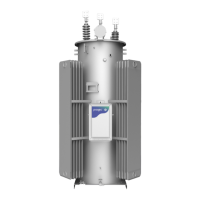
for Type VR1™ Single-Phase, Step Type Regulators
prolec.energy/prolecge
8
Check the oil level. Oil must always be visible in the oil sight gauge since the gauge is located at minimum oil level. To
determine or adjust the 25°C oil level, remove the handhole cover (after relieving the tank pressure). The 25°C (77°F) level is
indicated at the right of the handhole on the inside wall of the tank (looking at the control side of the regulator). Approximate
oil level variations either side of the 77°F (25°C) line are 0.2 to 0.25 inches per 10°F change in oil temperature.
If the regulator has been in storage for a considerable length of time, the oil should be tested according to ASTM D-877, with
Filter the oil if the dielectric strength is less than 22 kV. The care of the oil and method of sampling and testing are given in
another publication which will be furnished upon request.
3.2 Checking Regulator Controls & Control Settings Prior to Energization
Warning: Short circuit and ground the high voltage terminals of the regulator as a safeguard against dangerous voltage
from accidental excitation of the high voltage windings.
All VR-1 regulators equipped with a GE-2011 control are programmed at the factory with the following settings listed in the
Table 1. Bandcenter, Bandwidth, Time Delay & Line Drop Compensation Set Point Ranges
Function Set point Range Increment Default Setting
Bandcenter 100.0 V - 135.0 V 0.1 V 120 V
Bandwidth 1.0 V - 10 V 0.1 V 2.0 V
Time Delay 5 sec - 120 sec 1 sec 30 sec
Inverse Time Delay 5 sec - 10 sec 1 sec 30 sec
LDC Resistance -24 V - +24 V 1 V 0 V
LDC Reactance -24 V -+24 V 1 V 0 V
LDC-Z 0 V - 24 V 1 V 0 V
Output Selection Pulse
Pulsed or Continuous
0 - 12
.1
Pulsed
7
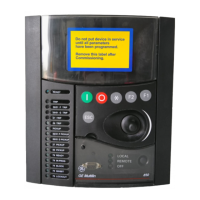
GE 2011 Control operations with external power source:
1. Place the MOTOR CONTROL switch to manual. The RAISE/LOWER switch is spring loaded and will be in the
OFF position.
2. Move the VOLTAGE SOURCE switch to EXTERNAL, See Figure 2. This automatically disconnects the internal
power to the control. Apply 120 VAC 50/60HZ to the EXTERNAL INPUT terminals. Be sure to connect the low side
of the external source to the left terminal (color white) and the hot lead of the external supply to the right terminal
(color black).
Caution: Do not apply power to the meter out terminals. Application of power to the meter out terminals can cause a
dangerous high voltage on the voltage regulator high voltage terminals located on the tank cover.
3. The control will display a sequence of information such as the control model number, serial number, software
version, date, time, and defaults to the Local Voltage, which will be the value of the power supply used to energize
the control.
Note: Default set points cannot be changed when, Level 1 password is enabled & not known by the user.
 Loading...