- 18 -Hardware Installation
• Removing the Card from
the PCIEX16_1 Slot:
Gently push back on the
lever on the slot and then
lift the card straight out
from the slot.
1-5 Installing an Expansion Card
Follow the steps below to correctly install your expansion card in the expansion slot.
1. Locate an expansion slot that supports your card. Remove the metal slot cover from the chassis back panel.
2. Align the card with the slot, and press down on the card until it is fully seated in the slot.
3. Make sure the metal contacts on the card are completely inserted into the slot.
4. Secure the card’s metal bracket to the chassis back panel with a screw.
5. After installing all expansion cards, replace the chassis cover(s).
6. Turn on your computer. If necessary, go to BIOS Setup to make any required BIOS changes for your
expansion card(s).
7. Install the driver provided with the expansion card in your operating system.
Example: Installing and Removing a PCI Express Graphics Card:
• Installing a Graphics Card:
Gently push down on the top edge of the card until
it is fully inserted into the PCI Express slot. Make
sure the card is securely seated in the slot and
does not rock.
• Removing the Card from
the PCIEX8_1/PCIEX4_1
Slot:
Press the white latch at
the end of the PCI Ex-
press slot to release the
card and then pull the card
straight up from the slot.
Read the following guidelines before you begin to install an expansion card:
• Make sure the motherboard supports the expansion card. Carefully read the manual that came
with your expansion card.
• Always turn off the computer and unplug the power cord from the power outlet before installing
an expansion card to prevent hardware damage.
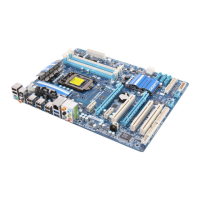
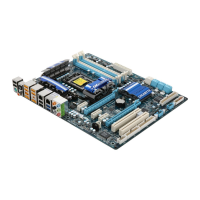
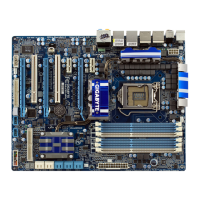
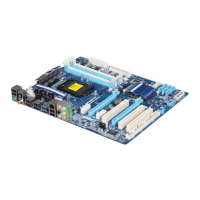
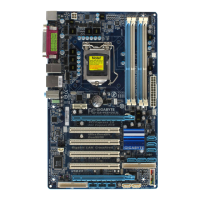
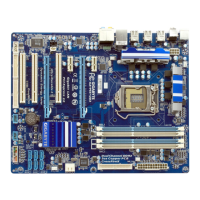
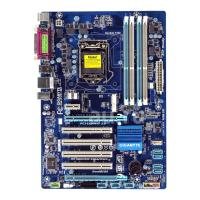
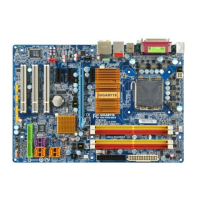
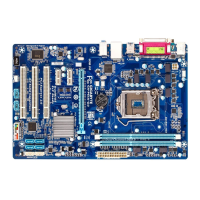
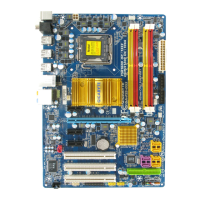
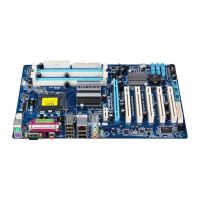
PCI Slot
PCI Express x1 Slot
PCI Express x16 Slot (PCIEX8_1/PCIEX4_1)
PCI Express x16 Slot (PCIEX16_1)

 Loading...
