- 20 -
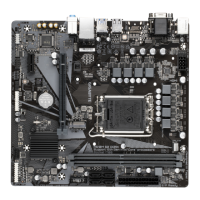
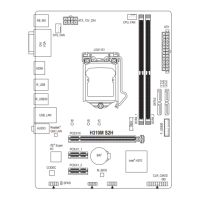
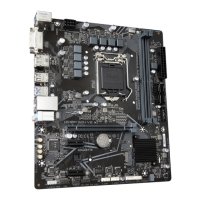
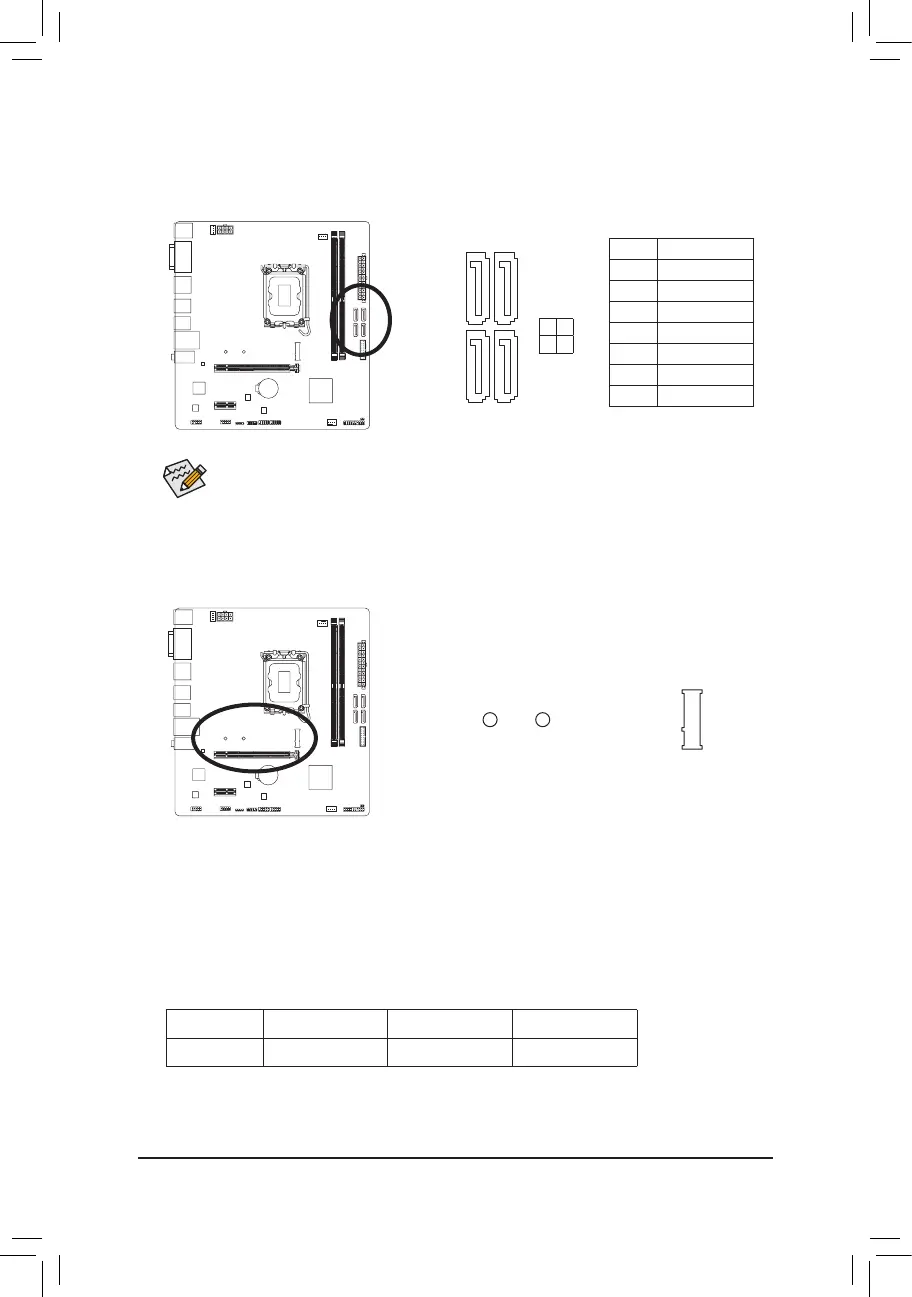
6) SATA3 4/5/6/7 (SATA 6Gb/s Connectors)
The SATA connectors conform to SATA 6Gb/s standard and are compatible with SATA 3Gb/s and SATA
1.5Gb/s standard. Each SATA connector supports a single SATA device.
Pin No. Denition
1 GND
2 TXP
3 TXN
4 GND
5 RXN
6 RXP
7 GND
To enable hot-plugging for the SATA ports, please navigate to the "BIOS Setup" page of GIGABYTE's
website and search for "SATA Conguration" for more information.
SATA3
6 7
4 5
77
11
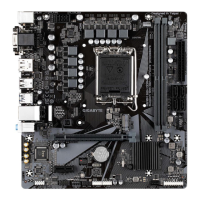
7) M2P_SB (M.2 Socket 3 Connector)
The M.2 connector on the motherboard supports only M.2 PCIe SSDs.
F_USB30
F_U
B_
F_ F_
_
B
BS_
B
SB_
B
_S
S_
_
B
_U
_
B
S
123
123
123
123
1
1
1
1
BSS
S
_S
SSU
1 2 3
S3
BSSS
U
__ 3
F_USB3F
S _
S _
S _
SF
B_
B_
F
_0
S
S
_0F
_F
_
_
__B
U
S _S
_
SF_
B
USB0_B
B_
B_
F_USB3
F_USB303
_
_3U
S_
_S
SS_F
_
_
80 60
* Types of M.2 SSDs supported by each M.2 connector:
M.2 PCIe x4 SSD M.2 PCIe x2 SSD M.2 SATA SSD
M2P_SB
a a
r
Follow the steps below to correctly install an M.2 SSD in the M.2 connector.
Step 1:
Locate the proper mounting hole for the M.2 SSD to be installed and then install the mounting clip rst.
Step 2:
Slide the M.2 SSD into the connector at an angle.
Step 3:
Press the M.2 SSD down and then secure it by pressing the clip pin into the mounting hole.
 Loading...