www.graco.be
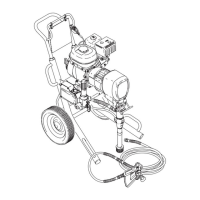
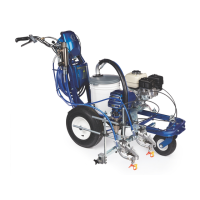
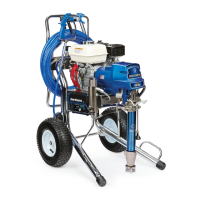
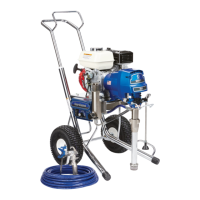
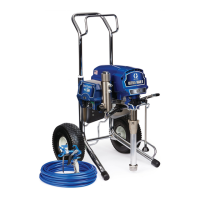
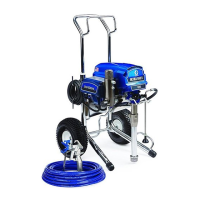
GMAX
™
II
3900/5900/5900HD/7900
SETUP
Connect hose to sprayer and gun.
Tighten hose connections with wrench.
Unscrew tip
& guard from gun.
Fill throat packing nut
with TSL to prevent
premature packing wear.
Make sure
power switch
is set to OFF.
Check oil level of
motor and pump. Cold engine starts.
Turn prime valve
to Prime position (down).
Place siphon tube in pail
partially filled with water.
Turn pressure control knob
to lowest pressure, and
set power switch to ON.
Increase pressure until sprayer
starts and water runs out of
prime tube.
Let water run out of prime
tube for 15 seconds.
Decrease pressure
until sprayer stops.
Turn prime valve
to Spray position
(horizontal).
Make sure safety lever of
gun is OFF.
Aim gun at inside
wall of water pail
and squeeze trigger.
Increase pressure until
sprayer starts. Keep gun
triggered into water pail
for 1 minute. Release trigger.
Turn prime
valve to Prime
position (down).
Place siphon tube in paint
pail, but leave drain tube in
water pail.
Aim gun at inside wall of
water pail, and squeeze
trigger.
Transfer drain
tube to paint pail.
Increase pressure until
sprayer starts and paint
comes out of drain tube.
Keeping gun triggered into water
pail, turn prime valve to Spray
position (horizontal).
When paint comes out of gun,
release trigger and turn safety
lever of gun to ON.
Screw tip & guard onto gun, making sure
arrow-shaped handle of tip is pointing forward. You
can reverse this tip to quickly clear clogs
without taking it apart.
This procedure is for water-base paints and flushing fluids. For solvent-base paints and flushing
fluids (i.e. mineral spirits), you must read Fire and Explosion Hazard in the Operating Instructions.
* check the Graco operations manual delivered with the unit for more details.
CHOOSE THE RIGHT TIP & FILTER
WARNING
1
3
2
4
Quick Operator’s Guide