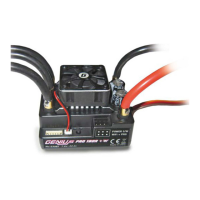
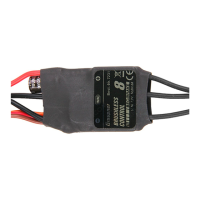
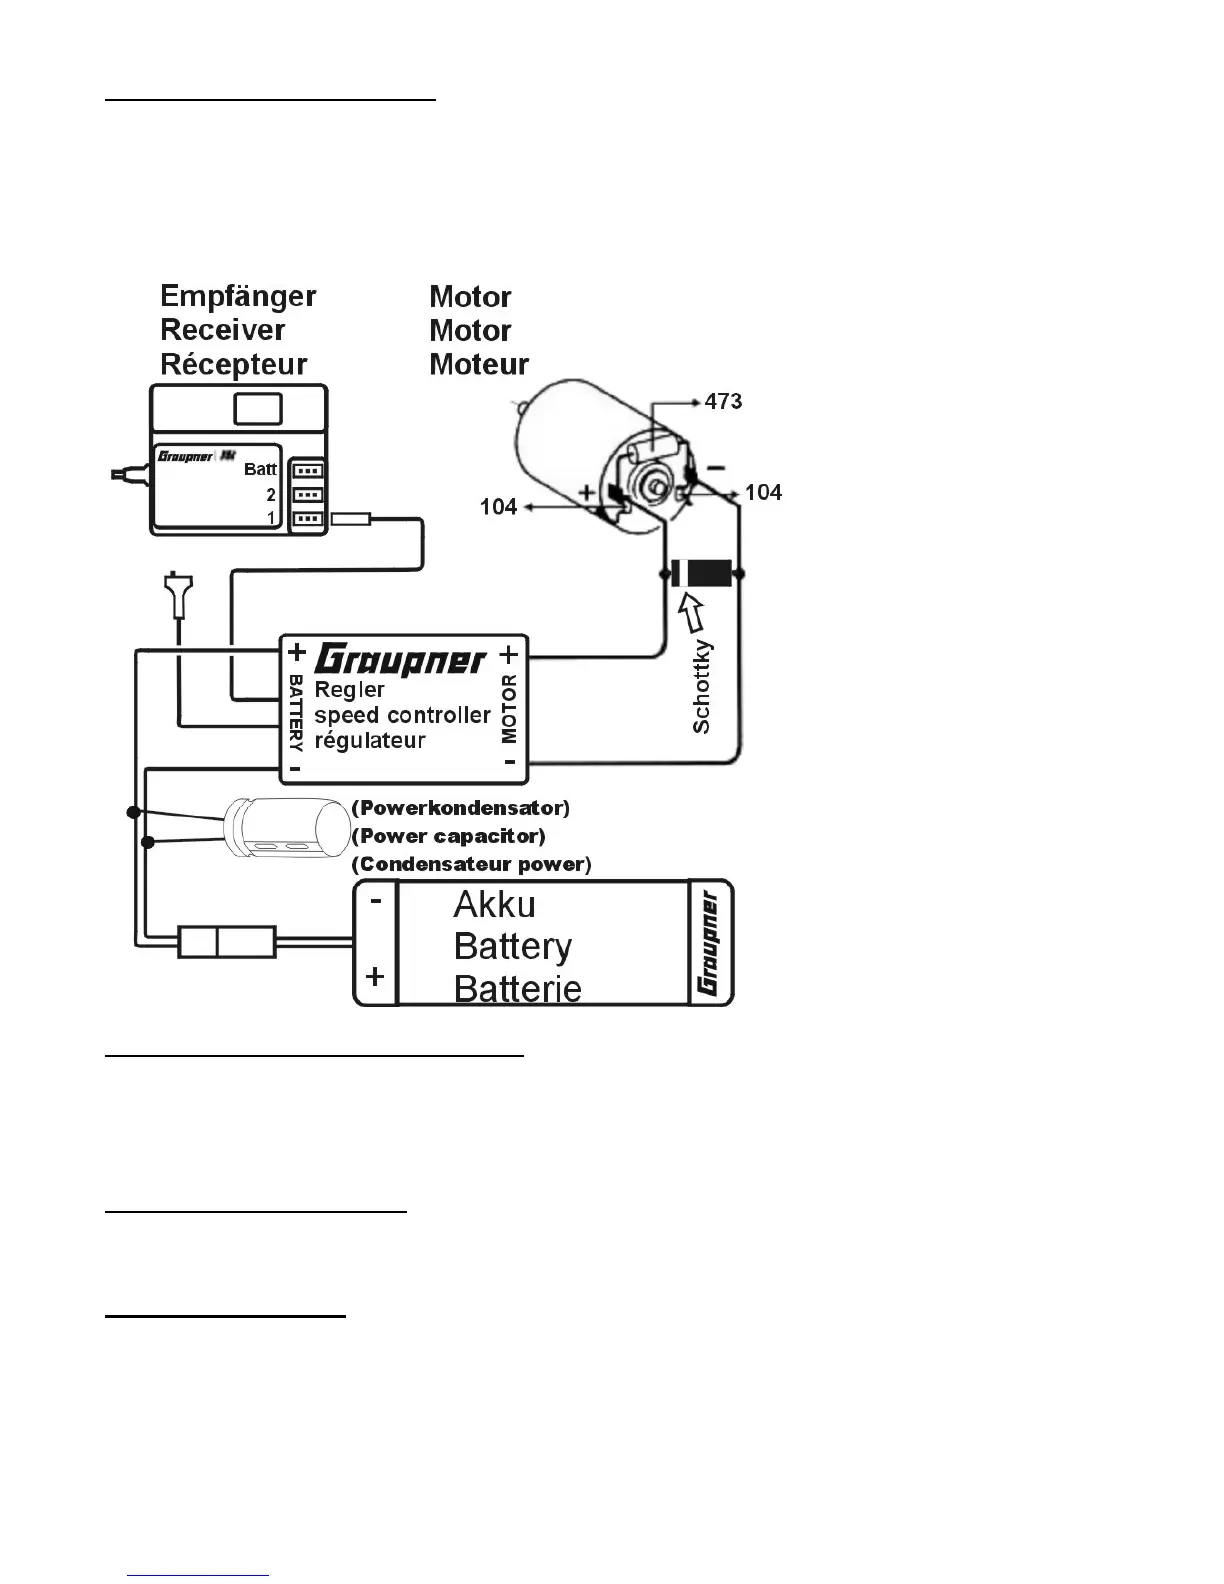
Installing the speed controller:
It is very important to determine the best possible location for the speed controller. Make sure that
there is the maximum flow of cooling air to the transistor heat - sinks.
Mount the speed controller in the appropriate position using double-sided foam tape.
Connecting the Schottky-diode (Pico 25)
The connection at the “white ring” end of the Schottky diode must be soldered to the motor +
terminal, and the other end to the motor – terminal. Installing the diode the wrong way may ruin the
speed control.
Preparing the speed controller for use:
Set the travels at the transmitter to 100%, set the trim to neutral, and connect the speed controller to
the receiver. Ensure that the speed controller switch is set to “OFF” before you connect the battery to
the unit.
Switch on the transmitter, and only then the speed controller.
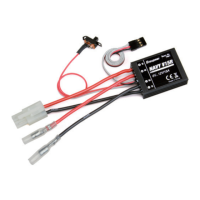
Installing the On/Off switch:
The On/Off switch can simply be fixed to any suitable point using double-sided foam tape.
Alternatively two screws can be used.
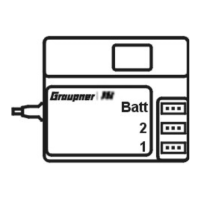
Installing the receiver:
To avoid interference, please install the receiver as far as possible from the motor, high-current
cables, batteries and servos. The aerial should be run out of the model by the most direct route
possible. An additional power capacitor (connected with the right polarity parallel to the battery) may
 Loading...