1. Determine the mounting location on the wall for the indoor unit. Follow the selection criteria
in the previous section.
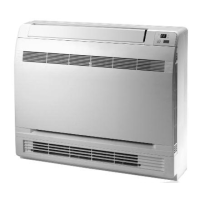
2. Locate the factory supplied installation template included in carton and attach to the wall.
Verify the installation template is level right to left.
3. Using the template, mark the required holes:
- 2 wall hooks (3 holes each)
- 4 unit mounting holes (2 on each side)
- Condensate drain line (not shown on template)
- Refrigerant piping (not shown on template)
NOTE: Depending on the installation, the refrigeration pipes
and condensate drain hose may exit from the rear, bottom,
right or left of the unit.
4. Remove wall template and drill holes for both wall hooks
and insert anchors (field supplied). Secure unit mounting
hooks to the wall.
5. Drill 4 unit mounting holes and insert anchor bolts
(field supplied) into drilled holes.
NOTE: It is recommended to install screw anchors for sheet
rock, concrete block, brick and such type of walls.
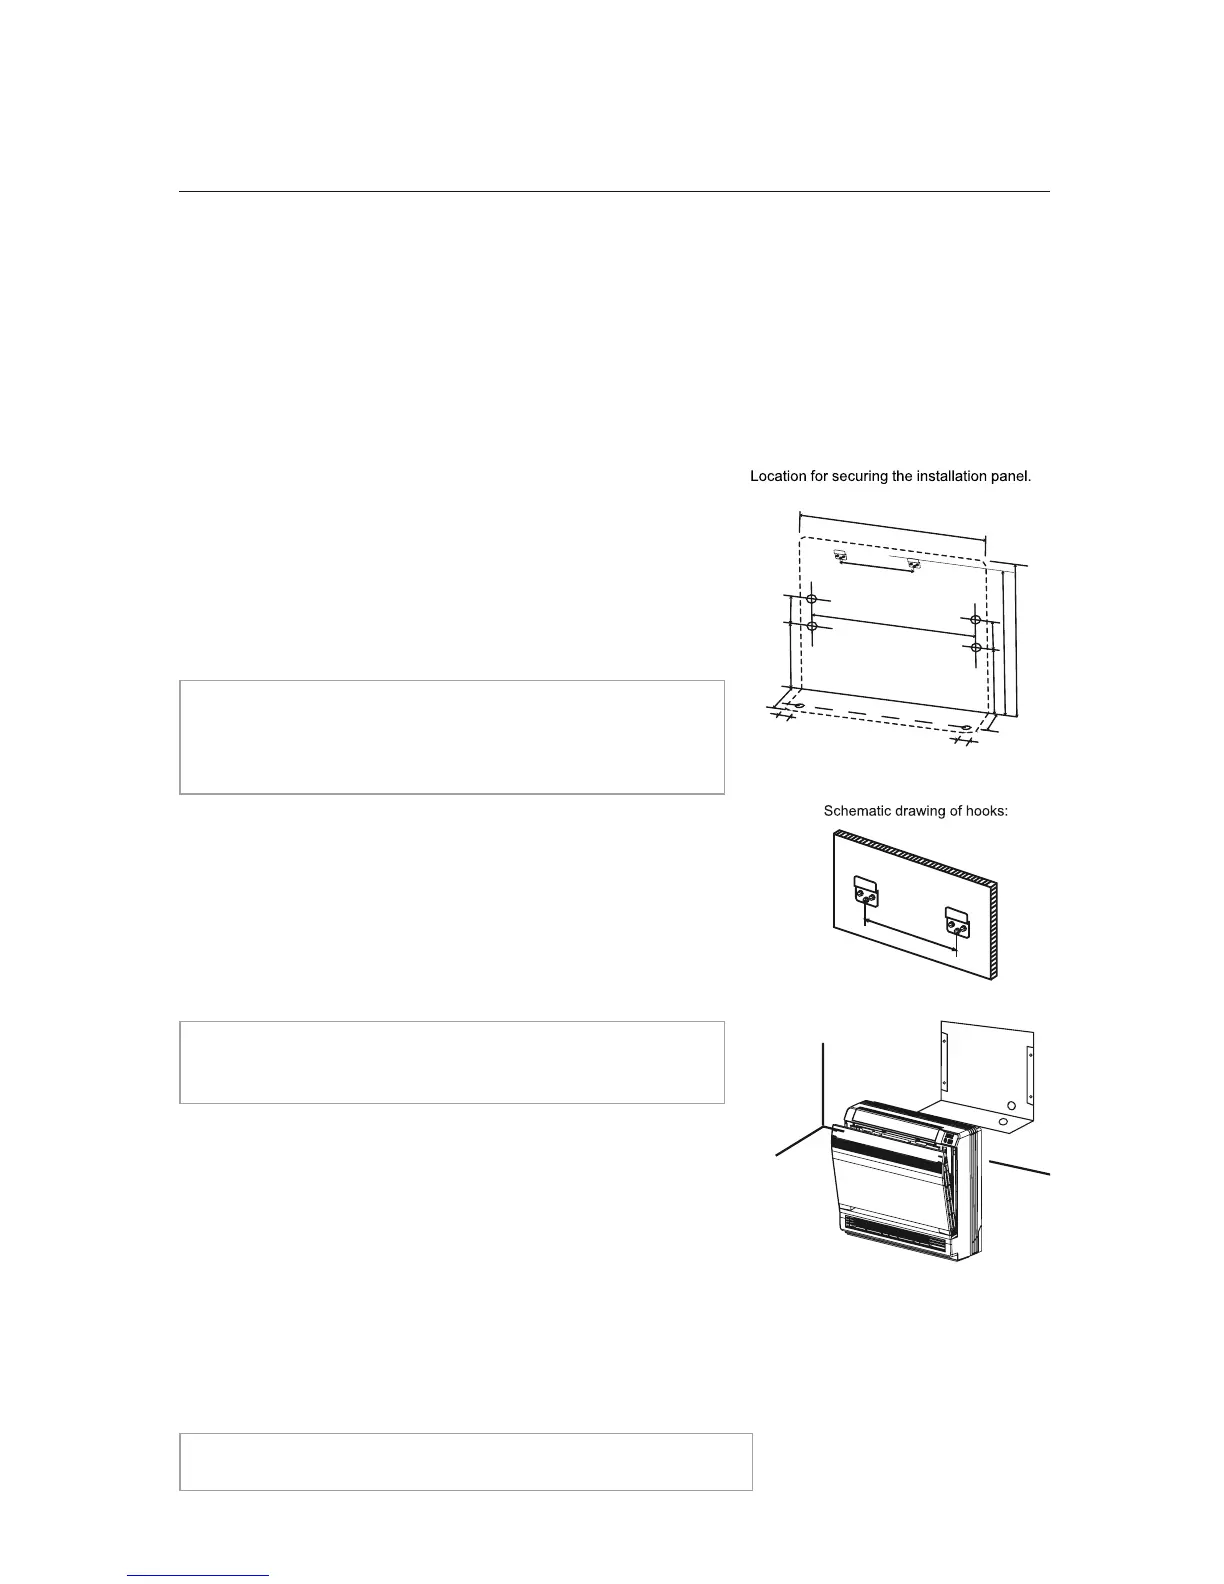
6. Verify the indoor unit mounting.
- Carefully lift and set the unit on the 2 wall hooks.
The wall hooks should catch metal mounting bracket
on the rear of the unit.
- Verify the unit mount holes align with wall holes.
- Verify refrigerant piping and condensate drain line locations are valid for the unit.
- Verify unit is level right to left.
7. Carefully remove indoor unit from anchor bolts in order to begin making piping connections.
NOTE: Do not reinstall front panel and cabinet until instructed.
 Loading...