3 6E 6103.c
6E 6103.c
2 6E 6103.c
EG071
§
1 channel time switch -
weekly cycle
User instruction
Function
The EG071 is a programmable time switch for
the automatic control of electrical loads.
It is fully programmable with a maximum of 20
program steps. Each program step can be
applied to one or several days, maximising the
use of each memory location.
The display will flash in case of power failure to
the unit.
The front cover is sealable preventing
unauthorised access after completion of
programming.
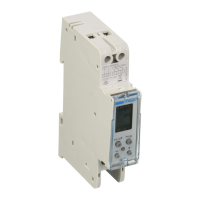
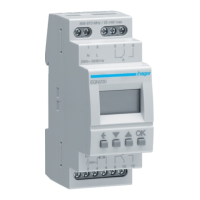
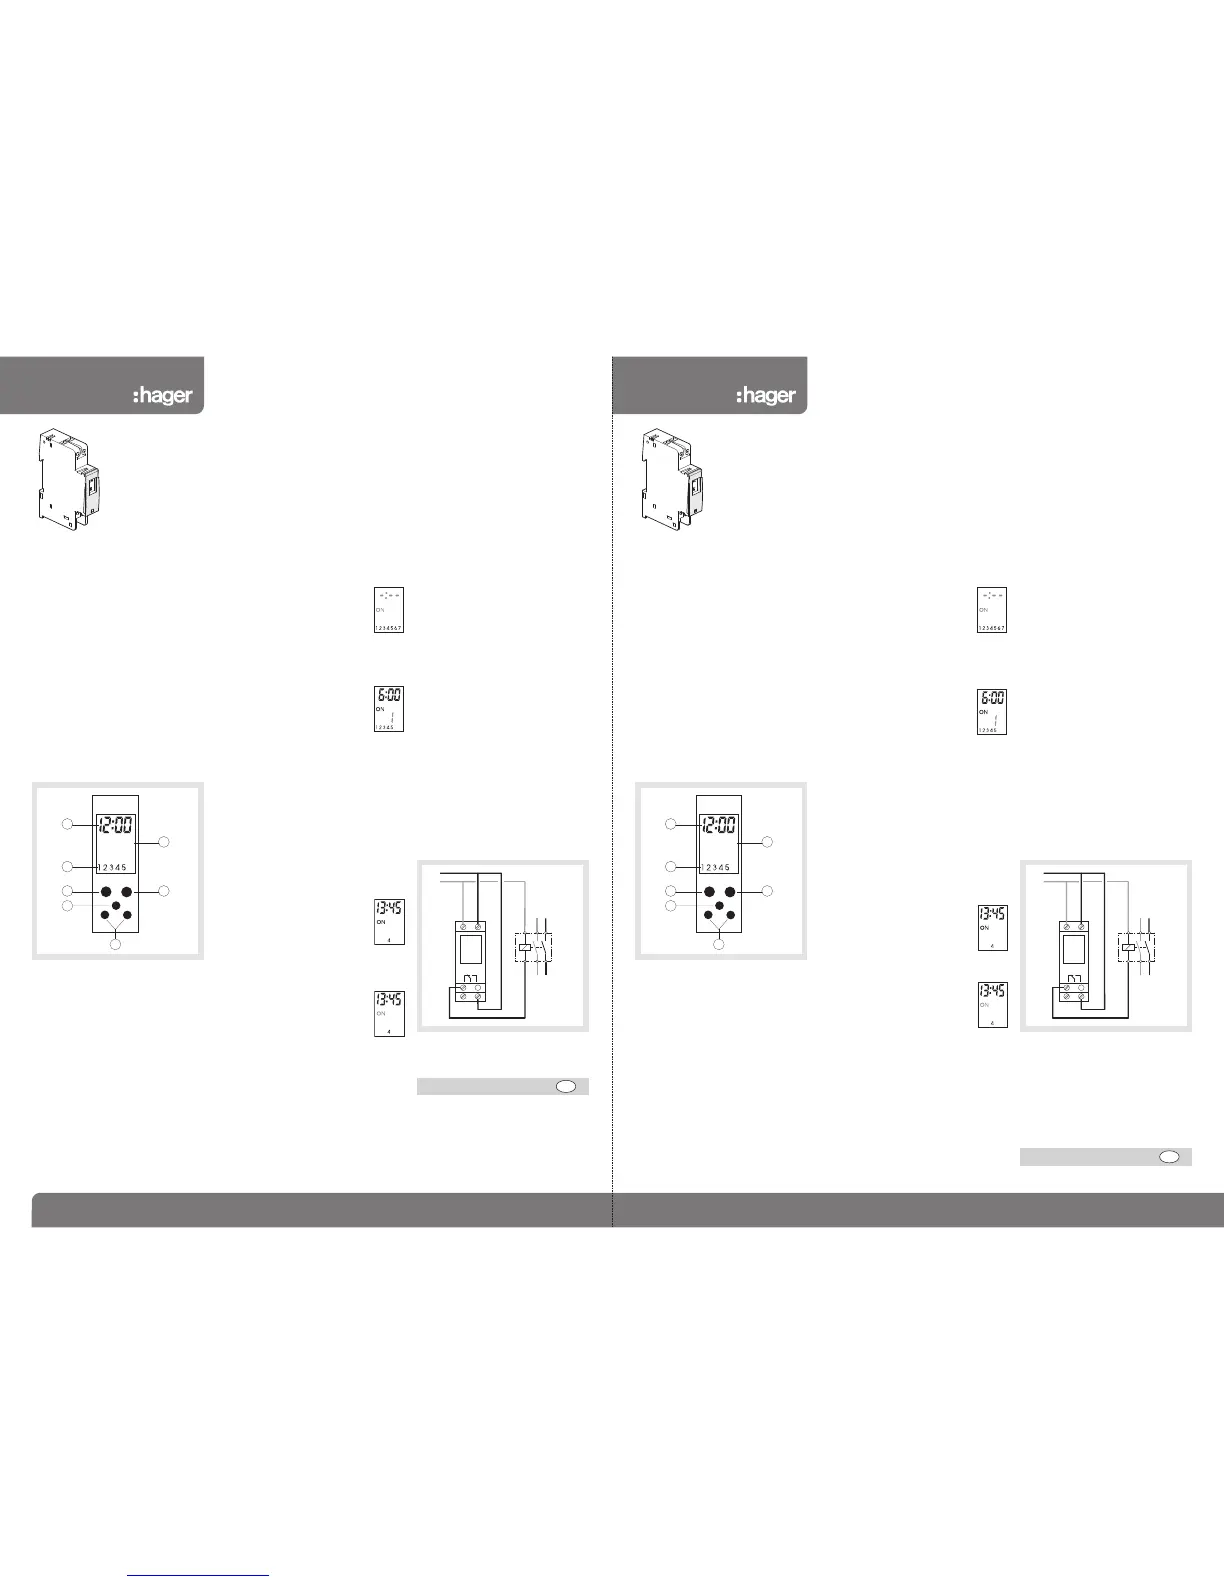
Presentation :
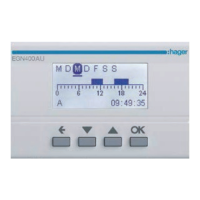
Display :
➀
time.
➁
circuit status (ON or OFF)
➂
Day of the week (1 = Monday,
2 = Tuesday .. 7 = Sunday)
Buttons :
➃
“on/off” chooses whether the circuit is
ON or OFF.
➄
“Prog” to set the program and scroll
program steps.
➅
“reset”
➆
“+” and “-” : changes settings.
Time and day setting :
Press key “+” or “-”.
A continuous pressure on this key will scroll up
or down minutes, hours and then days.
Programming :
1. To start programming, press key
“Prog”, the first program step
flashes.
2. Set the switching time with key “+” or “-”
3. Use the “on/off” button to choose between circuit
ON and circuit OFF.
ON = contact between terminals 2 and 3.
OFF = contact between terminals 1 and 2.
4. Enter the settings by
pressing “Prog”.
You must now choose
the days of the week
that the settings apply to.
5. With key “+” and “-”, display one after the other
each day of the week and select with key
“on/off” if the program applies to this day or not.
Days to which the switching is to be applied
must be visible at the bottom of the display
e.g. 1 2 3 4 5 visible, means switching will be
applied Monday to Friday.
6. Press “Prog” to enter this program step.
If no buttons are pressed within 2 min., the device
switches back to automatic mode without recording
your settings.
7. Program additional time settings by repeating
steps 2 to 6 above (20 max.)
To delete a program step, modify switching time
with keys “+” and “-”, until display --:-- (between
23:59 and 00:00).
8. To record your settings and
return to automatic mode press
“Prog” for more than 2 seconds.
To turn the circuit ON or OFF :
1. press the “on/off” button.
The display flashes.
2. use the “on/off”, button to turn
the circuit ON or OFF.
Electrical connections :
To check your settings :
In automatic mode :
Press “Prog” repeatedly to display the day, the time
and the circuit status (ON or OFF).
To switch back to automatic mode, press “Prog”
for more than 2 sec.
To reset the time switch :
Press the “reset” button, the program will be can-
celled.
To switch back in automatic mode, press “on/off”
for more than 2 seconds.
A warranty period of 24 months is offered on hager products,
from date of manufacture, relating to any material of manufac-
turing defect. If any product is found to be defective it must be
returned via the installer and supplier (wholesaler). The warranty
is withdrawn if :
- after inspection by hager quality control dept the device is
found to have been installed in a manner which is contrary to
IEE wiring regulations and accepted practice within the industry
at the time of installation.
- the procedure for the return of goods has not been followed.
Explanation of defect must be included when returning goods.
Warranty
GB
Technical specifications :
Electrical characteristics :
- supply voltage : 230V ± 10% 50Hz
- power consumption = 1 VA
- output : 1 changeover contact
μ 16A - 250V AC1.
μ 3A - 250V cos ϕ = 0.6
- protection degree : IP20
- insulation class : II
Functional characteristics :
- accuracy : ± 1sec / day at 20 °C
- operating reserve :
lithium battery total of three years.
Environment :
operating temperature : -10 to +50 °C
storage temperature : -10 to +60 °C
Connection tunnel terminals :
flexible : 0.5 to 2.5 mm
2
rigid : 0.5 to 4 mm
2
Dimensions : 1 module (17.5 mm)
6E 6103.c
✂
Programmierung :
1. Drücken der Taste “Prog” der
erste Schaltschritt blinkt.
2. Einstellen der Schaltzeit mit “+” und “-”.
3. Auswahl des Schaltzustands mit Taste “on/off”,
ON = Kontakt in Stellung 2 und 3,
OFF = Kontakt in Stellung 1 und 2.
4. Bestätigen der Eingabe durch
die Taste “Prog”. Jetzt können
Sie die Tage auswählen, an denen
Sie den Schaltbefehl benutzen
wollen. In der Anzeige erscheint
eine blinkende “1” für Montag.
5. Mit der “on/off” Taste geben Sie vor, ob der
Schaltschritt am angezeigten Wochentag
ausgeführt werden soll oder nicht. Mit der “+”
Taste wählen Sie den nächsten mit der “-” Taste
den vorherigen Wochentag aus.
6. Speichern des Programmschrittes durch kurzes
Betätigen der “Prog” Taste. Der nächste
Schaltschritt kann programmiert werden.
Drücken Sie länger als 2 Minuten keine Taste so kehrt
die Schaltuhr in den Automatik-Modus zurück, ohne
den vorangegangenen Programmschritt zu speichern.
7. Zum Programmieren weiterer Programmschritte
(max. 20 sind programmierbar) wiederholen Sie
die Schritte 2 bis 6.
Löschen:
Um einen Programmschritt zu löschen, Einstellen der
Uhrzeit auf --:-- (zwischen 23:59 Uhr und 00:00 Uhr).
8. Zur Rückkehr in den Automatik-
Modus drücken Sie die Taste
“Prog” länger als 2 Sekunden.
EG071
£
1 Kanal Wochenschaltuhr Bedienungsanleitung
Anwendungsbereich
Mit der Zeitschaltuhr EG071 können Sie elek-
trische Geräte / Stromkreise im Wochenzyklus
EIN und AUS schalten.
Jeder der maximal 20 Schaltschritte kann an
einem oder an mehreren Tagen ausgeführt
werden. Es besteht die Möglichkeit die
Schaltuhr zu plombieren.
Das Blinken der Anzeige signalisiert das Fehlen
der Netzspannung.
Produktbeschreibung :
Die Anzeige:
➀
Schalt- /Uhrzeit
➁
Schaltzustandsanzeige (ON/OFF)
➂
Tagesanzeige (1 = Montag, 2 = Dienstag,
usw bis 7 = Sonntag).
Die Tasten:
➃
“on/off”: Auswahl des Schaltzustands.
➄
“
Prog”:
Programmierung und Anzeige der
einzelnen Schaltschritte.
➅
“reset
”
: Rücksetzen der Schaltuhr (Reset).
➆
“+” und “-”: Ändern von Uhrzeit und
Schaltzeit.
Zeit- und Tageseinstellung:
Änderungen der Zeit- und/oder der
Wochentagseinstellung über die Tasten “+”
und “-” (kurzes oder langes Drücken).
Die Taste solange drücken bis die Anzeige für
Tag und Uhrzeit korrekt ist.
Die Anzeige für den Wochentag ändert sich um
24 h.
Handbedienung:
(Schalten des Ausgangs im Automatikbetrieb
unabhängig von der Programmierung)
1. Drücken der Taste “on/off”,
die Schaltzustandsanzeige blinkt.
2. Mit der “on/off” Taste den
Schaltzustand auswählen.
Anschlußbild:
Überprüfen der Programmierung:
Durch mehrmaliges Betätigen der Taste “Prog”
in der Betriebsart Automatik können Sie sich die
programmierten Schaltschritte ansehen.
Zur Rückkehr in den Automatik-Modus drücken
Sie die Taste “Prog” länger als 2 Sekunden.
Rücksetzen der Schaltuhr:
Durch Betätigen der “Rücksetz“-Taste wird die
Programmierung der Schaltuhr gelöscht.
Zur Rückkehr in den Automatik- Modus drücken
Sie die Taste “on/off” länger als 2 Sekunden.
Es gelten die Allgemeinen Geschäfstbedingungen der Hager
Electro GmbH. bzw. die gesetzliche Regelung.
Garantie
DE
Technische Daten:
- Versorgungsspannung: 230V ± 10% 50Hz
- Max. Verlustleistung = 1 VA
- Ausgang: 1 Wechsler
- Schaltleistung:
Ohmsche Last: μ 16A - 250V AC1.
induktive Last μ 3A - 250V cos ϕ = 0,6
- Schutzart: IP20
- Schutzklasse: II Schutzisoliert
Funktionseigenschaften:
- Ganggenauigkeit: ± 1s / 24 Std. bei 20 °C
- Gangreserve durch Lithiumbatterie:
mindestens 3 Jahre.
Umgebung:
Betriebstemperatur: -10 bis +50 °C
Lagertemperatur: -10 bis +60 °C
Anschluss: durch Schraubklemmen:
flexibel : 0,5 bis 2,5 mm
2
massiv : 0,5 bis 4 mm
2
Abmessungen: 1 PLE (17,5 mm)
Sicherheitshinweis:
Einbau und Montage dürfen nur durch eine
Elektrofachkraft erfolgen.
 Loading...