Do you have a question about the HAMPTON BAY HB-7732-03 and is the answer not in the manual?
| Brand | HAMPTON BAY |
|---|---|
| Model | HB-7732-03 |
| Category | Accessories |
| Language | English |
Read manual, follow electrical codes, handle batteries safely, avoid power inverters.
Device complies with FCC Rules Part 15 and Industry Canada RSS-210.
Covers factory defective parts and workmanship for 3 years from purchase date. Receipt required.
Excludes expendables, misuse, abuse, negligence, unauthorized service, and consequential damages.
Verify all parts are present before installation, check hardware against list.
Lists power requirements (120 VAC, 60 Hz) and battery type (CR2032 3V).
Lists necessary tools like screwdrivers, drill, drill bit, and safety goggles.
Details included parts like jumper (AA), screws (BB), and double-sided tape (CC).
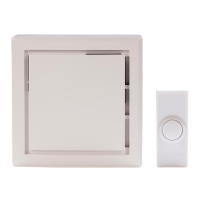
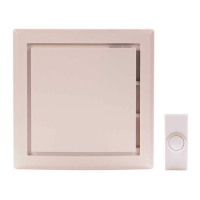
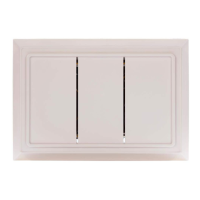
Identifies doorbell (A) and push button (B) components and their quantities per model.
Plug in the doorbell unit (A) at its intended location.
Remove the back cover of the push button (B) and the battery tab.
Test the push button and doorbell operation before permanent mounting. Adjust proximity if needed.
Attach the push button (B) using screws (BB) or double-sided tape (CC).
Configure push button (B) for 'FRONT' or 'REAR' tunes using jumper (AA) or default setting.
Cycle through available doorbell tunes using the 'TUNE' button (1) on the doorbell unit (A).
Clean the doorbell and push button with a dry cloth; avoid cleaners, polishes, or fluids.
Addresses issues with battery, power, and synchronization between push button and doorbell.
Troubleshoots problems related to mounting materials (metal, concrete) and unit placement.
Resolves issues with interference and provides steps for resetting and re-syncing the system.