Do you have a question about the HAMPTON BAY Renwick and is the answer not in the manual?
| Brand | HAMPTON BAY |
|---|---|
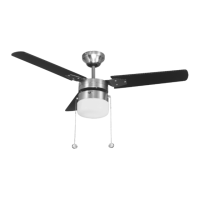
| Model | Renwick |
| Category | Fan |
| Language | English |
Ensure electricity is off at breaker/fuse box before starting work.
Follow National Electrical Code, local codes; use qualified electrician.
Use only specified fan speed control part no. UC7067RK.
Use only provided screws with the outlet box for personal safety.
Secure outlet box for 35 lbs support; use UL Listed boxes for fan support.
Mount fan with min. 7 feet clearance from blade trailing edge to floor.
Avoid placing objects in the path of fan blades.
Be cautious when working around or cleaning the fan to avoid injury.
Do not use water/detergents; use dry cloth for cleaning fan or blades.
Route spliced conductors into outlet box, separating ground wires.
Use UL Listed light kits and UL General Use Switches for installation.
Check and retighten all set screws as necessary before installation.
Standard installation method using downrod with ball/socket mounting.
For low ceilings or more space; reduces blade clearance to approx. 7 inches.
Align canopy slots with mounting plate screws to secure the fan.
Secure ceiling canopy to mounting plate for close-to-ceiling installation.
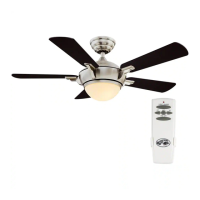
Configure 16 code combinations for transmitter and receiver to prevent interference.
Connect receiver wires and place it into the mounting bracket.
Details on using transmitter buttons for speed, light, and fan reversing.
Key functions of the transmitter: Hi/Med/Low speed, Light On/Off, Power Off.