EN - Quick Guide
2
Getting Started
Step 1: Install the memory card for local storage (if needed).
Step 2: Install the network camera.
1) Check the installation environment according to product datasheet.
2) Install the network camera to the mounting location suggested by HIKVISION or on the
product datasheet.
Note:
For installation, refer to Quick Start Guide which can be downloaded from https://www.hi-
watch.eu/ for detailed steps.
Step 3: Perform wiring for network camera activation.
1) Connect the power cables. Use a power supply 110-240V , 47-63Hz, 2A / 12 , 5A
(connector with positive central).
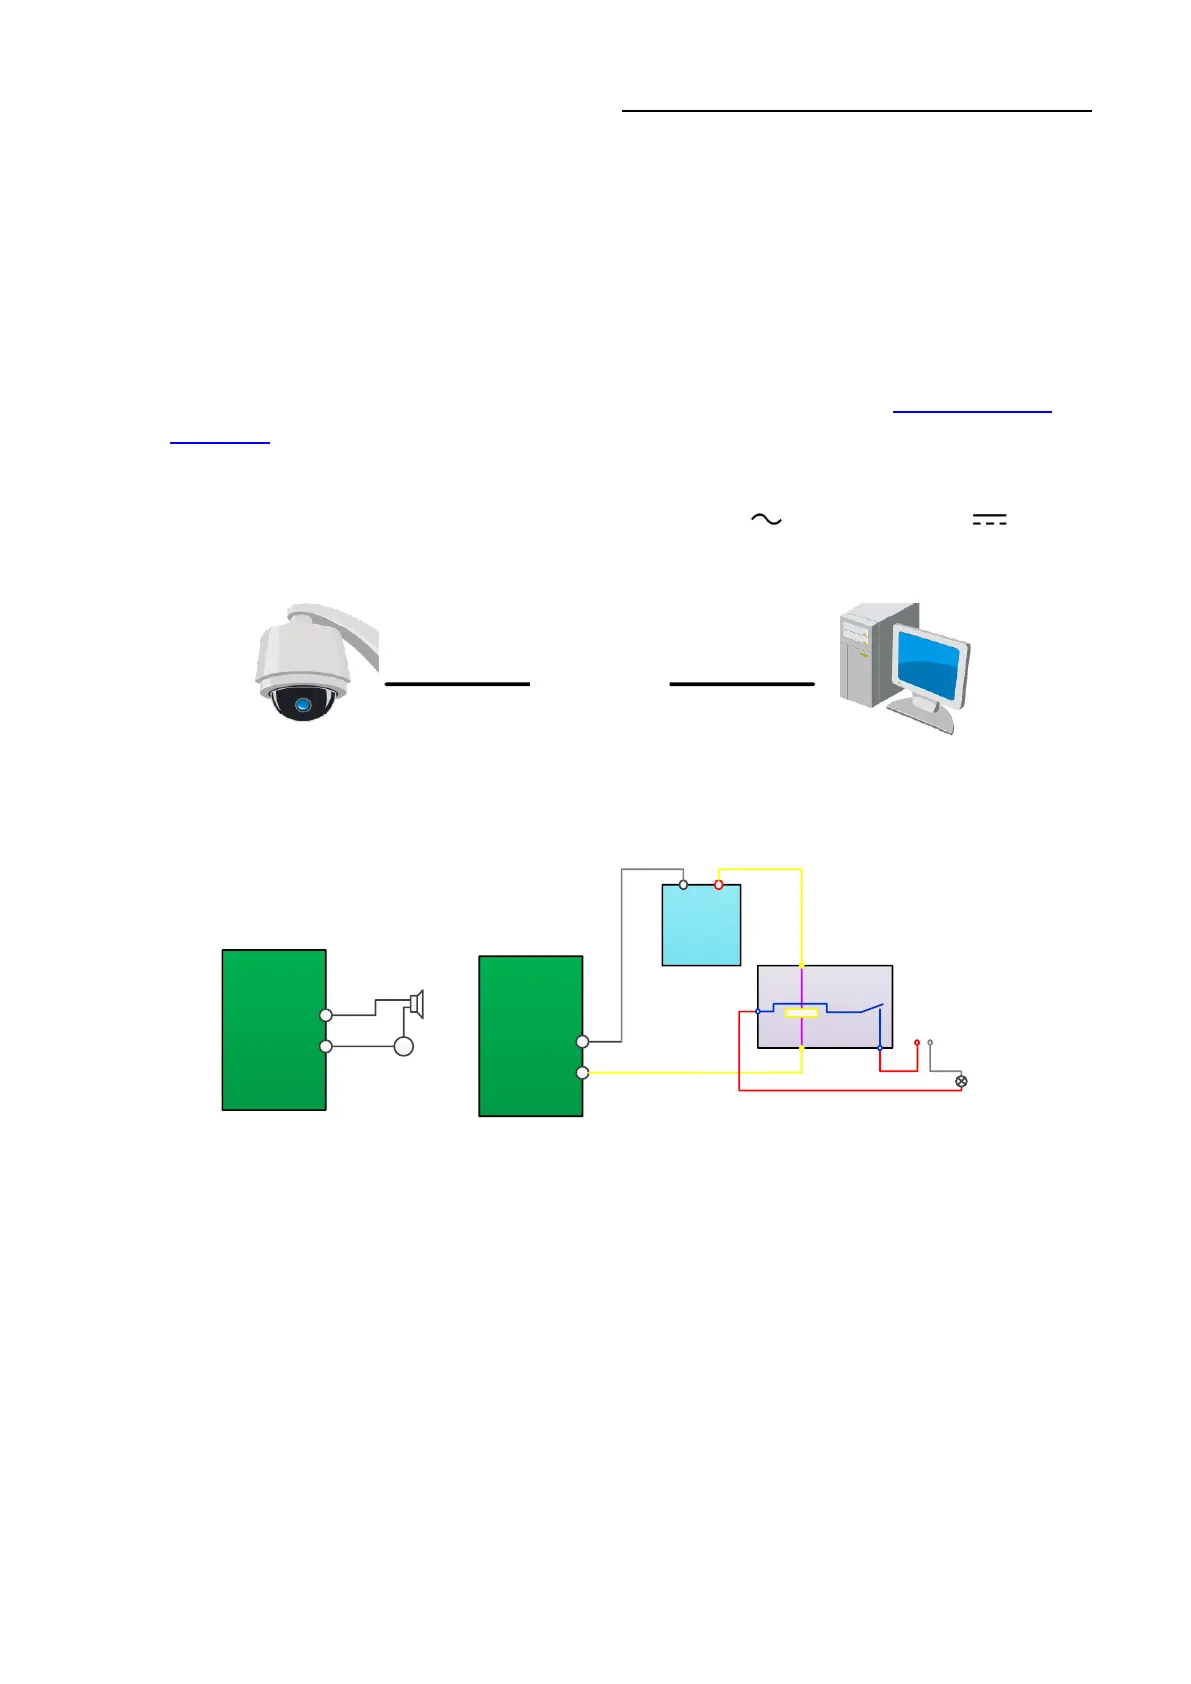
2) Connect the network camera to a PC with a network cable.
Figure 1-1 Connect the Network Camera to a PC
Step 4: Set the alarm in and alarm out connection (if needed).
Figure 1-2 Alarm Output Connection
Step 5: Activate the network camera via web browser.
1) Power on the network camera.
2) Visit the network camera via its default IP address: 192.168.1.64.
Note:
For the network camera which enables the DHCP by default, you need to activate the
network camera via SADP software and search the IP address.
3) Input and confirm your password.
4) Click OK to finish activation.
 Loading...