— 15 —
English
OPERATION_Continued
8. Slightly adjust the blade position so that it is
positioned uniformly in the centre of cutterhead.
9. Replace the hold-down plate (4), screw the eight hex
head-bolts (3) in, but do not tighten.
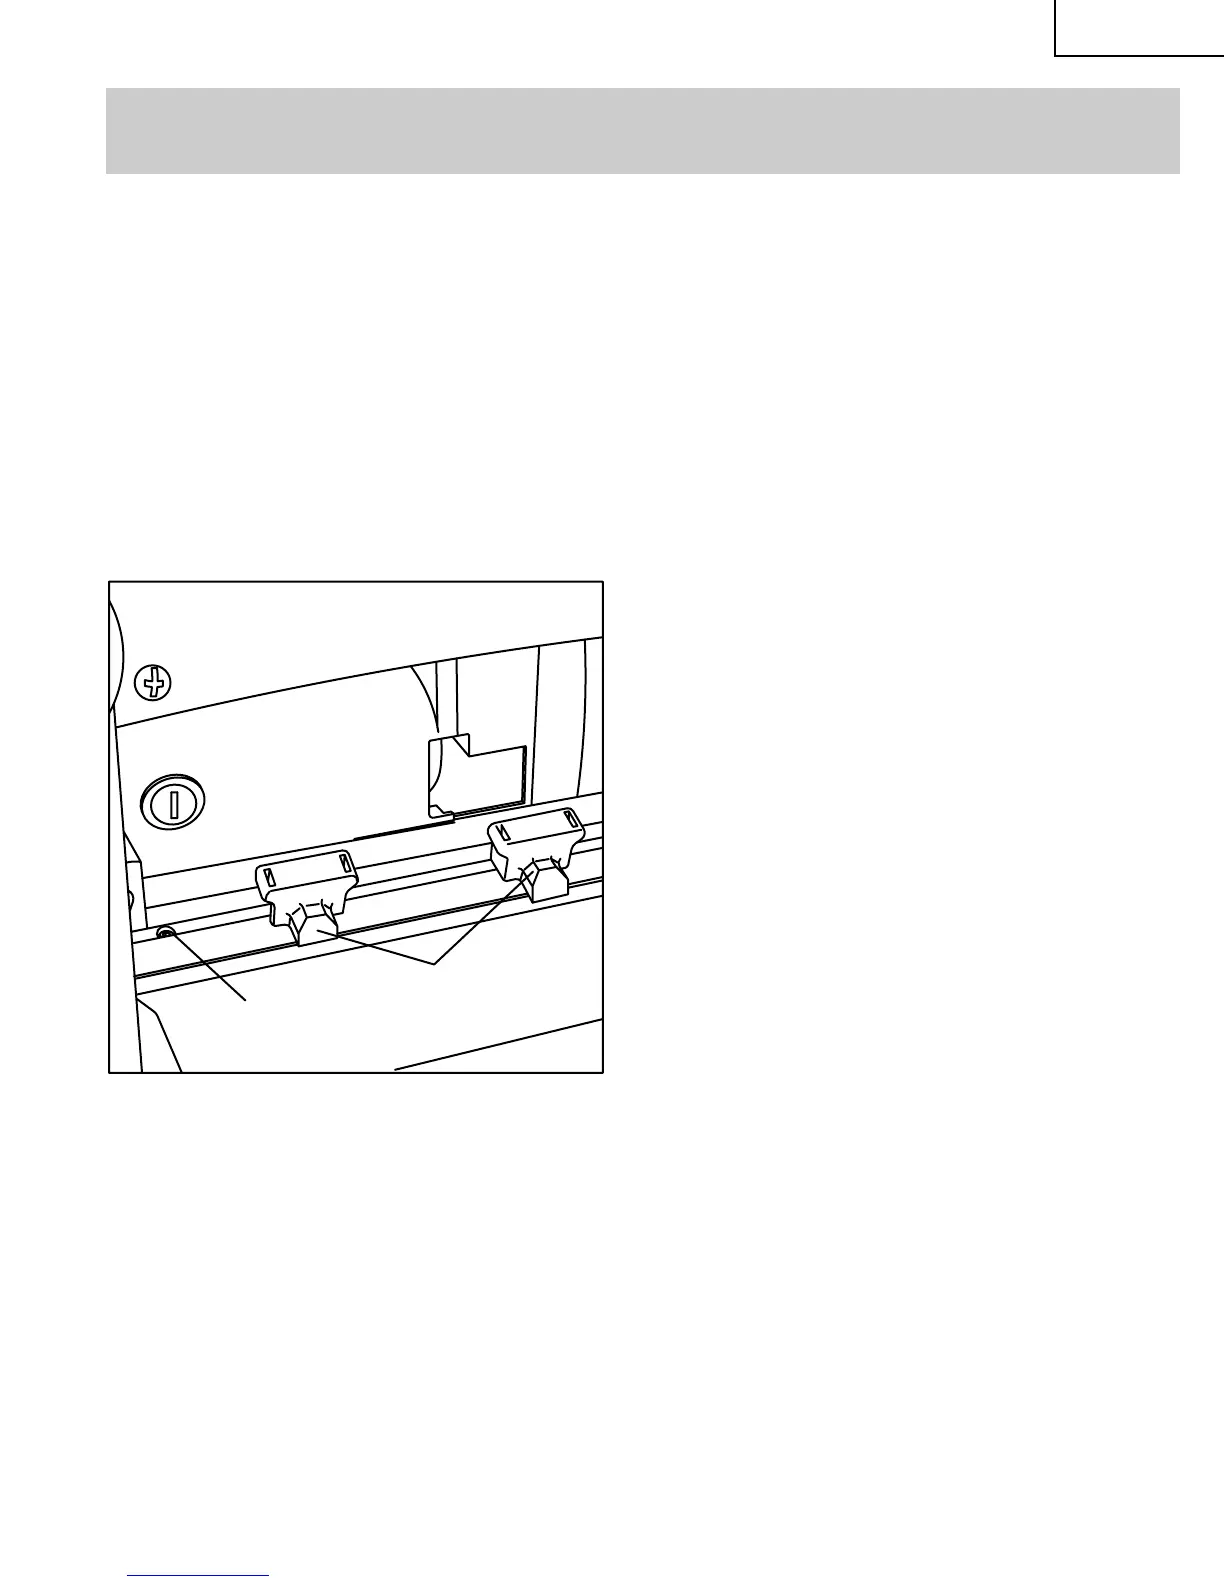
10. Place the blade setting gauges (6) on the cutterhead
with both gauges resting firmly against the blade.
(Fig. 16)
11. Turn both of the adjusting screws (7) until the blade
touches the blade setting gauges.
12. Remove the blade setting gauges and then rotate the
cutterhead to expose the eight hex-head blots (3).
Tighten all bolts with supplied hex wrench.
13. Replace the dust hood and secure it with the two
screws.
NOTE: The planer will not start until the dust cover and
cutterhead guard are properly installed.
7
6
Fig. 16
 Loading...