2 of 4 AII 46956 (1111) © 2011 American Honda Motor Co., Inc. - All Rights Reserved.
4617030Y
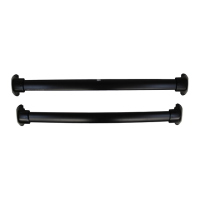
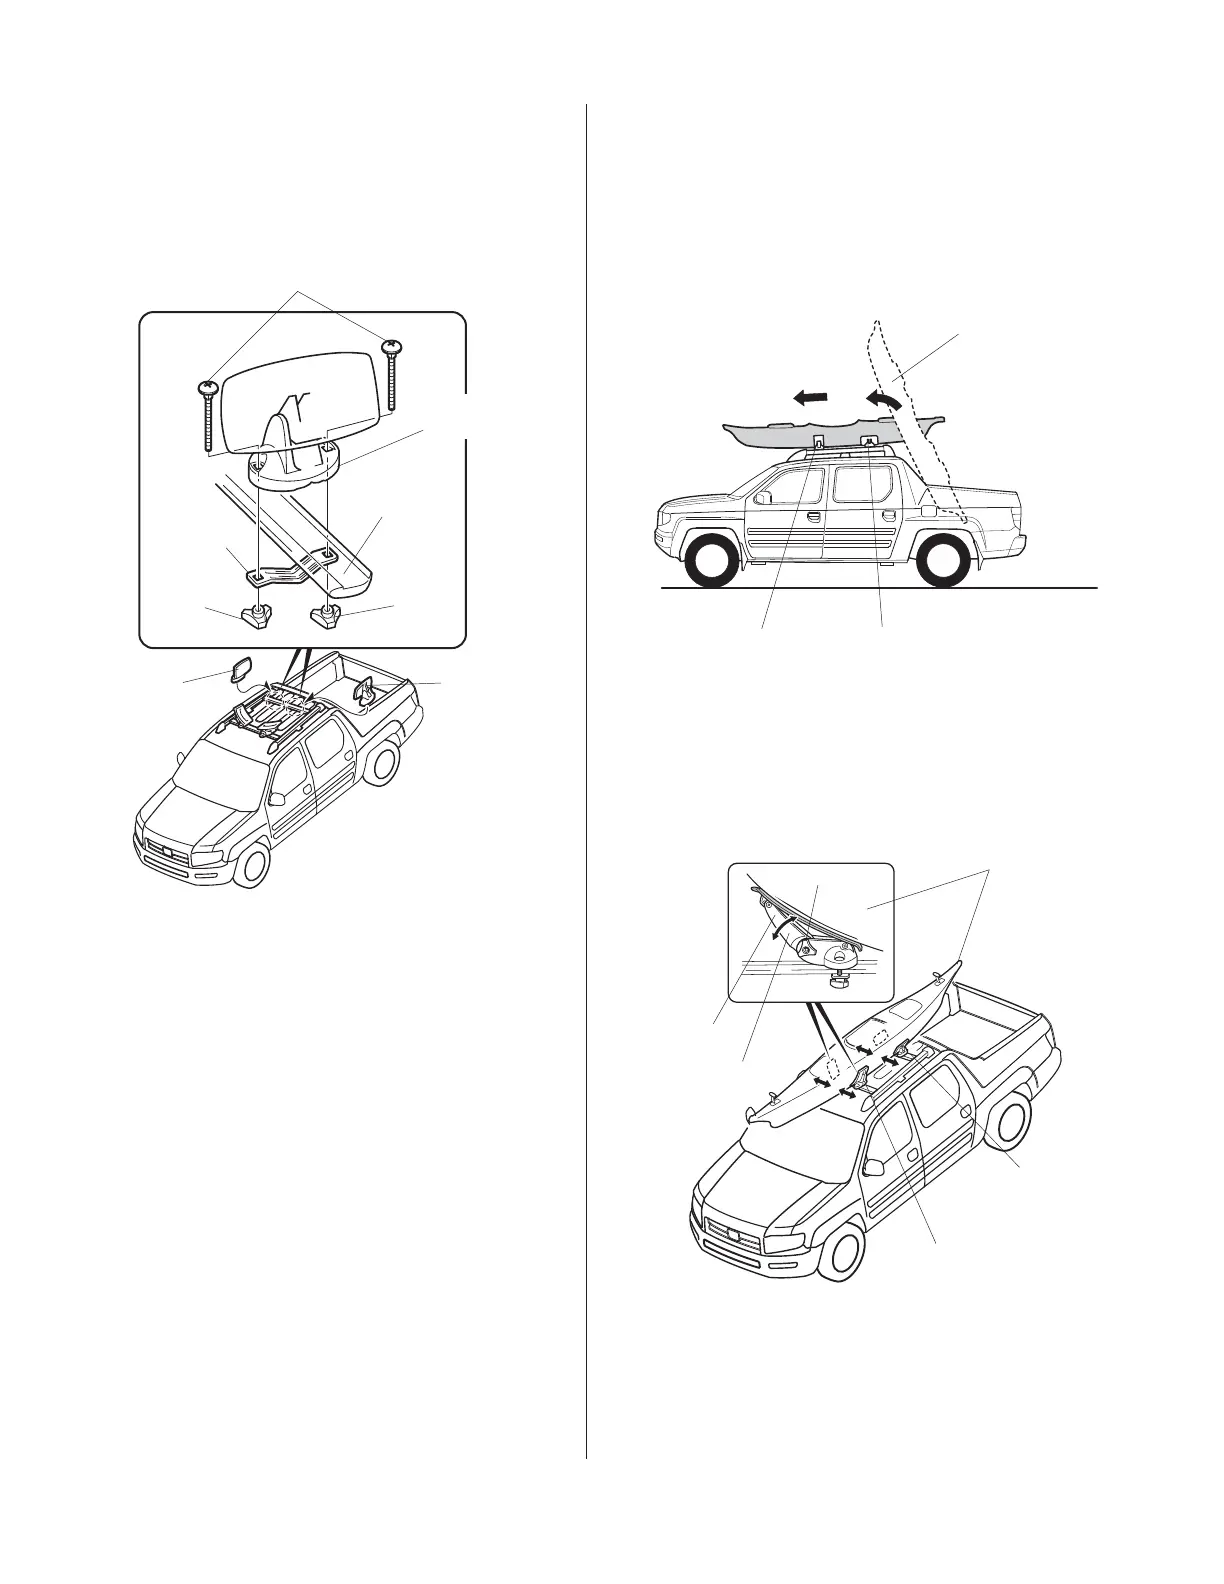
2. Position the two hydro-glide assemblies on the
rear crossbar. Loosely install the hydro-glide
assemblies using one bracket, two bolts, and two
knobs for each assembly. The distance between
the two assemblies should be the same as the
width of the kayak.
3. Rest the front of the kayak on the hydro-glide
assemblies. Standing behind or alongside the
kayak, lift up the rear of the kayak and push it
forward, sliding it on the hydro-glide assemblies
and saddles. Make sure the kayak reaches the
front saddles before you lower it.
BOLTS
BRACKET
KNOB
KNOB
CROSSBAR
HYDRO-GLIDE
ASSEMBLY
HYDRO-GLIDE
ASSEMBLY
HYDRO-
GLIDE
ASSEMBLY
SADDLE
KNOB
Adjust the
angle.
KAYAK
SADDLE
HYDRO-
GLIDE
ASSEMBLY
KAYAK
Lift up the rear, and slide
it forward onto the roof
of the vehicle.
HYDRO-GLIDE
ASSEMBLY
SADDLE
4. Adjust the distance between the saddles and
hydro-glide assemblies to the same width as the
kayak, then secure the saddle and the hydro-glide
assemblies by tightening the knobs you installed
in steps 1 and 2.
5. Slide the kayak forward or backward until it's level
with the roof. If necessary, loosen the knob on
each saddle and adjust the saddle angle to fit
snugly against the kayak. Tighten each knob
securely.
 Loading...