2 of 4 AII 28621 (0502) © 2005 American Honda Motor Co., Inc. - All Rights Reserved.
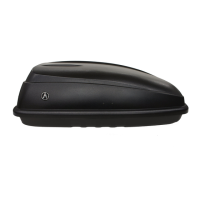
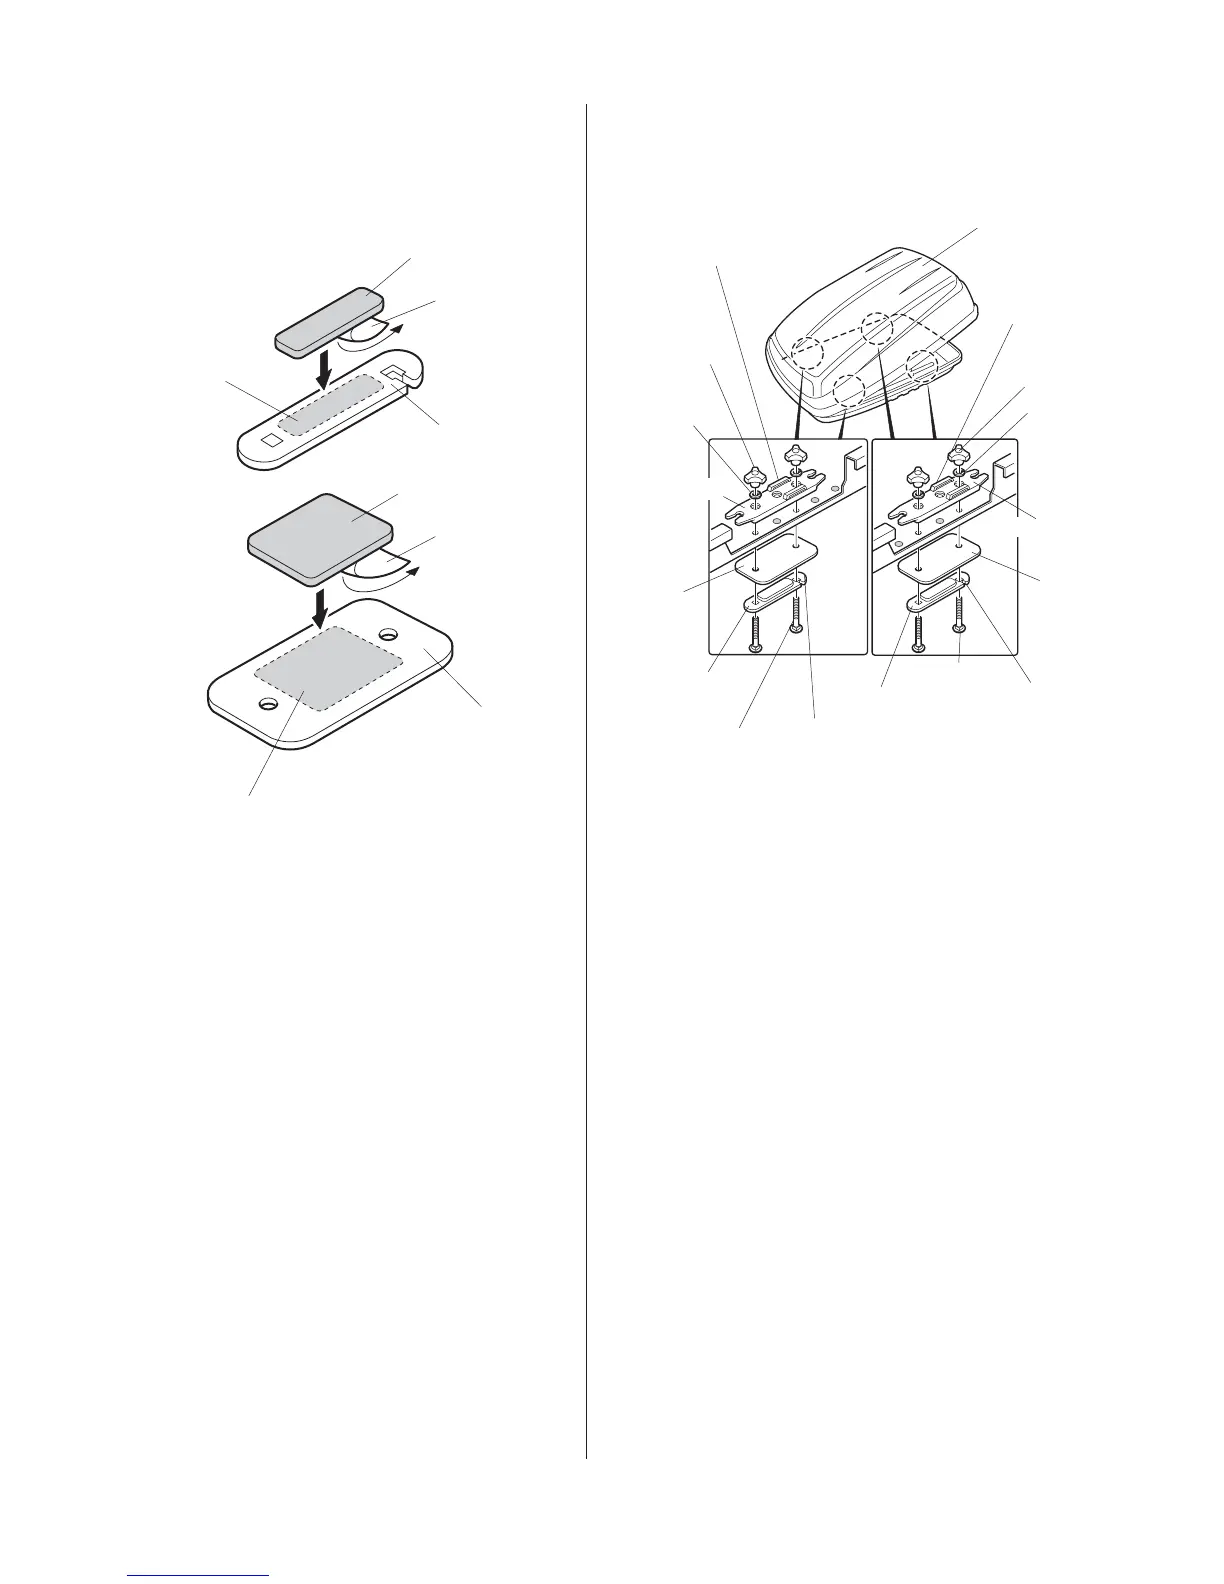
4. Under the roof box, insert a bolt through bracket
B, through the plate and into the predrilled hole in
the bottom of the roof box.
2. Using isopropyl alcohol on a shop towel, clean the
four brackets B where the small pads will attach.
Remove the adhesive backing from the small
pads, and attach them to brackets B.
SMALL PAD
ATTACHING
SURFACE
SMALL PAD
ADHESIVE
BACKING
BRACKET B
LARGE PAD
ADHESIVE
BACKING
PLATE
LARGE PAD
ATTACHING
SURFACE
BRACKET A
ROOF BOX
BOLT
BOLT
CUTOUT
(Face the
outboard side.)
CUTOUT
(Faces the
outboard side.)
BRACKET B
BRACKET B
PLATE
PLATE
KNOB
WASHER
STRAP EYELET
(Position the holes
equally on both
sides.)
STRAP EYELET
(Position the
holes equally on
both sides.)
KNOB
WASHER
BRACKET A
3. Using isopropyl alcohol on a shop towel, clean the
four plates where the large pads will attach.
Remove the adhesive backing from the large pads
and attach them to the plates.
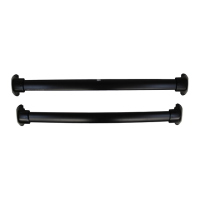
5. Fit bracket A over the threads of the bolt where it
protrudes through the roof box. Install a washer
over the threads, and loosely install a knob. Install
a second bolt the same way.
• Install bracket B with the cutout facing the
outboard side.
6. Repeat steps 4 and 5 to install the brackets in the
other three positions.
• Install brackets A so the strap eyelets on the
left and right sides of the box are directly
across from each other.
 Loading...