2
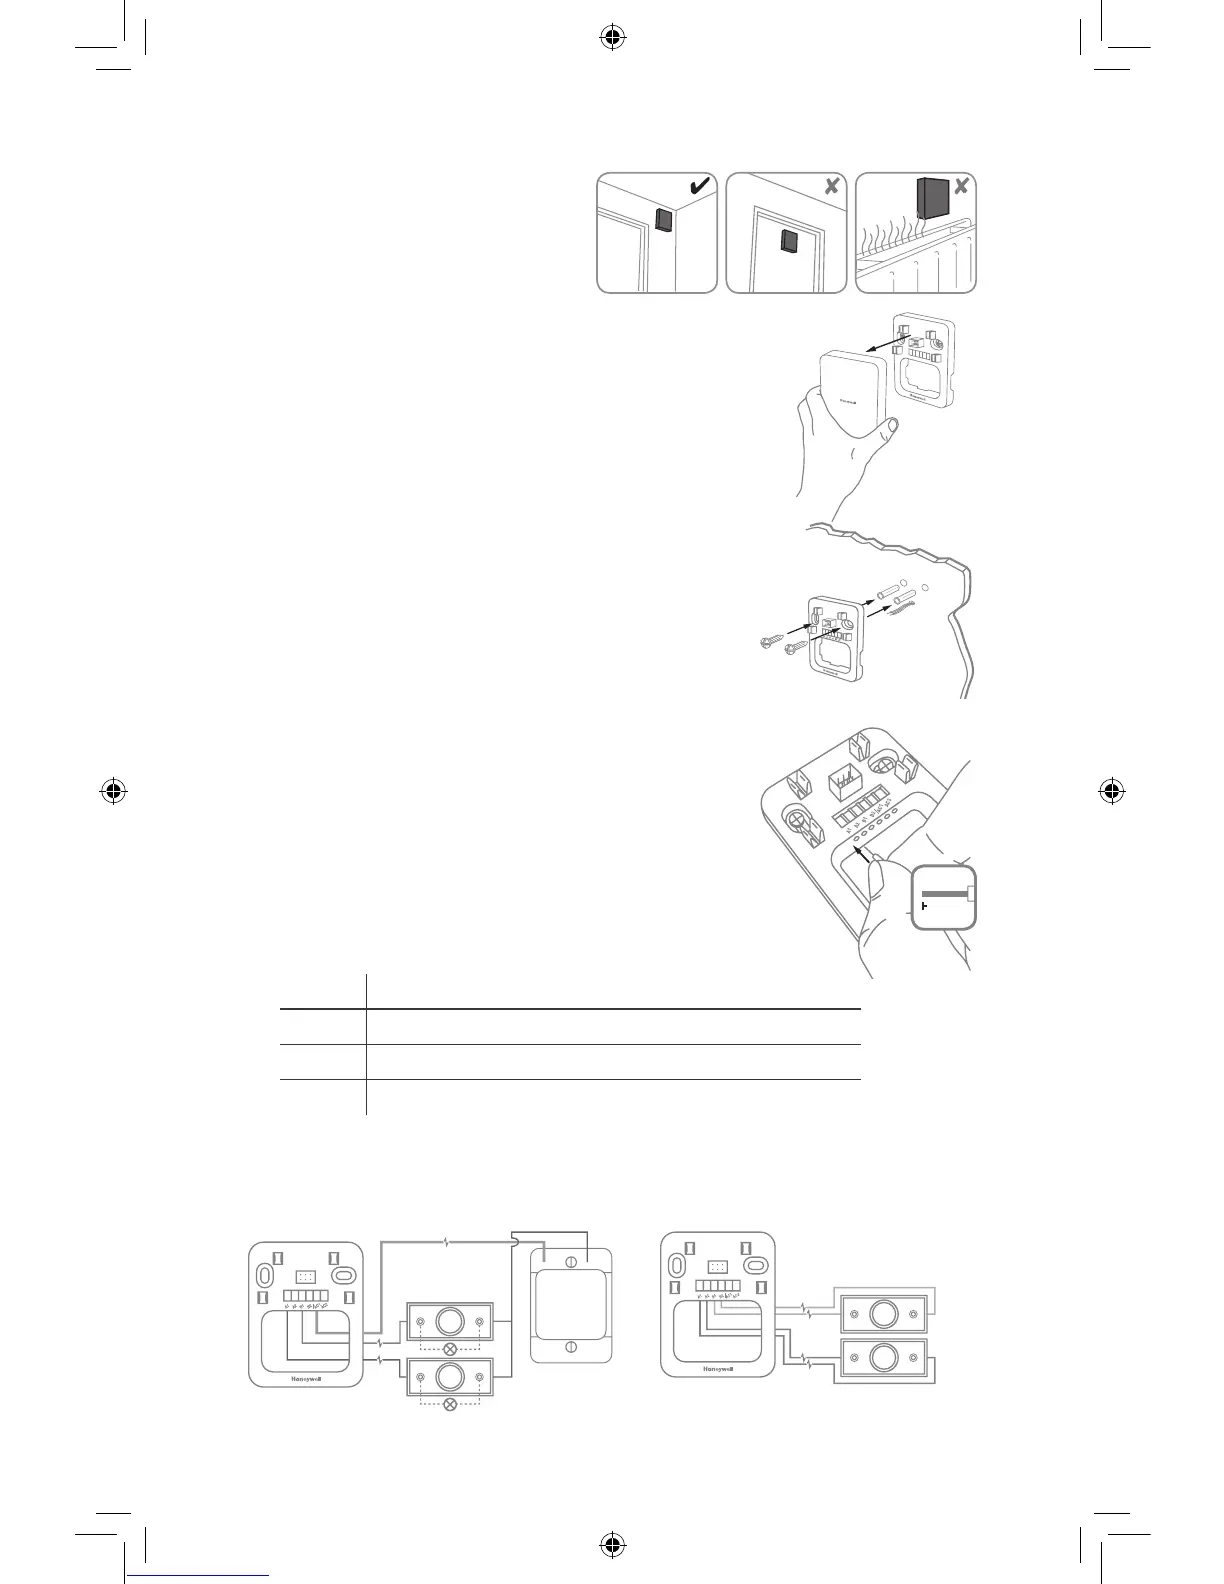
Wiring
1. Make sure at least 1/3-inch of each wire
is exposed for easy insertion into the wire
terminals.
Insert the wires into the appropriate terminals.
Refer to the wiring diagrams below.
3. Connect the wires to the adapter terminals.
You can connect one or two doorbell pushes
and transformers.
Connect to one push button
Connect to a second push button (if used)
AC1 Connect to one line voltage transformer (if used)
Not used
When the wiring is complete, turn the power back on.
1/3 in.
B
Wiring 1 (A only) or 2 (A and B) Pushes Wiring 1 (A o/nly) or 2 (A and B)
Pushes with 1 Transformer
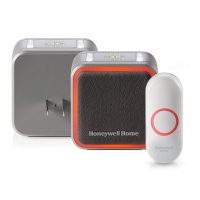
Install Adapter
1. Separate the adapter from the wall plate.
Open the battery cover in the wireless adapter
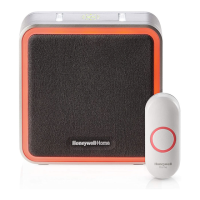
3. Remove the existing doorbell chime from the
wall.
Screw the wall plate to the wall using the
included screws and anchors (if necessary).
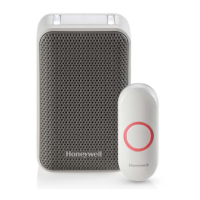
Choose a Location
Choose a location that is not near
a heat source or on somthing that
moves (like a door).
33-00195EFS_A.HALF-SHEET.indd 2 4/20/2016 4:40:42 PM
 Loading...