Parameters
N
o
Description Settings (default in bold)
1:LA
Language 1 = EN, 2 = NL, 3 = FR, 4 = DE, 5 = ES, 6 = IT
2:CR
Heating Cycle Rate (cph) 3 (oil boiler / thermal actuator)
6 (gas or combi boiler / zone valve)
9
12
3:OT
Minimum on time 1 - 5 (mins) (set to 4 mins for oil boiler)
4:LL
Lower Temperature Limit 5 - 21 (°C)
5:UL
Upper Temperature Limit 21 - 35 (°C)
6:SO
Schedule options 1 = 7 day (different schedule each day of the week)
2 = 5 + 2 day (weekday + weekend schedule)
3 = 1 day (same schedule every day)
7:NP
Number of periods per day 4 or 6
9:LC
Fail Safe mode 0 = Boiler off, 1 = Boiler 20% on / 80% off
10:BL
Backlight 0 = Off, 1 = On (only on demand)
11:CL
Clock Format 0 = 24 hr, 1 = AM/PM
12:DS
Daylight Saving time change 0 = Off, 1 = Auto
13:TO
Temperature Display Offset +/1.5°C
15:SD
Restore Schedule Defaults 0, 1 = reset
16:FS
Restore Factory Settings 0, 1 = reset
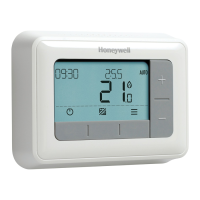
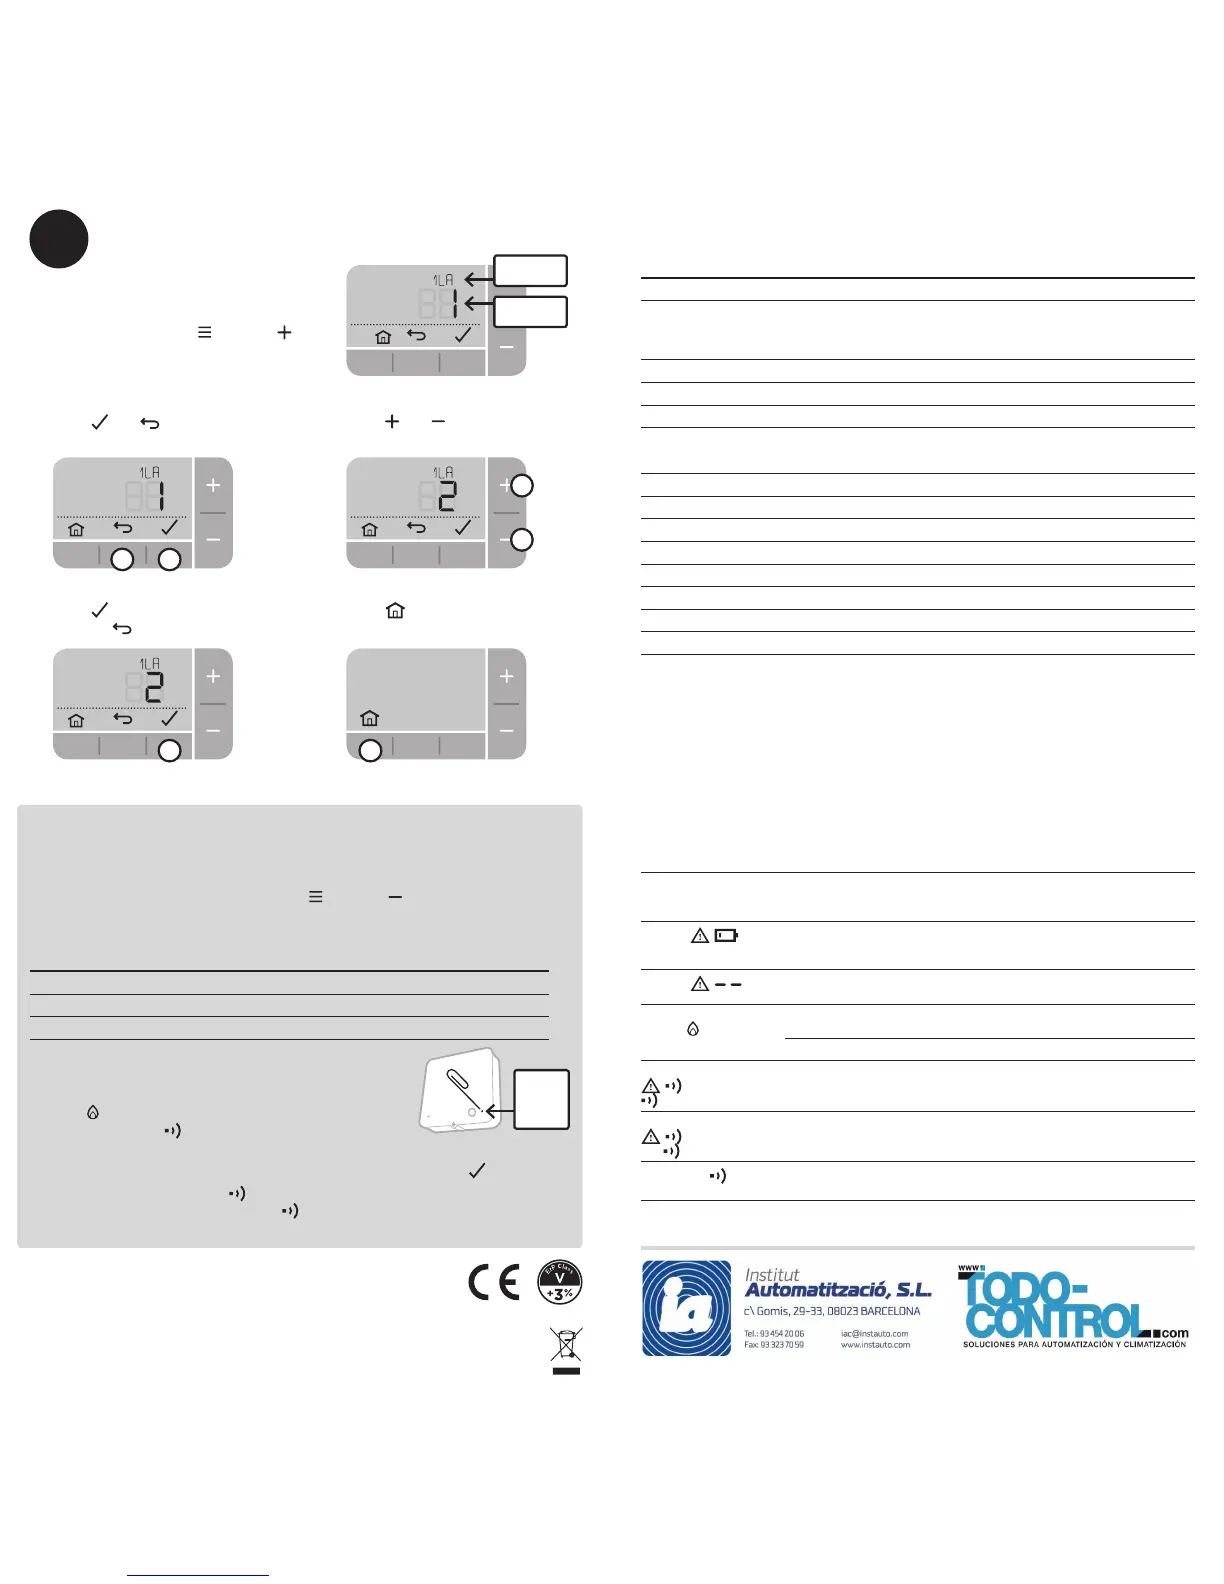
Configure the System
3
Specific settings for the thermostat
and heating system can be
configured in the advanced menu.
Press and hold
and then
buttons together until the display
changes (approx. 3sec).
A) Press
and buttons to navigate
through the parameter list
B) Press
and buttons to
change a parameter
C) Press
button to save the change
(or press to cancel the change)
D) Press
button to exit advanced
menu and save any changes
Parameter
Number
Parameter
Setting
Troubleshooting
www.honeywelluk.com
Conforms to protection requirements of the following directives:
EMC: 2014/30/EU, LVD: 2014/35/EU and R&TTE: 1995/5/EC
Hereby, Honeywell, declares that this Thermostat is in compliance with the
essential requirements and other relevant provisions of Directive 2014/53/EU.
ErP: Class V (+3%), (EU) 811/2013, Receiver Category 2
WEEE Directive 2012/19/EC
Waste Electrical and Electronic Equipment directive
At the end of the product life dispose of the packaging and product in a corresponding recycling
centre. Do not dispose of the unit with the usual domestic refuse. Do not burn the product.
© 2016 Honeywell International Inc. | Printed in UK
To rebind the thermostat and receiver box
OpenTherm® Compatibility
The thermostat and receiver box in this pack are pre-bound. Follow these
instructions only if binding is required.
To enter the binding menu press and hold
and then buttons together until
the display changes (approx. 3sec), and follow steps A) to D) above to navigate
the binding parameters. Keep at least 1m between devices during binding.
A) Clear the binding data from the Receiver Box:
Press & hold the reset ‘pinhole’ button for 3sec.
B) Put the Receiver Box into bind mode:
Hold
button for 3sec - button lights ORANGE for
3sec followed by LED flashing ORANGE.
C) Put the Thermostat into bind mode:
Change parameter N
o
14 A
(RF Binding Mode) to ‘1’ and press
If successful the Receiver Box LED willl turn solid
GREEN and the Thermostat will show
OpenTherm® compatibility is offered only by the Receiver Box. The Thermostat will
control heat demand as normal but will not show OpenTherm® specific boiler data
on the display - Refer to the boiler instructions for how to view the boiler data.
What’s happening? What it could mean... How to fix it...
Thermostat display
is blank
Batteries exhausted,
installed incorrectly or
tab hasn't been removed
Pull thermostat from wall bracket or table
stand and check battery installation
- replace batteries if necessary
Display =
Battery power critically low Pull thermostat from wall bracket or table
stand and check battery installation
- replace batteries if necessary
Display =
Faulty temperature sensor Replace thermostat or check wiring to
remote temperature sensor if fitted
Thermostat shows heat
demand
but boiler
doesn't respond
Boiler (water) already
at temperature
Normal behaviour - wait for
water temperature to drop
Faulty wiring connection Check wiring at thermostat and boiler terminals
Thermostat display shows
and Receiver Box
LED is flashing RED
Wireless communication
with Receiver Box is lost
Move thermostat to a location where
wireless communication is reliable
Thermostat display shows
and Receiver
Box
LED is OFF
Thermostat and Receiver
Box not bound
Follow the Wireless Binding Instructions
Receiver Box
LED
is flashing ORANGE
Receiver Box is in
bind mode
Wait for bind mode to time out
(3min) or bind a Thermostat
N
o
Description Settings (default in bold)
14:A
RF Binding Mode 0, 1 = Enter bind mode
14:B
RF Signal Strength Test 0, 1 = Perform Signal Test
14:C
Delete RF Binding Data 0, 1 = Delete Bind Data
Press
for 3sec
to clear
binding
 Loading...