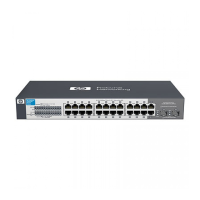
Mounting the switch to a rack
Introduction to installation accessories
Grounding
cable
Rubber
pads
Cage nut and M6 screw
(User supplied)
Mounting bracket
and M4 screw
Attach the mounting brackets to the switch
The installation tools are not provided with the switch. Prepare them by yourself.
Flat-head
screwdriver
ESD-preventive wrist
strap
Before installation, wear an ESD-preventive wrist strap, and make sure that the wrist
strap has a good skin contact and is well grounded.
The mounting brackets can be attached to a switch for front or rear mounting. You can
choose a proper position according to the actual requirements.
Needle-nose
pliers
1
Tool List
Desktop mounting
Install cage nuts Mount the switch to a rack
1U
Connecting the grounding cable
Properly connect the switch grounding cable because it is crucial to the lightning
protection and electromagnetic shield (EMS) of your switch.
Connect the OT terminal of the
grounding cable to the switch.
Connect the grounding cable to
the grounding strip.
2
3
Stick the rubber pads to the appropriate
positions on the switch bottom
1
2
1
2

