7
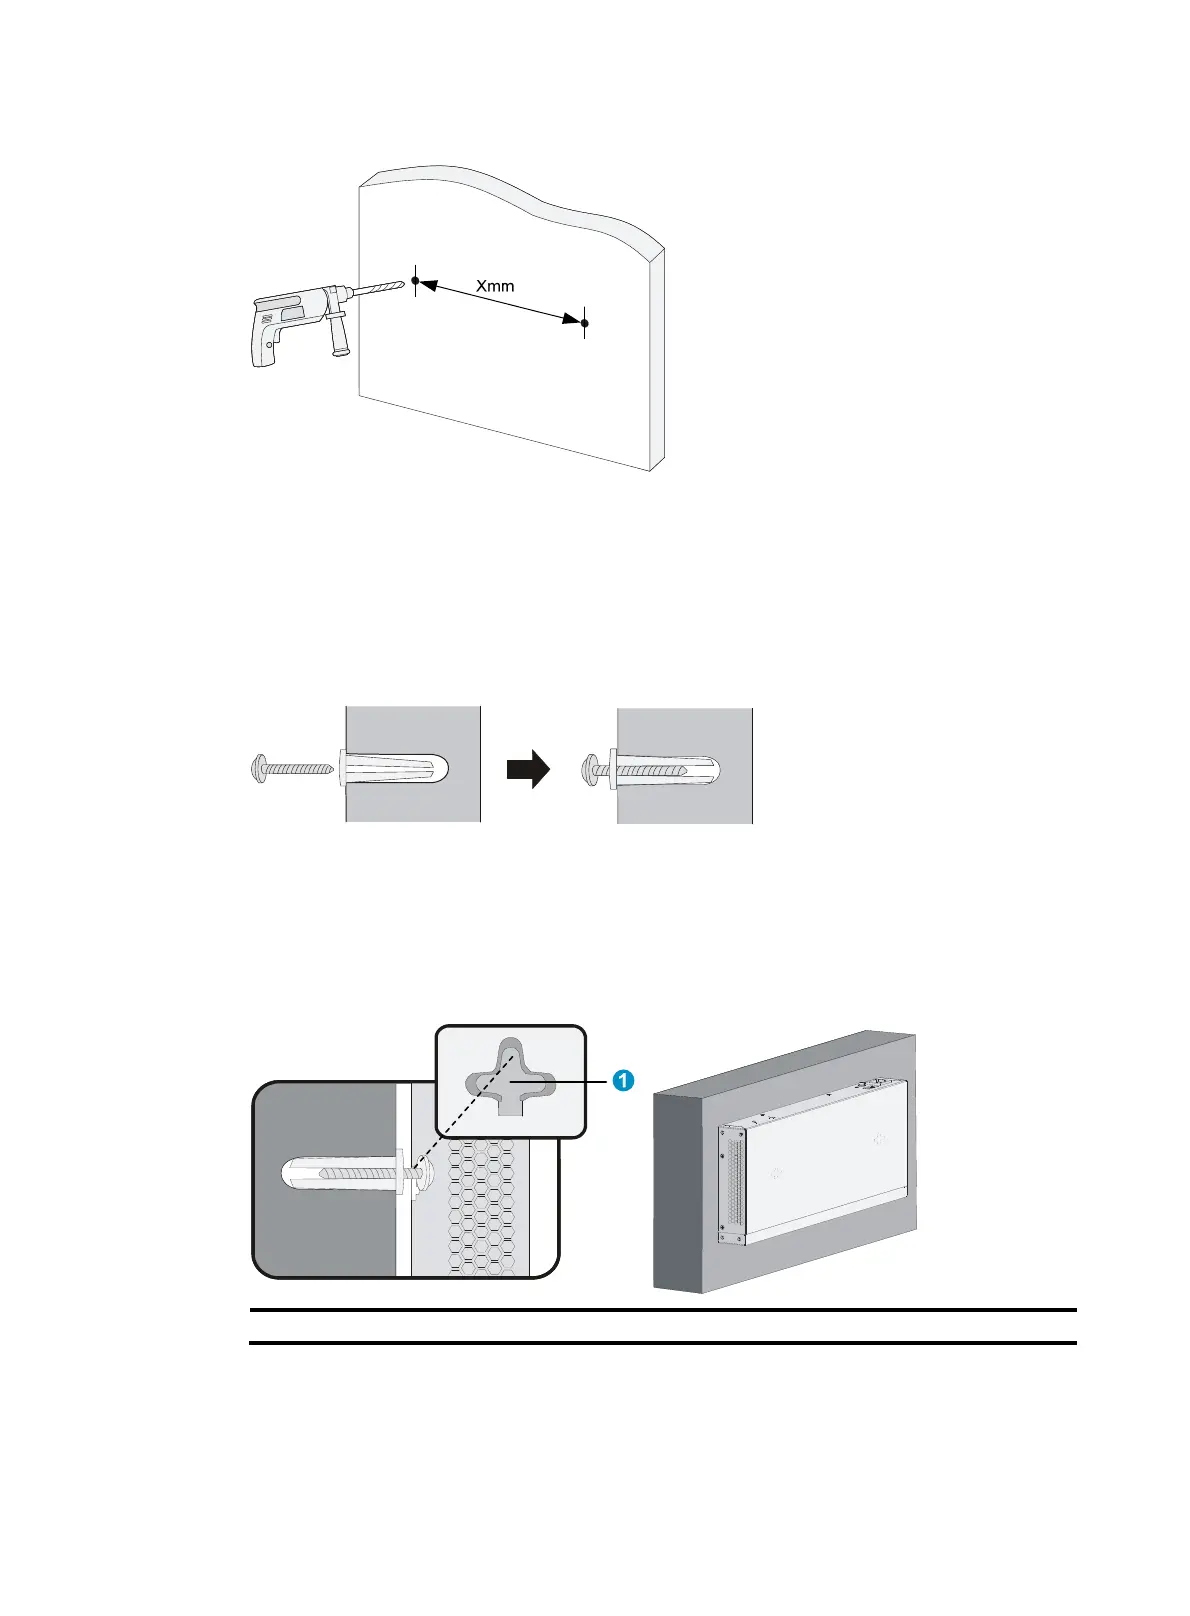
Figure 7 Hole spacing
2. Insert one wall anchor into each hole until the anchors are flush with the wall surface.
3. Drive one screw into each wall anchor, and tighten the screws just enough to keep it secure in the
wall anchor.
Leave a minimum clearance of 1.5 mm (0.06 in) between the base of the screw head and the wall
anchor so the switch can hang on the screws securely.
Figure 8 Driving a screw into a wall anchor
4. Align the two mounting holes in the switch chassis bottom with the two screws on the wall and
hang the switch.
Make sure the Ethernet ports are facing downwards and the chassis side panels are perpendicular
to the ground.
Figure 9 Wall mounting
(1) Mountin
hole in the switch chassis bottom
 Loading...