EasyManuals Logo

HP ProLiant DL320 User Manual

HP ProLiant DL320
119 pages
To Next Page IconTo Next Page
To Previous Page IconTo Previous Page
Page #41 background imageLoading...
Page #41 background image
Hardware options installation 41
NOTE: Depending on the model purchased, the server or hard drive
may look slightly different than the illustration.
4. Resume normal server operations.
Installing non-hot-plug hard drives
CAUTION: To prevent improper cooling and thermal damage,
do not operate the server unless all bays are populated with either a
component or a blank.
1. Access the internal server components ("Preparation procedures" on page
20
).
2. Remove the SATA backplane ("Removing the hot-plug SATA backplane" on
page 24
), if previously installed.
3. Set the SCSI ID for the non-hot-plug SCSI hard drive. Refer to the
documentation that ships with the hard drive.
4. Remove the four screws pre-installed on the tray.

Table of Contents

Other manuals for HP ProLiant DL320

Questions and Answers:

Question and Answer IconNeed help?

Do you have a question about the HP ProLiant DL320 and is the answer not in the manual?
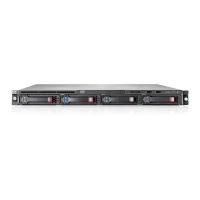
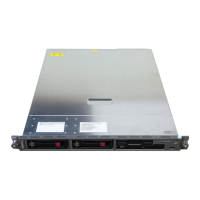
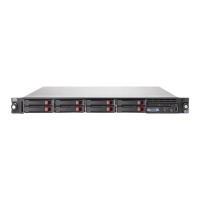
HP ProLiant DL320 Specifications

General IconGeneral
Product LineProLiant
CPU TypeIntel Xeon
StorageUp to 4 LFF (3.5") or 8 SFF (2.5") SAS/SATA/SSD drives (depending on model and configuration)
NetworkEmbedded 1GbE
Power SupplySingle or Redundant Power Supplies (depending on model and configuration)
Form Factor1U
Server TypeRack Server

Related product manuals